Free Shipping on Domestic Orders $75+

Asus X501A-RH31 Motherboard Replacement

What you need

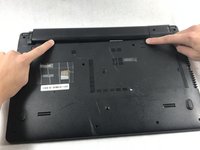
    1. Asus X501A-RH31 Motherboard Replacement, Battery: step 1, image 1 of 1
      • Turn the laptop over so that the back is facing upwards.

      Ask FixBot
      Add Comment

    2. Asus X501A-RH31 Motherboard Replacement: step 2, image 1 of 1
      • To unlock the left tab, make sure the tab on the left has red showing.

      Ask FixBot

      Add Comment

    3. Asus X501A-RH31 Motherboard Replacement: step 3, image 1 of 2 Asus X501A-RH31 Motherboard Replacement: step 3, image 2 of 2
      • To unlock the right tab, push the right slider to the left with one hand.

      • Push the battery out with the other hand.

      Ask FixBot

      Add Comment

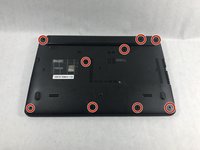
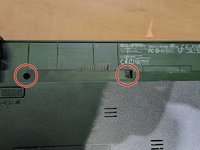
    1. Asus X501A-RH31 Motherboard Replacement, Keyboard: step 4, image 1 of 2 Asus X501A-RH31 Motherboard Replacement, Keyboard: step 4, image 2 of 2
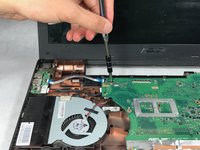
      • Using the Phillips #00 screwdriver unscrew all nine screws from the bottom of the laptop, as well as the additional two screws inside the battery compartment.

      • Nine of the screws are 5 mm long, 4.5 mm in diameter, while two screws closest to the hinges are 7 mm long.

      Ask FixBot
      Add Comment

    2. Asus X501A-RH31 Motherboard Replacement: step 5, image 1 of 1
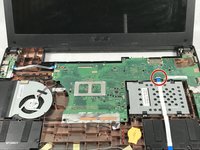
      • Turn the laptop over and open the top so the keyboard is facing you.

      Ask FixBot
      Add Comment

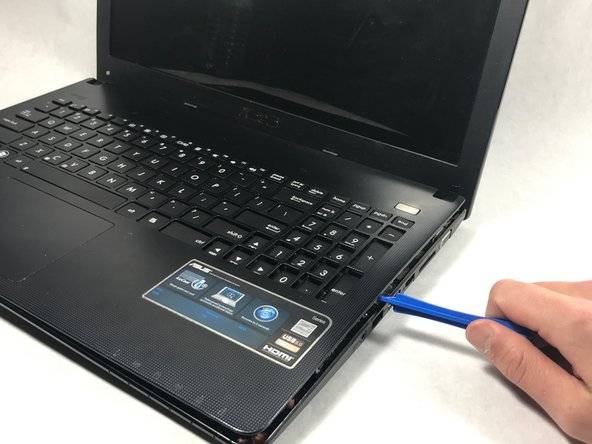
    3. Asus X501A-RH31 Motherboard Replacement: step 6, image 1 of 2 Asus X501A-RH31 Motherboard Replacement: step 6, image 2 of 2
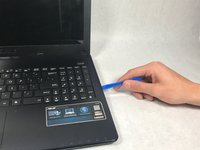
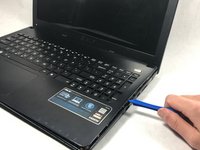
      • Pry off the keyboard cover on the edge using the plastic opening tool.

      • Start from one side. Once it is lose, carry out the same procedure on the front and other side.

      • Only do little sections at a time as the keyboard may break if you attempt to take the whole thing off from a single point.

      Ask FixBot

      Add Comment

    4. Asus X501A-RH31 Motherboard Replacement: step 7, image 1 of 1
      • Slowly lift the keyboard upward, but do not remove completely.

      • Remove the two data cables that attach the keyboard to the motherboard.

      Ask FixBot

      Add Comment

    5. Asus X501A-RH31 Motherboard Replacement: step 8, image 1 of 1
      Tool used on this step:
      Tweezers
      $4.99
      Buy
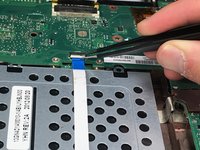
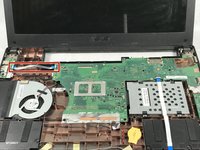
      • Use tweezers to pull the white plastic piece up that is attached to the data cable.

      • Repeat this process for the big black cable as well.

      • Use caution when unlatching the data cables from the motherboard. The cables are extremely delicate and can break.

      Ask FixBot
      Add Comment

    1. Asus X501A-RH31 Motherboard Replacement, Fan: step 9, image 1 of 1
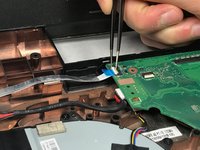
      • Unscrew the three screws using the Phillips #00 screwdriver.

      • The three screws are 5 mm in length, 4.2 mm in diameter.

      Ask FixBot
      Add Comment

    2. Asus X501A-RH31 Motherboard Replacement: step 10, image 1 of 1
      • Unscrew the three screws on the left hand side of the big motherboard.

      • This will loosen the motherboard, which will allow for better access to the cables in the next step.

      • The three screws are 5 mm in length, 4.2 mm in diameter and Phillips head screws.

      Ask FixBot

      Add Comment

    3. Asus X501A-RH31 Motherboard Replacement: step 11, image 1 of 3 Asus X501A-RH31 Motherboard Replacement: step 11, image 2 of 3 Asus X501A-RH31 Motherboard Replacement: step 11, image 3 of 3
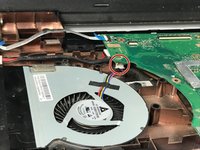
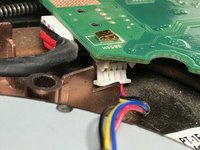
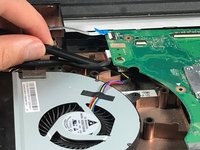
      • Remove the connector cable attached to the bottom of the motherboard.

      • Take the black plastic spudger and press down on the lower half of the white plastic piece to remove the connector cable.

      Ask FixBot

      Add Comment

    1. Asus X501A-RH31 Motherboard Replacement, Motherboard: step 12, image 1 of 2 Asus X501A-RH31 Motherboard Replacement, Motherboard: step 12, image 2 of 2
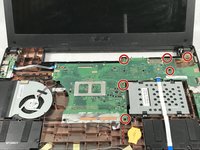
      • Unscrew the six screws that hold the motherboard to the bottom of the laptop using a Phillips #00 screwdriver.

      • The six screws are 4.2 mm long, 5 mm in diameter.

      Ask FixBot

      Add Comment

    2. Asus X501A-RH31 Motherboard Replacement: step 13, image 1 of 2 Asus X501A-RH31 Motherboard Replacement: step 13, image 2 of 2
      Tool used on this step:
      Tweezers
      $4.99
      Buy
      • Unlatch the data cable by using tweezers to lift the white tab and release the cable.

      Ask FixBot

      Add Comment

    3. Asus X501A-RH31 Motherboard Replacement: step 14, image 1 of 2 Asus X501A-RH31 Motherboard Replacement: step 14, image 2 of 2
      • Remove the cable on the left side of the motherboard.

      • Use tweezers to pull the white tab up in order to release this cable.

      Ask FixBot

      Add Comment

    4. Asus X501A-RH31 Motherboard Replacement: step 15, image 1 of 1
      • On the left side is a small piece of the motherboard. Unscrew the two screws holding this piece down with the Phillips #00 screwdriver.

      • The two screws are 6 mm long, 4.2 mm in diameter.

      Ask FixBot

      Add Comment

    5. Asus X501A-RH31 Motherboard Replacement: step 16, image 1 of 3 Asus X501A-RH31 Motherboard Replacement: step 16, image 2 of 3 Asus X501A-RH31 Motherboard Replacement: step 16, image 3 of 3
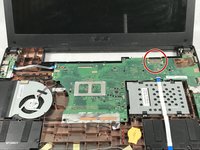
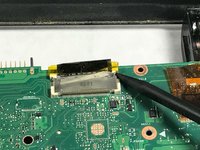
      • Release the connector cable on the back right side of the motherboard.

      • Peel off the tape with tweezers so that the cable can be released.

      • Using the black plastic spudger, push the back half of the cable towards the screen.

      Ask FixBot

      Add Comment

    6. Asus X501A-RH31 Motherboard Replacement: step 17, image 1 of 2 Asus X501A-RH31 Motherboard Replacement: step 17, image 2 of 2
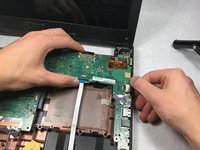
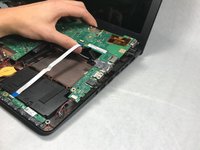
      • Grip the motherboard firmly and pull the board leftward and upwards so that the ports on the right side escape their frames.

      Ask FixBot

      Add Comment

    7. Asus X501A-RH31 Motherboard Replacement: step 18, image 1 of 2 Asus X501A-RH31 Motherboard Replacement: step 18, image 2 of 2
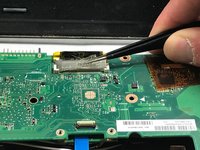
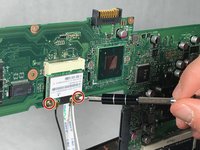
      • On the back of the motherboard there are two screws that attach the LCD connector to the motherboard.

      • Unscrew the two screws using the Phillips #00 screwdriver.

      • These screws are 3 mm in length, 3.5 mm in diameter.

      • Pull the connector downwards and out.

      Ask FixBot

      Add Comment

Conclusion

To reassemble your device, follow these instructions in reverse order.

Cancel: I did not complete this guide.

One other person completed this guide.

Romana Hruby

Member since: 10/20/17

596 Reputation

5 Guides authored

Team

0 Guide Comments

Add Comment

View Statistics:

Past 24 Hours: 0

Past 7 Days: 11

Past 30 Days: 40

All Time: 1,779