
Asus X501A-RH31 LCD Replacement

Romana Hruby and 3 other contributors
Last updated on Dec 21, 2017
Views: 1.3K
View statistics:
- Past 24 Hours:
- 1
- Past 7 Days:
- 19
- Past 30 Days:
- 87
- All Time:
- 1,307
Comments: 2
1 comment on steps, 1 guide comment.
Go to guide commentsCompleted: 1 2
1 person has marked this guide "completed." Will you be next?
2 people have marked this guide "completed." Including you — great job!
Favorites: 0 1
No one has favorited (and subscribed to) this guide. Will you be the first?
1 person has favorited (and subscribed to) this guide — and that's you!
Introduction
Go to step 1 ↓The purpose of this guide is to show how to effectively remove the LCD. Please note that the screen is fragile and too much pressure applied will damage the screen.
What you need
Tools
-
-
Spudger4.9


-
-
-
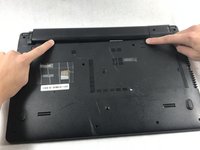
To unlock the right tab, push the right slider to the left with one hand.
-
Push the battery out with the other hand.
-
-
-
-
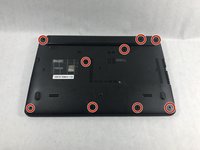
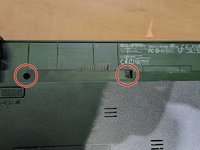
Using the Phillips #00 screwdriver unscrew all nine screws from the bottom of the laptop, as well as the additional two screws inside the battery compartment.
-
-
-
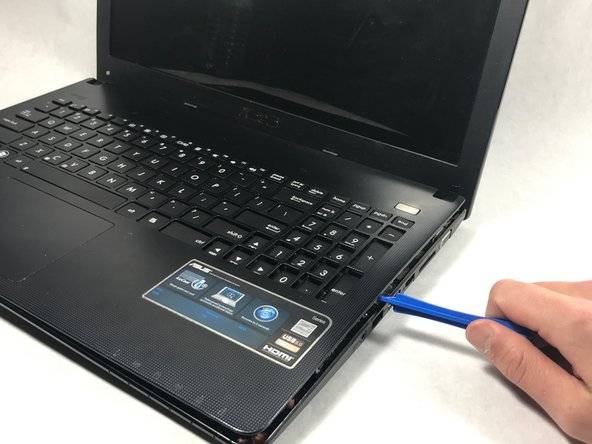
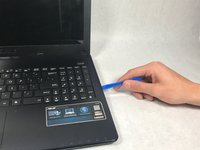
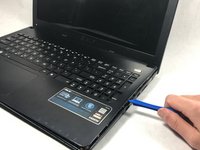
Pry off the keyboard cover on the edge using the plastic opening tool.
-
Start from one side. Once it is lose, carry out the same procedure on the front and other side.
-
-
-
Slowly lift the keyboard upward, but do not remove completely.
-
Remove the two data cables that attach the keyboard to the motherboard.
-
-
Tool used on this step:Tweezers$4.99
-
Use tweezers to pull the white plastic piece up that is attached to the data cable.
-
Repeat this process for the big black cable as well.
-
-
-
-
-
Unscrew the three screws on the left hand side of the big motherboard.
-
This will loosen the motherboard, which will allow for better access to the cables in the next step.
-
-
-
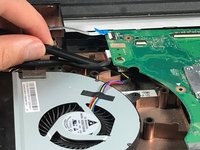
Remove the connector cable attached to the bottom of the motherboard.
-
Take the black plastic spudger and press down on the lower half of the white plastic piece to remove the connector cable.
-
-
-
-
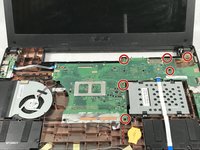
Unscrew the six screws that hold the motherboard to the bottom of the laptop using a Phillips #00 screwdriver.
-
-
Tool used on this step:Tweezers$4.99
-
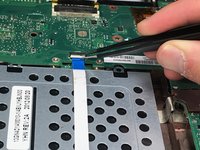
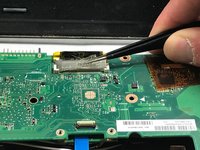
Unlatch the data cable by using tweezers to lift the white tab and release the cable.
-
-
-
Remove the cable on the left side of the motherboard.
-
Use tweezers to pull the white tab up in order to release this cable.
-
-
-
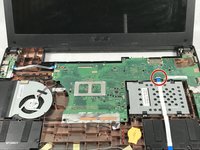
On the left side is a small piece of the motherboard. Unscrew the two screws holding this piece down with the Phillips #00 screwdriver.
-
-
-
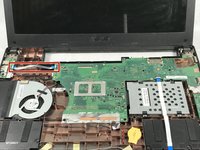
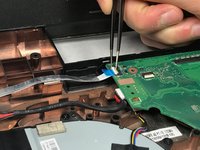
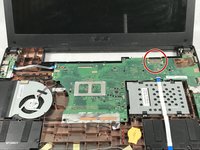
Release the connector cable on the back right side of the motherboard.
-
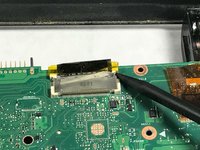
Peel off the tape with tweezers so that the cable can be released.
-
Using the black plastic spudger, push the back half of the cable towards the screen.
-
-
-
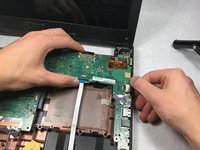
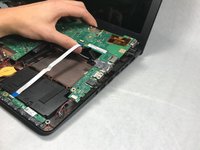
Grip the motherboard firmly and pull the board leftward and upwards so that the ports on the right side escape their frames.
-
-
-
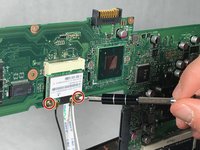
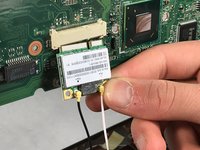
On the back of the motherboard there are two screws that attach the LCD connector to the motherboard.
-
Unscrew the two screws using the Phillips #00 screwdriver.
-
Pull the connector downwards and out.
-
-
-
-
-
-
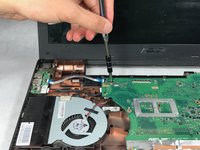
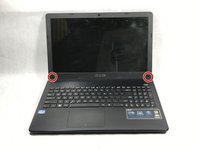
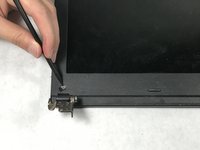
To detach the hinges, use the Phillips #00 screwdriver to unscrew the two top screws on both the left and right hinges.
-
-
-
Once both sides of the laptop are unscrewed, gently pull the upper half of the laptop off of the bottom half.
-
-
-
Use the black plastic spudger to pry off the black squares on the bottom of the laptop screen, this reveals two screws.
-
-
-
Use the Phillips #00 screwdriver to unscrew the two screws at the bottom of the laptop screen.
-
-
-
Place the black plastic spudger between the top cover of the screen and the bottom of the laptop frame that rests on the table.
-
Push down on the black plastic spudger to pry the top cover off the screen of the laptop.
-
-
-
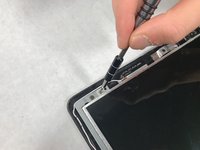
At the bottom of the screen there are two screws on each hinge.
-
Unscrew the four screws using the Phillips #00 screwdriver.
-
-
-
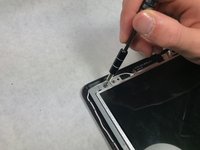
At the top of the screen there are two screws on the left side and two screws on the right side of the laptop.
-
Using the Phillips head #00 screwdriver, unscrew the inside screw and then the outside screw.
-
-
-
-
-
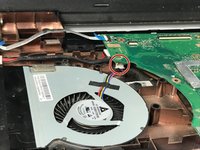
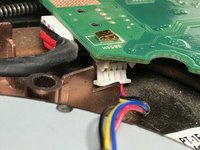
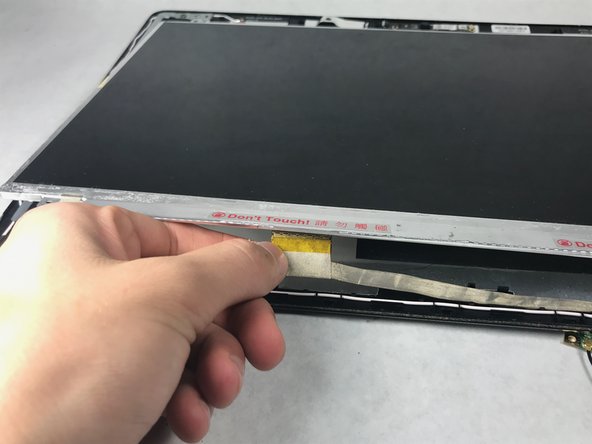
Lift the screen up off the back panel enough to have access to the LCD cable connector, but not all the way.
-
Pull the cable gently down and out of the connector to disconnect it.
-
-

 Ask FixBot
























To reassemble your device, follow these instructions in reverse order.
Cancel: I did not complete this guide.
One other person completed this guide.

Team

UMass Dartmouth, Team S3-G3, Bailey Fall 2017 Member of UMass Dartmouth, Team S3-G3, Bailey Fall 2017
UMASSD-BAILEY-F17S3G3
3 Members
96 Guides authored
1 Guide Comment
Awesome write up. Thanks a bunch!
Couple amendments based off of my experience:
Step 12: There may be more screws on the far right side of the motherboard
Step 23: You have to split the plastic hinge protrusions to get the bezel off
