Free Shipping on Domestic Orders $75+

Asus X200MA Motherboard Replacement

What you need

    1. Asus X200MA Motherboard Replacement, Back Panel: step 1, image 1 of 1
      • Remove the following six screws:

      • Six 4 mm screws using a Phillips #0 screwdriver.

      • Remove the following one screw:

      • One 14 mm screw using a Phillips #0 screwdriver.

      • The 14mm screw goes in the center.

      Ask FixBot

      Add Comment

    2. Asus X200MA Motherboard Replacement: step 2, image 1 of 1
      • Take two rubber caps off the back side of the laptop.

      • Use a Phillips #0 screwdriver to remove the two 14 mm screws under the rubber caps.

      Ask FixBot

      Add Comment

    3. Asus X200MA Motherboard Replacement: step 3, image 1 of 1
      • Use a plastic or metal spudger to separate the keyboard from the back panel and lift the keyboard out of place.

      Ask FixBot

      Add Comment

    1. Asus X200MA Motherboard Replacement, Battery: step 4, image 1 of 1
      • Take two rubber caps off the back side of the laptop.

      Ask FixBot

      Add Comment

    2. Asus X200MA Motherboard Replacement: step 5, image 1 of 1
      • Remove the following two screws under the rubber caps.

      • Two 14 mm screws using the Phillips #0 screw driver.

      Ask FixBot

      Add Comment

    3. Asus X200MA Motherboard Replacement: step 6, image 1 of 1
      • Flip up the following:

      • The two latches holding the two cables shown(white and black)

      • Pull the cables free from the latches

      • Lift the keyboard from the computer

      Ask FixBot

      Add Comment

    4. Asus X200MA Motherboard Replacement: step 7, image 1 of 1
      • Remove the following screws from the inside of the laptop:

      • Two 4 mm screws using the Phillips #0 phillips screwdriver.

      • One 5 mm screw using the Phillips #0 Phillips screwdriver located in the center a little below the battery.

      Ask FixBot

      Add Comment

    5. Asus X200MA Motherboard Replacement: step 8, image 1 of 1
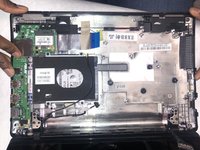
      • Slide the battery up and out.

      Ask FixBot

      Add Comment

    1. Asus X200MA Motherboard Replacement, Fan: step 9, image 1 of 1
      • Remove the Two 4 mm screws using Phillips #0 phillips screwdriver.

      Ask FixBot

      Add Comment

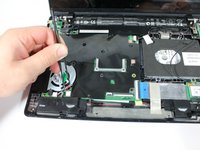
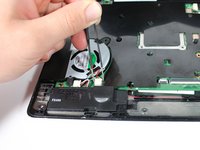
    2. Asus X200MA Motherboard Replacement: step 10, image 1 of 2 Asus X200MA Motherboard Replacement: step 10, image 2 of 2
      • Unplug the set of wires located at bottom corner on fan.

      Ask FixBot

      Add Comment

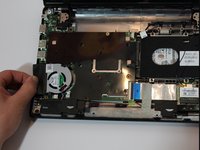
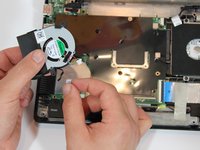
    3. Asus X200MA Motherboard Replacement: step 11, image 1 of 2 Asus X200MA Motherboard Replacement: step 11, image 2 of 2
      • Lift up and out to completely the remove fan component.

      Ask FixBot

      Add Comment

    1. Asus X200MA Motherboard Replacement, Motherboard: step 12, image 1 of 1
      • Use Phillips #0 screwdriver to remove the eight 4.0 mm screws.

      Ask FixBot

      Add Comment

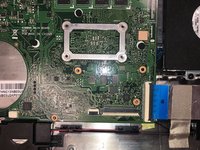
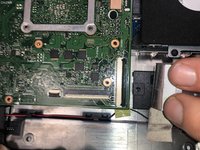
    2. Asus X200MA Motherboard Replacement: step 13, image 1 of 2 Asus X200MA Motherboard Replacement: step 13, image 2 of 2
      • Pull back the blue ribbon, freeing it from the latch.

      Ask FixBot

      Add Comment

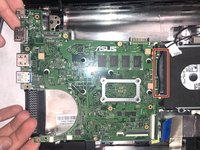
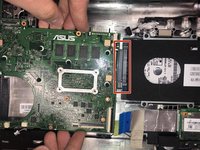
    3. Asus X200MA Motherboard Replacement: step 14, image 1 of 3 Asus X200MA Motherboard Replacement: step 14, image 2 of 3 Asus X200MA Motherboard Replacement: step 14, image 3 of 3
      • Lift and pull the motherboard out from the hard drive and remove it from the base plate.

      Ask FixBot

      Add Comment

Conclusion

To reassemble your device, follow these instructions in reverse order.

Cancel: I did not complete this guide.

2 other people completed this guide.

Alli Krininger

Member since: 11/11/19

391 Reputation

3 Guides authored

Team

IUPUI, Team S2-G4, Stella Fall 2019 Member of IUPUI, Team S2-G4, Stella Fall 2019

IUPUI-STELLA-F19S2G4

4 Members

35 Guides authored

0 Guide Comments

Add Comment

View Statistics:

Past 24 Hours: 0

Past 7 Days: 11

Past 30 Days: 47

All Time: 1,858