
Asus X200CA Motherboard and RAM Replacement

Jacqueline Collier and 4 other contributors
Last updated on May 7, 2024
Views: 11K
View statistics:
- Past 24 Hours:
- 2
- Past 7 Days:
- 24
- Past 30 Days:
- 143
- All Time:
- 10,681
Comments: 4
4 comments on steps.
Completed: 9 10
9 people have marked this guide "completed." Will you be next?
10 people have marked this guide "completed." Including you — great job!
Favorites: 0 1
No one has favorited (and subscribed to) this guide. Will you be the first?
1 person has favorited (and subscribed to) this guide — and that's you!
Introduction
Go to step 1 ↓This guide will show you how to replace the motherboard of the Asus X200CA Laptop. In this device both components are one piece.
What you need
Tools


-
-
-
Remove the 8 black 4.7mm screws securing the keyboard to the bottom cover.
-
Remove the black 14.5mm screw from the center of the bottom cover.
 Ask FixBot
-
-
-
Wedge a metal spudger between the keyboard and bottom cover and slide it around the perimeter until all edges separate.
-
-
-
-
-
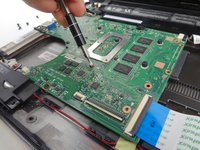
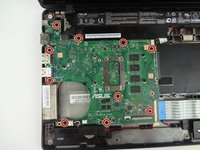
Remove the 10 black 4.7mm screws holding the motherboard/RAM in place using a Phillips #00 screwdriver.
-
-
Tool used on this step:Tweezers$4.99
-
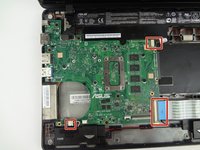
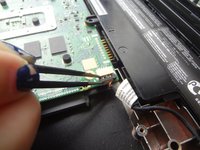
Use tweezers to separate the 2 sliding connectors and the ribbon cable connector.
-
-
-
-
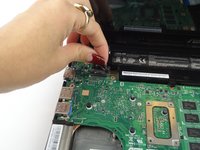
Use fingers to grab the black tape tab and pull back to disconnect the battery connector.
-






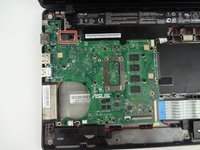

To reassemble your device, follow these instructions in reverse order.
Cancel: I did not complete this guide.
9 other people completed this guide.

Team

USF Tampa, Team S1-G2, Leahy Fall 2017 Member of USF Tampa, Team S1-G2, Leahy Fall 2017
USFT-LEAHY-F17S1G2
4 Members
60 Guides authored
