Free Shipping on Domestic Orders $75+

Asus VivoTab Smart Motherboard Replacement

What you need

  1. Asus VivoTab Smart Motherboard Replacement, Motherboard: step 1, image 1 of 3 Asus VivoTab Smart Motherboard Replacement, Motherboard: step 1, image 2 of 3 Asus VivoTab Smart Motherboard Replacement, Motherboard: step 1, image 3 of 3
    • Power off the device before you begin disassembly.

    • Place the device face down on a flat surface.

    • Remove the back panel with the plastic opening tool by sliding the tool around the edge of the panel.

    Ask FixBot

    Add Comment

  2. Asus VivoTab Smart Motherboard Replacement: step 2, image 1 of 3 Asus VivoTab Smart Motherboard Replacement: step 2, image 2 of 3 Asus VivoTab Smart Motherboard Replacement: step 2, image 3 of 3
    Tool used on this step:
    Tweezers
    $4.99
    Buy
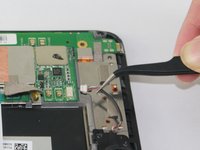
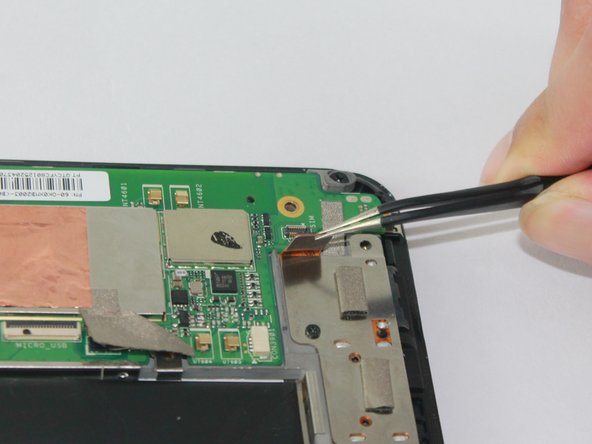
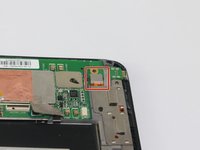
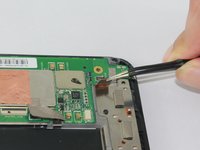
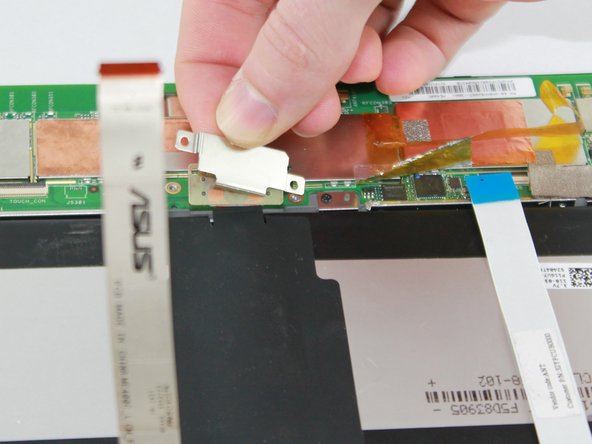
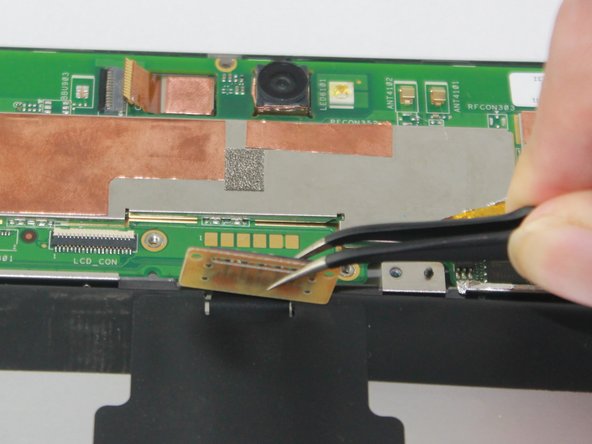
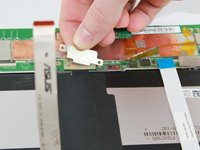
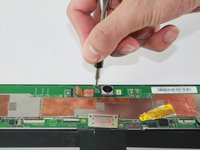
    • Unplug the ribbon that connects to the camera by pulling outward on it with tweezers.

    • Remove the silver plate that sits on top of the camera lens.

    Ask FixBot

    Add Comment

  3. Asus VivoTab Smart Motherboard Replacement: step 3, image 1 of 3 Asus VivoTab Smart Motherboard Replacement: step 3, image 2 of 3 Asus VivoTab Smart Motherboard Replacement: step 3, image 3 of 3
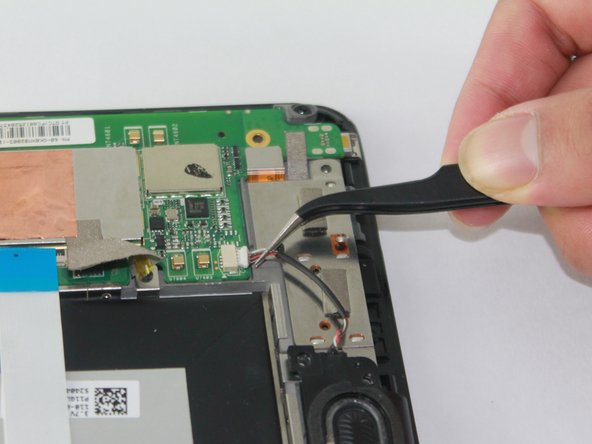
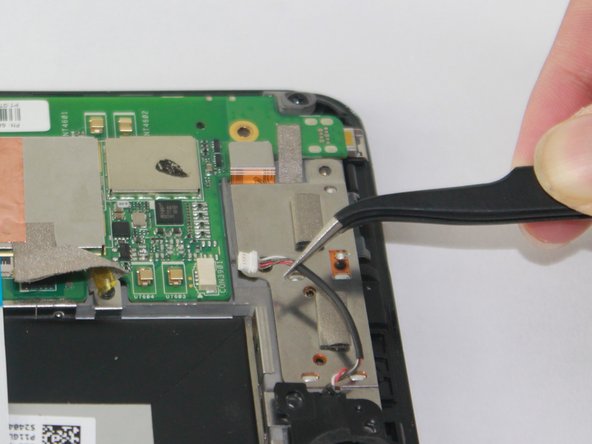
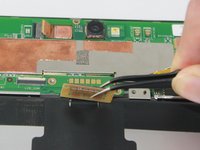
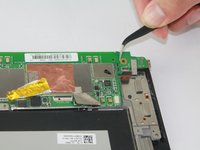
    • Use tweezers to grab the speaker cable near the white plug and pull to disconnect it.

    Ask FixBot

    Add Comment

  4. Asus VivoTab Smart Motherboard Replacement: step 4, image 1 of 2 Asus VivoTab Smart Motherboard Replacement: step 4, image 2 of 2
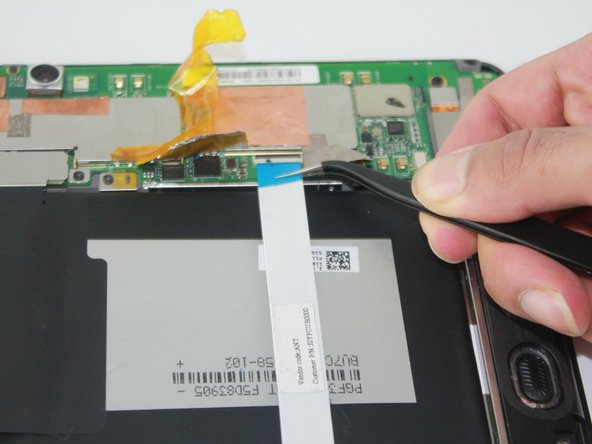
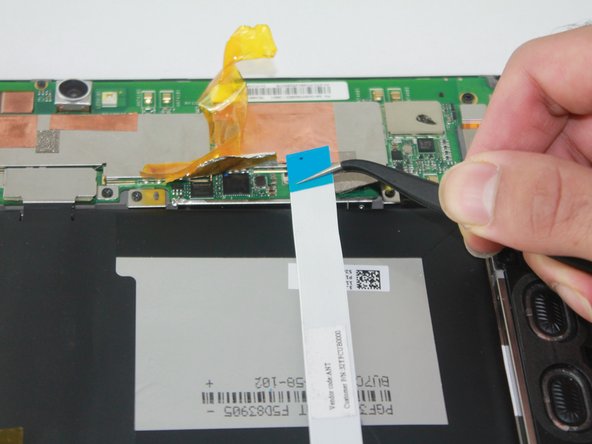
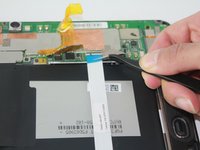
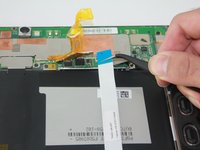
    • Gently pull outward on the ribbon to with tweezers to disconnect it.

    Ask FixBot

    Add Comment

  5. Asus VivoTab Smart Motherboard Replacement: step 5, image 1 of 3 Asus VivoTab Smart Motherboard Replacement: step 5, image 2 of 3 Asus VivoTab Smart Motherboard Replacement: step 5, image 3 of 3
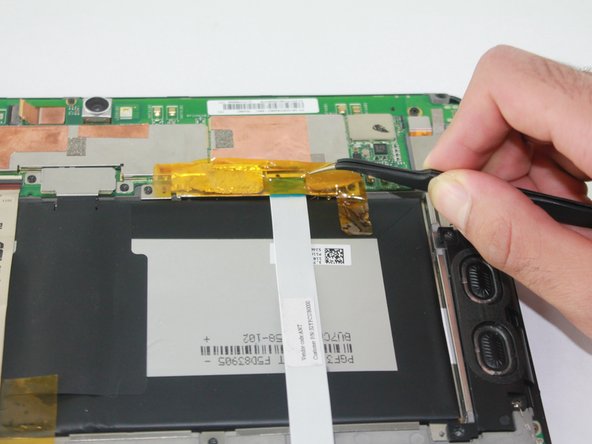
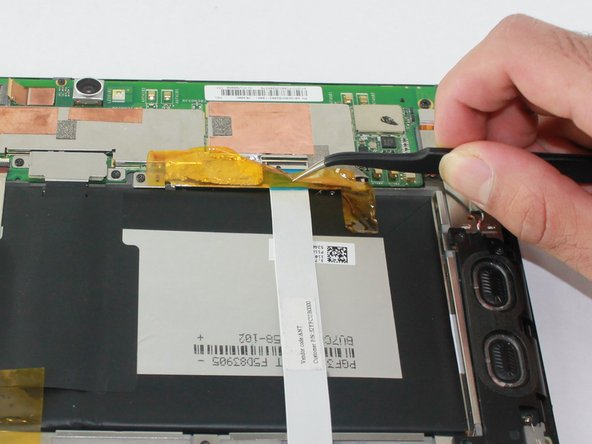
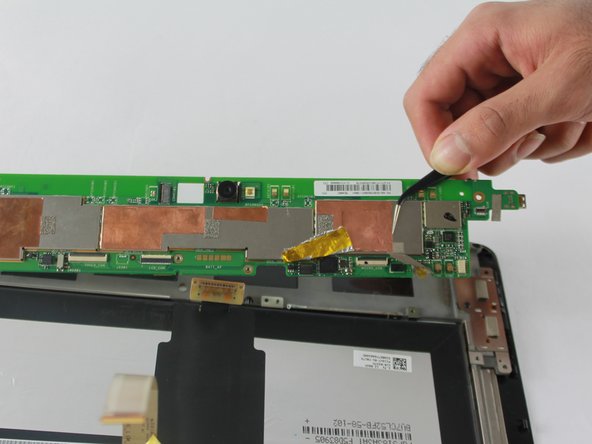
    • Peel back the tape covering the ribbons.

    Ask FixBot

    Add Comment

  6. Asus VivoTab Smart Motherboard Replacement: step 6, image 1 of 3 Asus VivoTab Smart Motherboard Replacement: step 6, image 2 of 3 Asus VivoTab Smart Motherboard Replacement: step 6, image 3 of 3
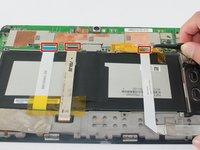
    • Unplug the 3 ribbons by pulling outward on them with a pair of tweezers.

    Ask FixBot

    Add Comment

  7. Asus VivoTab Smart Motherboard Replacement: step 7, image 1 of 3 Asus VivoTab Smart Motherboard Replacement: step 7, image 2 of 3 Asus VivoTab Smart Motherboard Replacement: step 7, image 3 of 3
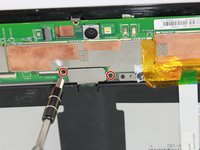
    • Remove two 2.7 mm Phillips #00 screws holding down the pressure plate.

    • Use tweezers to lift back the battery connector, which is located directly under the pressure plate.

    Ask FixBot

    Add Comment

  8. Asus VivoTab Smart Motherboard Replacement: step 8, image 1 of 2 Asus VivoTab Smart Motherboard Replacement: step 8, image 2 of 2
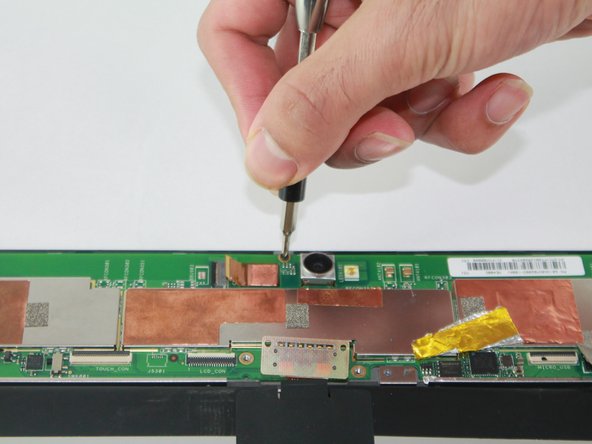
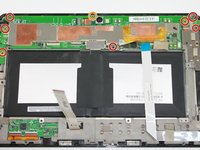
    • Remove seven 3.7 mm Phillips #00 screws.

    • Remove one 2.7 mm Phillips #00 screw.

    Ask FixBot

    Add Comment

  9. Asus VivoTab Smart Motherboard Replacement: step 9, image 1 of 2 Asus VivoTab Smart Motherboard Replacement: step 9, image 2 of 2
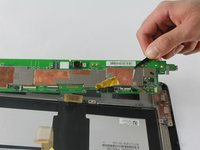
    • Slide the tweezers under the motherboard and lift up to remove the motherboard.

    Ask FixBot

    Add Comment

Conclusion

To reassemble your device, follow these instructions in reverse order.

Cancel: I did not complete this guide.

One other person completed this guide.

Les Clarke

Member since: 10/06/16

288 Reputation

1 Guide authored

Team

USF Tampa, Team 2-4, Sullivan Fall 2016 Member of USF Tampa, Team 2-4, Sullivan Fall 2016

USFT-SULLIVAN-F16S2G4

4 Members

5 Guides authored

0 Guide Comments

Add Comment

View Statistics:

Past 24 Hours: 0

Past 7 Days: 6

Past 30 Days: 37

All Time: 1,757