Introduction
Oh no! My Asus VivoBook 14" E410MA Screen is busted! How do I replace it? I need this device for many things!
Welp, don't worry! I had to replace my device's screen, and since I couldn't find a suitable iFixit guide to help me out, I have made one for you to follow!
What you need
-
-
So, your device's screen is busted, and now it needs replaced. Here's how to do that.
 Ask FixBot
-
-
-
Using your Phillips Screwdriver, remove the two screws from the bottom corners of the screen bezel.
-
In these images, the screws are easily accessible. However, you may notice that these screws are hidden on your device by a sticker or cover. It is safe to remove this cover or poke your screwdriver through the cover to access the screw behind it. The cover is a purely aesthetic piece and is not required for functionality.
-
-
-
-
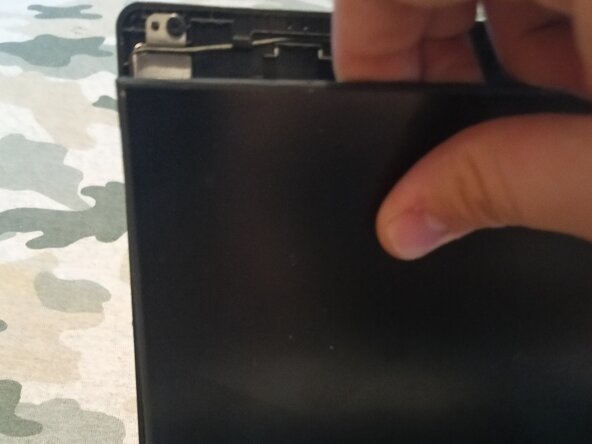
After those pesky screws are removed, go ahead and carefully peel away at the screen bezel, starting from the top and working down to the bottom.
-
-
-
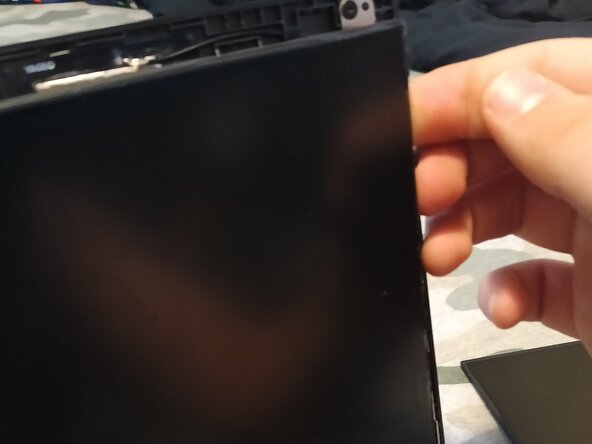
Using a prying tool or your hands, carefully remove the screen off of the metal supporting brackets.
-
The green boxes represent the double-sided sticky tape area. It's best to remove this old double-sided tape, and prepare some new double-sided tape to put in place.
-
-
-
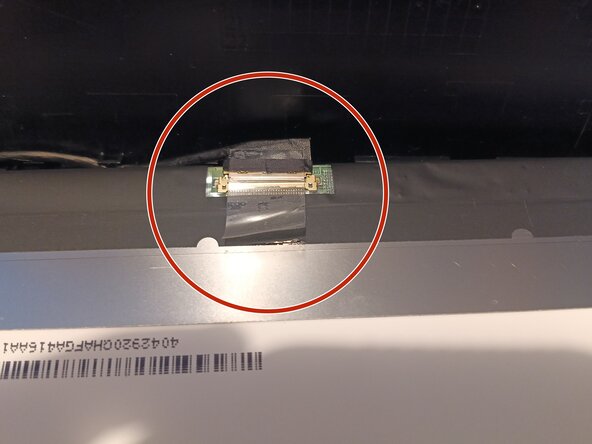
The red circle represents the area where the connecter is on the screen. Peel up on the connecter tape, and carefully disconnect the screen.
-
With the new screen, connect it to the device and press the connecter tape down onto the screen. If needed, place a piece of non-conductive tape (for example, Kapton tape) over the connecter.
-
-
-
Confirm that your new screen is working as it should! Power on your device, and check to make sure the screen is showing the right colors and isn't cracked.
-
Once you confirm the screen is working as it should, install the double-sided sticky tape then carefully insert the new screen into place.
-
Make sure that the screen cable is properly aligned into the cable holding groove. (In my opinion, it's not a great design, and it doesn't hold the cable very well.)
-
Once the screen is installed and the cable is properly aligned into the cable holding groove, go ahead and reinstall the screen bezel. Don't forget to reinstall the screws for the screen bezel too!
-


Congratulations! You just replaced the screen in your device! Now you can continue using your device without having to deal with the cracks!

Team
