Introduction
If your Asus V6800V is experiencing issues with the speakers, such as distorted sound, low volume, or even complete failure, use this guide to help you replace the speakers on your own.
Before making this repair, make sure there are no other solutions and the replacement is necessary. Try cleaning your speaker ports, and also check the audio setting to ensure your volume is all the way up. If all fails a speaker replacement is necessary.
This guide will require you to remove the battery, the keyboard, and the top cover of your laptop. Some of these steps require the use of a screwdriver.
Make sure your device is powered off, and take your time to ensure a successful battery replacement.
What you need
-
-
-
Place the computer upside down.
-
Using your thumbs, slide both latches away from each other (towards the outside).
-
Push the battery out with your fingers.
 Ask FixBot
-
-
-
-
-
Using a Phillips #0 screwdriver, remove the two screws from the case.
-
-
-
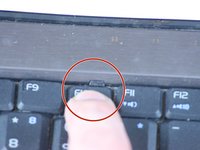
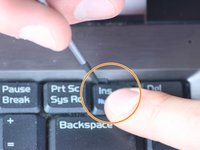
Locate the four tabs above the F1, F10, INSERT, and between the F5 and F6 keys.
-
Starting with the tab above the F1 key, press the tabs inward using your fingernail or spudger. Continue this process for the rest of the tabs.
-
-
-
Pull the keyboard up from the top at a 45 degree angle. Place it upside down on the touchpad.
-
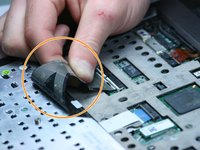
Pull the wide ribbon cable laterally from its socket on the motherboard to free the keyboard.
-
-
-
-
-
-
Using a Phillips #0 screwdriver, remove the screws at the bottom of the chassis to remove the top panel.
-
-
-
Remove the six screws from below the keyboard with a Phillips #0 screwdriver.
-
-
-
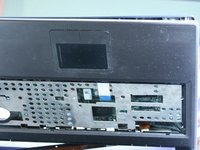
Use your fingernails or a pry tool to gently separate both halves of the case. Begin at the front and work around the entire case.
-
-
Tool used on this step:Tweezers$4.99
-
Remove the internal cables from front to back.
-
Use your fingers to gently remove the cables from their sockets.
-
-
-
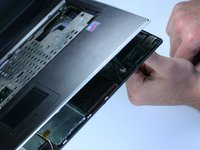
After separating the top and bottom halves of the case, lay them flat on the work area.
-
-
-
-
-
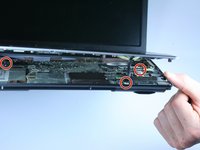
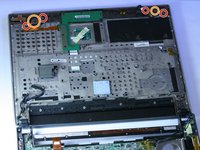
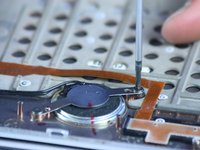
Remove the four screws using a Phillips #0 screwdriver.
-
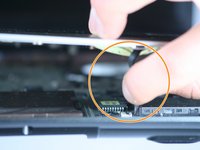
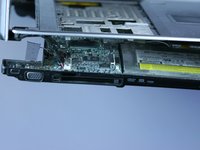
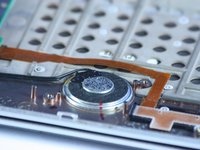
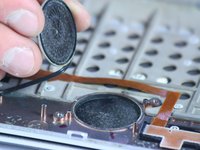
Remove the protective metal plates with your hands.
-
-














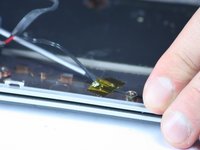
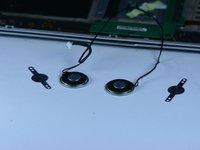
To reassemble your device, follow these instructions in reverse order.
Cancel: I did not complete this guide.
One other person completed this guide.

Team

Cal Poly, Team 2-9, Johann Summer 2010 Member of Cal Poly, Team 2-9, Johann Summer 2010
CPSU-JOHANN-R10S2G9
5 Members
120 Guides authored
