Introduction
In this guide, you will learn how to replace the RAM found inside the Asus V500CA-DB51T. This guide was made to help with replacing broken or defective RAM, and is an easy repair for any skill level.
What you need
-
-
-
Remove the following ten screws securing the lower case to the upper case:
-
The top left and right corners have .7 cm screws.
-
The two top-middle and four bottom are .4 cm screws.
-
The middle left and right are .8 cm screws.
-
Remove the screws using the Phillips #00 screwdriver.
 Ask FixBot
-
-
-
Wedge your fingers between the upper case and the lower case.
-
Gently pull the lower case away from the upper case.
-
Remove the lower case and set it aside.
-
-
-
-
Use the flat end of the blue plastic opening tool to lift the battery connector up out of its socket on the motherboard.
-
-
-
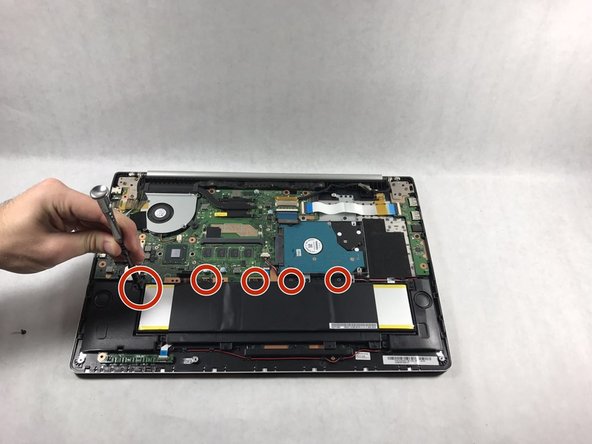
Remove the tri-point screws that secure the battery to the casing.
-
All screws securing the battery in place are .5 cm tri-point screws.
-
-
-
-
-
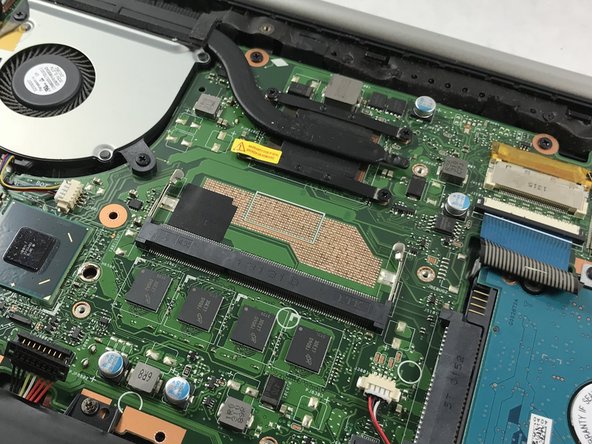
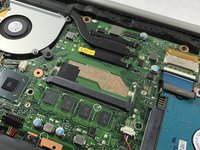
Pull the two RAM retaining arms away from the center of the RAM chip.
-
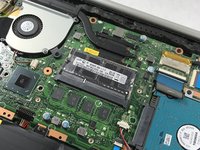
Pull the RAM stick out of its socket.
-
-




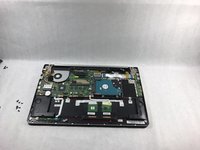
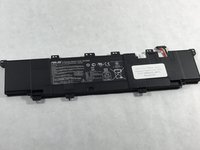

To reassemble your device, follow these instructions in reverse order.

Team

UMass Dartmouth, Team S6-G2, Rockett Fall 2017 Member of UMass Dartmouth, Team S6-G2, Rockett Fall 2017
UMASSD-ROCKETT-F17S6G2
3 Members
72 Guides authored
2 Guide Comments
"Step 6: Using a pair of tweezers, gently pull the RAM out of its socket." Uhhhh, NO!!!! This is horrible advice. Most tweezers are made of metal, rigid and have hard angles. #1, never touch anything metal to ANYTHING inside of a computer. You could send an electrostatic surge from your body through the tweezers to the object you're going to touch. THIS IS A GINORMOUS NO-NO!. Unless the tweezers are made of plastic or wood, you should never consider this, EVER!
The correct way to do this is to ground yourself with a grounding strap. If you don't have one of those, touch a piece of metal that may be grounded. If you don't have that, touch a computer case with both hands to drain your static charge, since computers are grounded. Then, WITH YOUR >>>HANDS ONLY<<<, remove the stick of memory.
I've been building computers for 20+ years. NEVER HAVE I EVER heard someone say use tweezers to touch any internal components. That's just a recipe for nuking your computer. DONT DO IT!
Hi @jeffoculush, thank you for pointing that out! We've made an update to the guide to reflect proper instructions and also deleted the photo. Thanks again!
