Free Shipping on Domestic Orders $75+

Asus U56E-BBL6 Optical Drive Replacement

What you need

    1. Asus U56E-BBL6 Optical Drive Replacement, Battery: step 1, image 1 of 1
      • Make sure you unplugged the laptop before you begin the replacement process.

      • Locate the battery locking tabs on the upper right and left corner.

      • Press the tabs in towards each other.

      Ask FixBot

      Add Comment

    2. Asus U56E-BBL6 Optical Drive Replacement: step 2, image 1 of 1
      • Pull the battery outwards to remove it.

      Ask FixBot

      Add Comment

    1. Asus U56E-BBL6 Optical Drive Replacement, Back Panel: step 3, image 1 of 2 Asus U56E-BBL6 Optical Drive Replacement, Back Panel: step 3, image 2 of 2
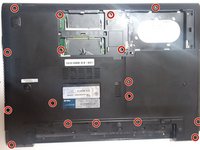
      • Using a Phillips #00 screwdriver, remove the screws.

      Ask FixBot

      Add Comment

    2. Asus U56E-BBL6 Optical Drive Replacement: step 4, image 1 of 1
      • Lift backplate and remove from the case.

      Ask FixBot

      Add Comment

    1. Asus U56E-BBL6 Optical Drive Replacement, RAM: step 5, image 1 of 1
      • Once inside the panel, locate your RAM sticks.

      Ask FixBot

      Add Comment

    2. Asus U56E-BBL6 Optical Drive Replacement: step 6, image 1 of 2 Asus U56E-BBL6 Optical Drive Replacement: step 6, image 2 of 2
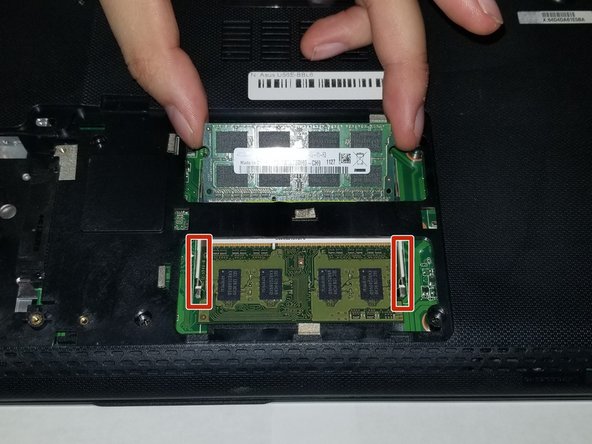
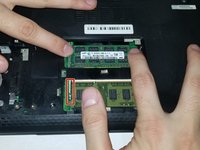
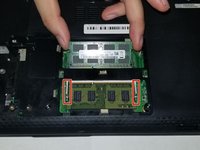
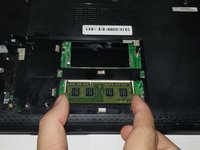
      • This device is embedded with two RAM sticks.

      • Push the metal brackets carefully to release and remove the RAM stick .

      Ask FixBot

      Add Comment

    3. Asus U56E-BBL6 Optical Drive Replacement: step 7, image 1 of 2 Asus U56E-BBL6 Optical Drive Replacement: step 7, image 2 of 2
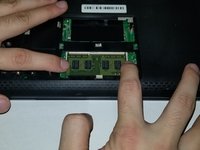
      • Repeat the previous step for removing the other RAM stick.

      Ask FixBot

      Add Comment

    1. Asus U56E-BBL6 Optical Drive Replacement, Keyboard: step 8, image 1 of 1
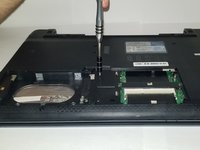
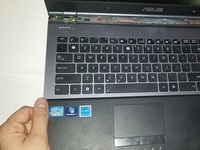
      • Using a Phillips #00, remove the four screws.

      Ask FixBot

      Add Comment

    2. Asus U56E-BBL6 Optical Drive Replacement: step 9, image 1 of 2 Asus U56E-BBL6 Optical Drive Replacement: step 9, image 2 of 2
      • Using a Phillips #00 screwdriver, remove the screws.

      Ask FixBot

      Add Comment

    3. Asus U56E-BBL6 Optical Drive Replacement: step 10, image 1 of 1
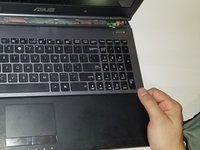
      • Use a plastic opening tool around the entire edge.

      • Separate the case from the keyboard.

      Ask FixBot

      Add Comment

    4. Asus U56E-BBL6 Optical Drive Replacement: step 11, image 1 of 1
      • Ensure the laptop is face up for this step.

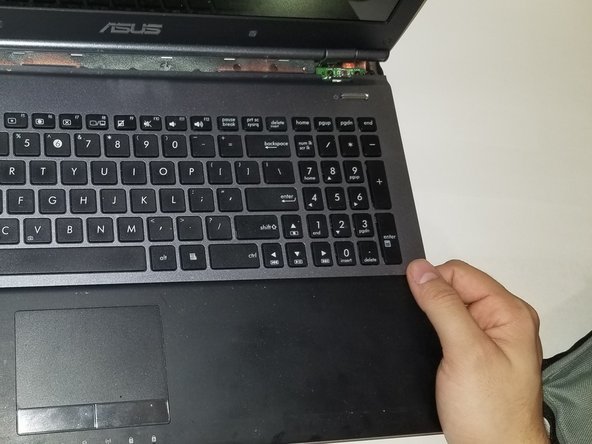
      • Gently lift the keyboard from the base of the laptop.

      • Be careful of the ribbon cables connecting the keyboard.

      Ask FixBot

      Add Comment

    5. Asus U56E-BBL6 Optical Drive Replacement: step 12, image 1 of 1
      • Gently tug the ribbon cables free from their slots.

      Ask FixBot

      Add Comment

    6. Asus U56E-BBL6 Optical Drive Replacement: step 13, image 1 of 2 Asus U56E-BBL6 Optical Drive Replacement: step 13, image 2 of 2
      • Using both hands, pull the keyboard back and out, fully separating the keyboard from the laptop.

      Ask FixBot

      Add Comment

    1. Asus U56E-BBL6 Optical Drive Replacement, Optical Drive: step 14, image 1 of 1
      • Using a plastic opening tool, separate the optical drive from the laptop frame.

      • Be careful to leverage the plastic opening tool against the frame and not the motherboard as this may cause damage.

      Ask FixBot

      Add Comment

    2. Asus U56E-BBL6 Optical Drive Replacement: step 15, image 1 of 1
      • Remove the optical drive by sliding it out from the case.

      Ask FixBot

      Add Comment

Conclusion

To reassemble your device, follow these instructions in reverse order.

Cancel: I did not complete this guide.

Josiah Allard

Member since: 10/26/18

733 Reputation

6 Guides authored

Team

0 Guide Comments

Add Comment

View Statistics:

Past 24 Hours: 3

Past 7 Days: 6

Past 30 Days: 17

All Time: 400