
Asus U47VC-DS51 Cooling Fan Replacement

Devontae Williams and 4 other contributors
Last updated on May 12, 2017
Views: 1K
View statistics:
- Past 24 Hours:
- 3
- Past 7 Days:
- 18
- Past 30 Days:
- 94
- All Time:
- 1,014
Comments: 4
4 comments on steps.
Completed: 0 1
No one has marked this guide "completed." Will you be the first?
1 person has marked this guide "completed." It's you — great job!
Favorites: 0 1
No one has favorited (and subscribed to) this guide. Will you be the first?
1 person has favorited (and subscribed to) this guide — and that's you!
Featured Student Guide
This guide has been the hard work of our awesome students and is found to be exceptionally cool by the iFixit staff.
Introduction
Go to step 1 ↓This guide demonstrates how to replace the cooling fan by first removing the motherboard.
What you need
Tools
-
Spudger4.9


-
-
-
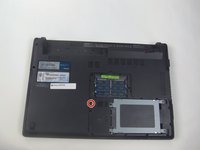
Remove the hard drive cover.
-
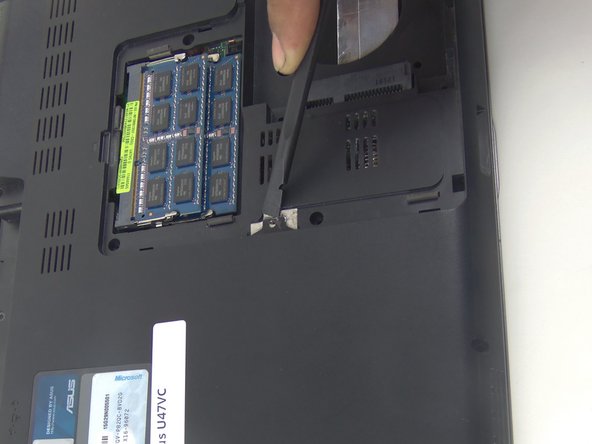
Unscrew one 8mm Phillips #00 screw.
-
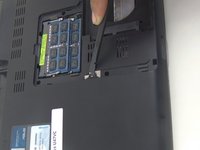
Using the black spudger, insert its flat end under the hard drive's covering, working around to pry it off.
 Ask FixBot
-
-
-
Remove the hard drive.
-
Unscrew the four 3mm Phillips #00 screws.
-
Pull the hard drive's black tab away from the laptop to free it.
-
-
-
-
-
Remove 9 screws from bottom of notebook using PH00 bit + 1 under hard drive bay.
-
Remove 3 screws from bottom of notebook using PH00 bit. 1 is same screw spec as the other 9, and 2 are shorter.
-
-
-
Using the black spudger, insert its flat end between the crevice where the color changes from grey to black.
-
Carefully ease the spudger's end along the crevice, going around the entire frame.
-
-
-
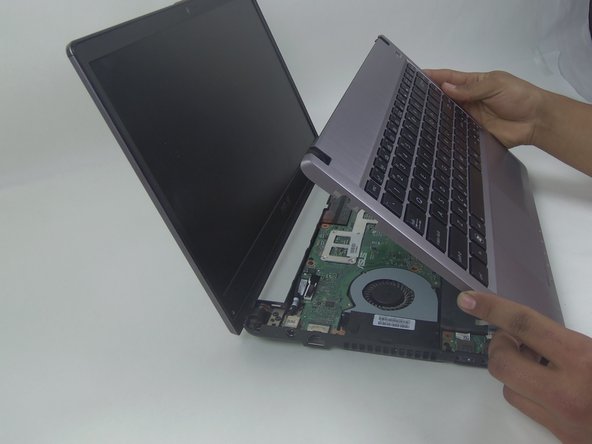
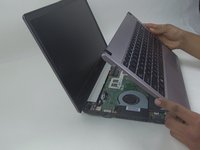
Lift the keyboard from the front where it is closest to the screen.
-
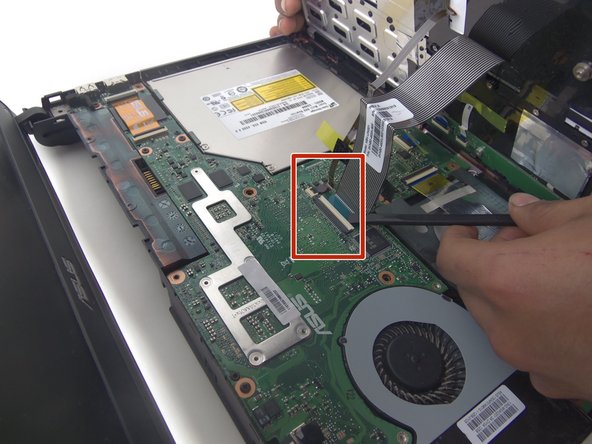
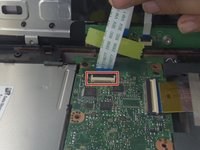
Disconnect the large and small ZIF connectors attached to the motherboard by flipping the light-colored part of the switch.
-
-
-
Remove the third and last ZIF connector on the motherboard by flipping up the dark-colored part of the switch.
-
Now, the component should come completely free.
-
-
-
-
-
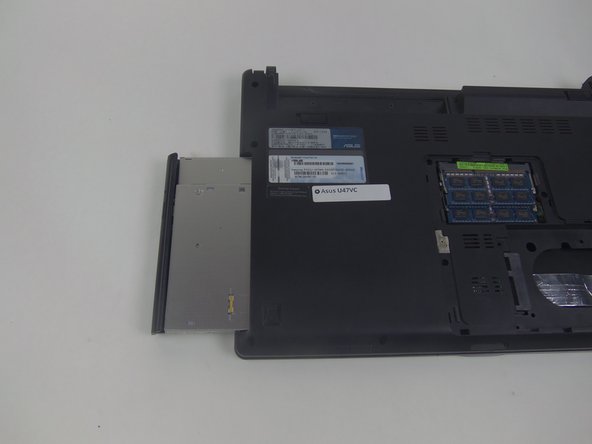
Unscrew the one 8mm screw using a Phillips #00.
-
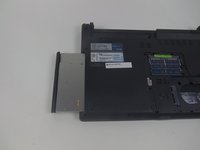
Using the black spudger, slightly pry up on the tab and gently pull the optical drive away from the laptop in order to remove it.
-
-
-
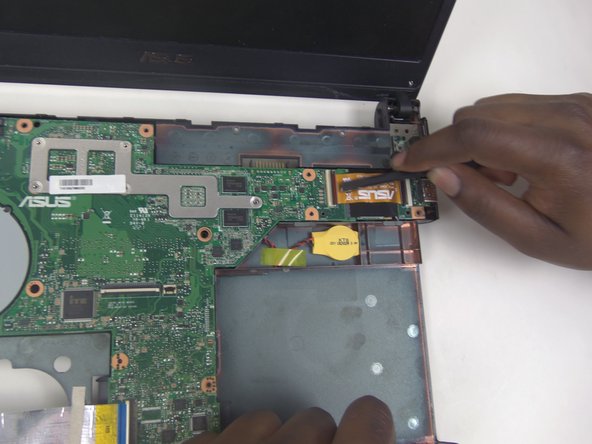
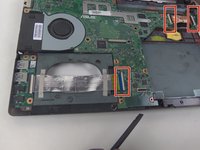
Using the black spudger, slowly lift up on the cable connectors and pull them away from the connectors.
-
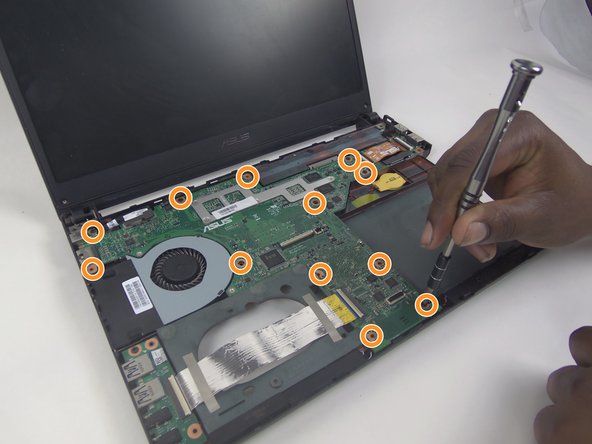
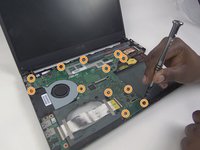
Unscrew the 12 8mm screws using a Phillips #00 screwdriver.
-
-
-
-
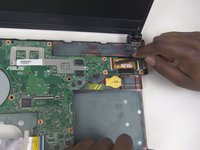
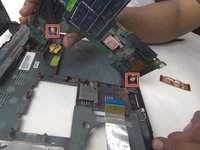
Lift up on the motherboard and disengage the two connectors.
-
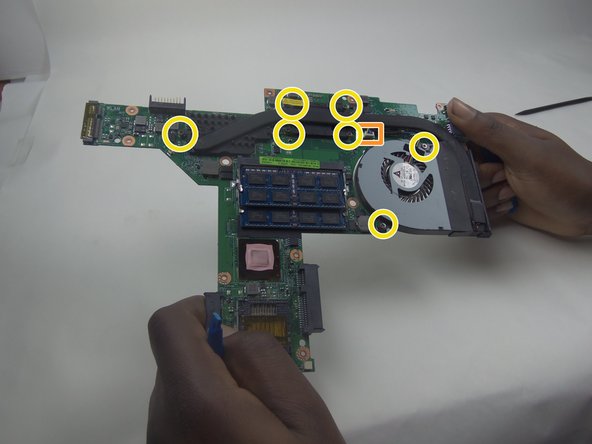
Disconnect the cooling fan connector.
-
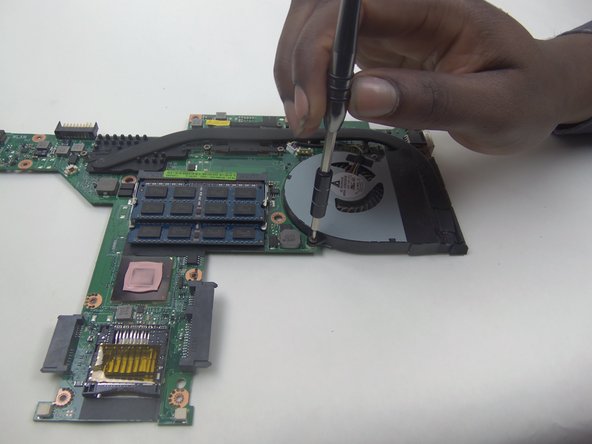
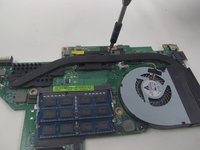
Unscrew the 7 8mm screws holding in the cooling fan using a Phillips #00 screwdriver.
-
-
-
-
-
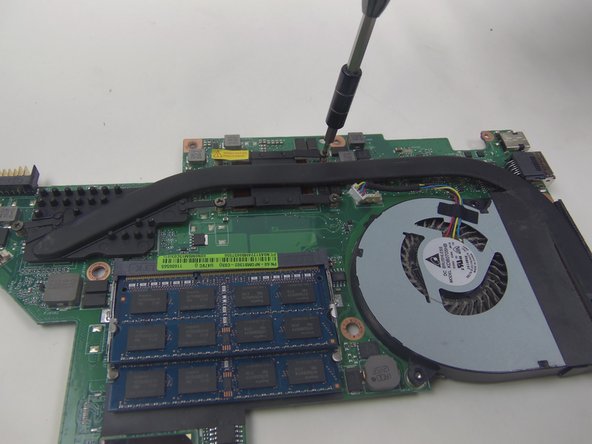
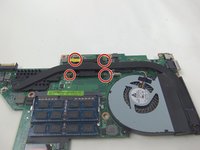
Use a Phillips screwdriver to loosen the four screws holding the component in place.
-
-
-
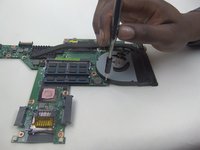
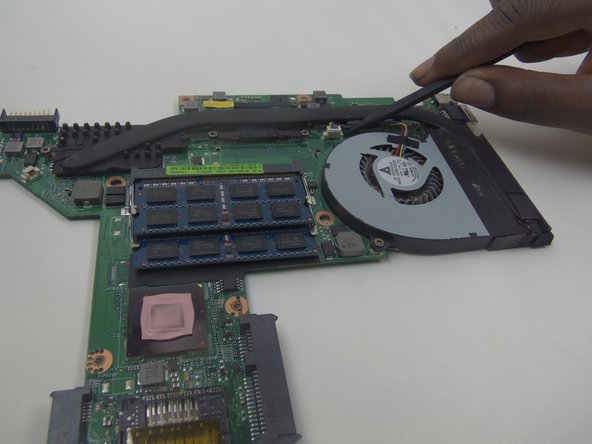
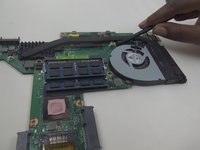
After loosening the screws, use the black spudger to help disconnect the fan wires from the connector.
-
-









To reassemble your device, follow these instructions in reverse order.

Team

South Arkansas Community College, Team 1-1, Mitchell Spring 2017 Member of South Arkansas Community College, Team 1-1, Mitchell Spring 2017
SACC-MITCHELL-S17S1G1
5 Members
60 Guides authored
