Free Shipping on Domestic Orders $75+

Asus TUF Gaming FX705G Keyboard Replacement

What you need

    1. Asus TUF Gaming FX705G Keyboard Replacement, Back Cover: step 1, image 1 of 2 Asus TUF Gaming FX705G Keyboard Replacement, Back Cover: step 1, image 2 of 2
      • Remove the eleven Phillips #0 screws that secure the back cover.

      Ask FixBot

      Add Comment

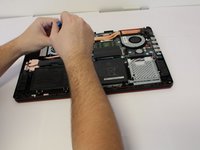
    2. Asus TUF Gaming FX705G Keyboard Replacement: step 2, image 1 of 2 Asus TUF Gaming FX705G Keyboard Replacement: step 2, image 2 of 2
      • Use the iFixit opening tool to lift the back cover's seam, then insert the spudger parallel to the back cover and lift gently upward.

      • You will hear pops as the back cover releases.

      Ask FixBot

      Add Comment

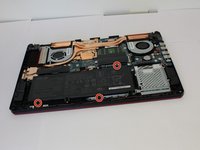
    1. Asus TUF Gaming FX705G Keyboard Replacement, Battery: step 3, image 1 of 2 Asus TUF Gaming FX705G Keyboard Replacement, Battery: step 3, image 2 of 2
      • Remove the three Phillips #00 screws from the battery housing.

      Ask FixBot

      Add Comment

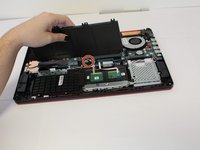
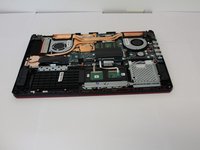
    2. Asus TUF Gaming FX705G Keyboard Replacement: step 4, image 1 of 2 Asus TUF Gaming FX705G Keyboard Replacement: step 4, image 2 of 2
      • Disconnect the wire from the motherboard, and lift the battery from its housing.

      Ask FixBot

      Add Comment

    1. Asus TUF Gaming FX705G Keyboard Replacement, Fan: step 5, image 1 of 2 Asus TUF Gaming FX705G Keyboard Replacement, Fan: step 5, image 2 of 2
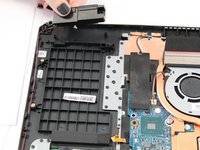
      • Remove the five Phillips #00 screws from the fan casings.

      • The left fan has three screws and the right fan has two screws.

      Ask FixBot
      Add Comment

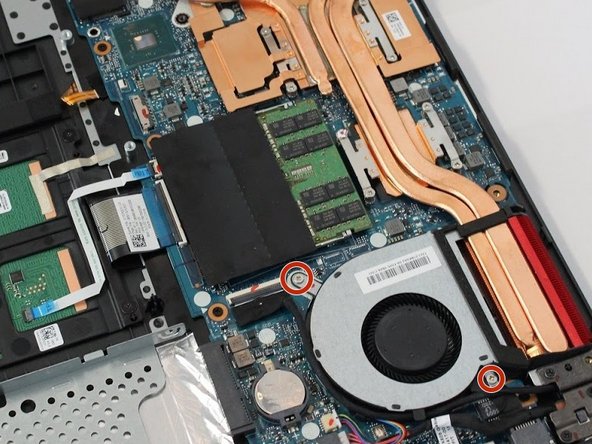
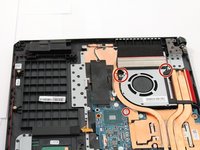
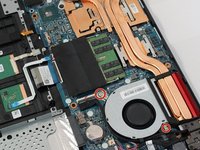
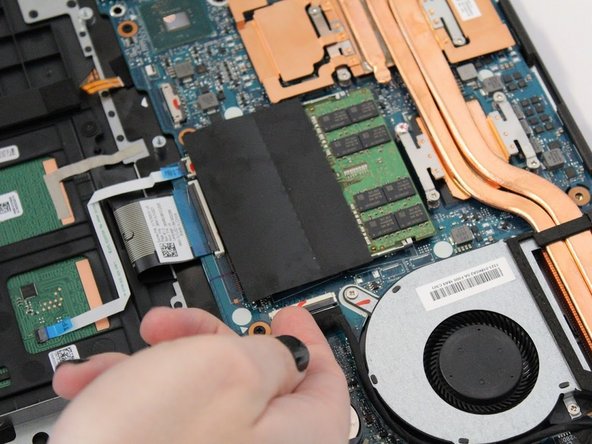
    2. Asus TUF Gaming FX705G Keyboard Replacement: step 6, image 1 of 3 Asus TUF Gaming FX705G Keyboard Replacement: step 6, image 2 of 3 Asus TUF Gaming FX705G Keyboard Replacement: step 6, image 3 of 3
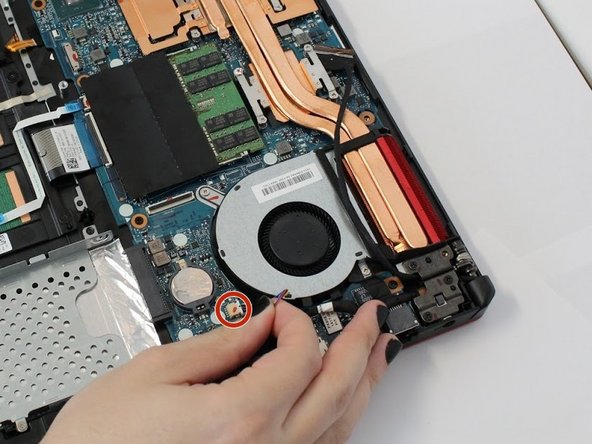
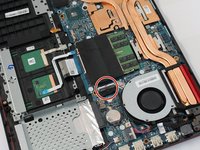
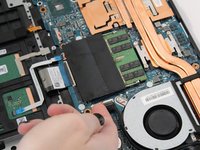
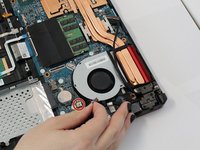
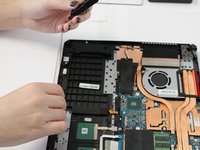
      • Unplug the cables that connect the fan to the motherboard.

      Ask FixBot
      Add Comment

    3. Asus TUF Gaming FX705G Keyboard Replacement: step 7, image 1 of 3 Asus TUF Gaming FX705G Keyboard Replacement: step 7, image 2 of 3 Asus TUF Gaming FX705G Keyboard Replacement: step 7, image 3 of 3
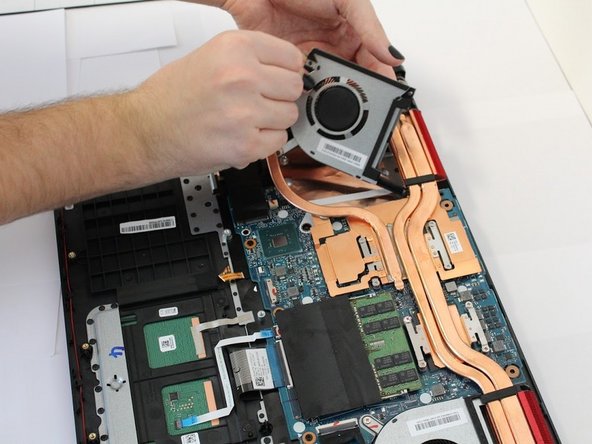
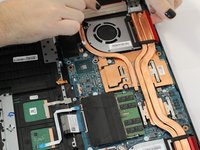
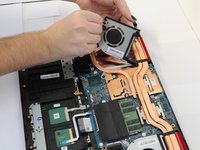
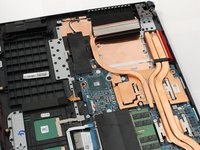
      • Lift the motherboard to unclip the housing clip on the back of the fan.

      • Remove the fan.

      Ask FixBot

      Add Comment

    1. Asus TUF Gaming FX705G Keyboard Replacement, M.2 SSD: step 8, image 1 of 1
      • Remove the Phillips #00 screw on the left side of the M.2 SSD.

      Ask FixBot

      Add Comment

    2. Asus TUF Gaming FX705G Keyboard Replacement: step 9, image 1 of 1
      • Gently lift the screw side of the SSD to approximately a 45 degree angle and pull away from slot to remove it from the laptop.

      Ask FixBot

      Add Comment

    1. Asus TUF Gaming FX705G Keyboard Replacement, Speakers: step 10, image 1 of 2 Asus TUF Gaming FX705G Keyboard Replacement, Speakers: step 10, image 2 of 2
      • Use your fingers to lift the speaker from the housing and follow the wire path carefully, lifting the wire out of place around the base.

      Ask FixBot

      Add Comment
    2. Asus TUF Gaming FX705G Keyboard Replacement: step 11, image 1 of 1
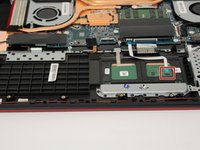
      • Repeat the removal process on the second speaker, being careful not to rip the wire.

      Ask FixBot

      Add Comment

    3. Asus TUF Gaming FX705G Keyboard Replacement: step 12, image 1 of 1
      • With the second speaker removed from the track, carefully disconnect the three wires from the insert on the motherboard.

      Ask FixBot

      Add Comment

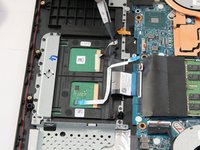
    1. Asus TUF Gaming FX705G Keyboard Replacement, Track Pad: step 13, image 1 of 2 Asus TUF Gaming FX705G Keyboard Replacement, Track Pad: step 13, image 2 of 2
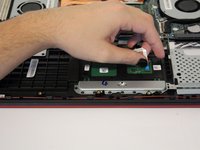
      • Take the ribbon wire out of the track pad.

      Ask FixBot

      Add Comment

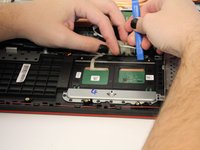
    2. Asus TUF Gaming FX705G Keyboard Replacement: step 14, image 1 of 2 Asus TUF Gaming FX705G Keyboard Replacement: step 14, image 2 of 2
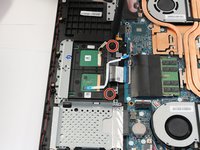
      • Use a Phillips #00 screwdriver to remove the two screws holding the track pad in place.

      Ask FixBot

      Add Comment

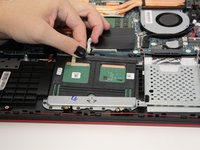
    3. Asus TUF Gaming FX705G Keyboard Replacement: step 15, image 1 of 2 Asus TUF Gaming FX705G Keyboard Replacement: step 15, image 2 of 2
      Tool used on this step:
      Tweezers
      $4.99
      Buy
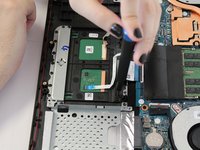
      • Take the ground wire ribbon and pry it off of the motherboard housing with tweezers.

      Ask FixBot

      Add Comment

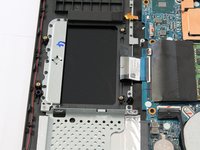
    4. Asus TUF Gaming FX705G Keyboard Replacement: step 16, image 1 of 3 Asus TUF Gaming FX705G Keyboard Replacement: step 16, image 2 of 3 Asus TUF Gaming FX705G Keyboard Replacement: step 16, image 3 of 3
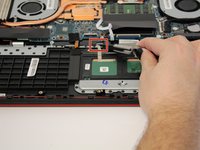
      • Use the iFixit opening tool to pry the track pad up slightly at the top and pull the latch at the top to free the track pad.

      • Slide the track pad up and out of the housing unit.

      Ask FixBot

      Add Comment

    1. Asus TUF Gaming FX705G Keyboard Replacement, Heat Sink: step 17, image 1 of 2 Asus TUF Gaming FX705G Keyboard Replacement, Heat Sink: step 17, image 2 of 2
      • Remove the eight 1.9 mm-long screws securing the heat sink with a Phillips #00 screwdriver.

      Ask FixBot

      Add Comment

    2. Asus TUF Gaming FX705G Keyboard Replacement: step 18, image 1 of 1
      • Lift the heat sink up and out of the laptop.

      Ask FixBot

      Add Comment

    1. Asus TUF Gaming FX705G Keyboard Replacement, Motherboard: step 19, image 1 of 3 Asus TUF Gaming FX705G Keyboard Replacement, Motherboard: step 19, image 2 of 3 Asus TUF Gaming FX705G Keyboard Replacement, Motherboard: step 19, image 3 of 3
      • Use a Phillips #0 screwdriver to remove each of the six 1.8 mm-long screws securing the motherboard.

      Ask FixBot

      Add Comment

    2. Asus TUF Gaming FX705G Keyboard Replacement: step 20, image 1 of 1
      • Use your hands to gently lift up and remove the motherboard.

      Ask FixBot

      Add Comment

    1. Asus TUF Gaming FX705G Keyboard Replacement, RAM: step 21, image 1 of 1
      • Two clips secure the RAM module in place, one on each side. Using your fingers, spread the clips away from the RAM module.

      Ask FixBot

      Add Comment

    2. Asus TUF Gaming FX705G Keyboard Replacement: step 22, image 1 of 1
      • Pull the RAM directly out of its socket.

      Ask FixBot

      Add Comment

    1. Asus TUF Gaming FX705G Keyboard Replacement, Keyboard: step 23, image 1 of 1
      • Peel back the flex ribbon cable.

      Ask FixBot

      Add Comment

    2. Asus TUF Gaming FX705G Keyboard Replacement: step 24, image 1 of 2 Asus TUF Gaming FX705G Keyboard Replacement: step 24, image 2 of 2
      • Peel back the film covering the Wi-Fi card.

      • Using your hands, disconnect the Wi-Fi card.

      Ask FixBot

      Add Comment

    3. Asus TUF Gaming FX705G Keyboard Replacement: step 25, image 1 of 1
      • Peel back the black foam wire covering.

      Ask FixBot

      Add Comment

    4. Asus TUF Gaming FX705G Keyboard Replacement: step 26, image 1 of 3 Asus TUF Gaming FX705G Keyboard Replacement: step 26, image 2 of 3 Asus TUF Gaming FX705G Keyboard Replacement: step 26, image 3 of 3
      • Unscrew the 2.4 mm-long screws with a Phillips #0 screwdriver.

      • Lift the EMI shield plate with your hands and remove it.

      • Using your hands, lift the black film to reveal the foil. Peel back the foil.

      Ask FixBot

      Add Comment

    5. Asus TUF Gaming FX705G Keyboard Replacement: step 27, image 1 of 1
      • Using a spudger, pop off the plastic rivets around the plate.

      Ask FixBot

      Add Comment

    6. Asus TUF Gaming FX705G Keyboard Replacement: step 28, image 1 of 3 Asus TUF Gaming FX705G Keyboard Replacement: step 28, image 2 of 3 Asus TUF Gaming FX705G Keyboard Replacement: step 28, image 3 of 3
      • Using a spudger, pop off the plastic rivets around the keyboard.

      • Using your hands, remove the keyboard.

      Ask FixBot

      Add Comment

Conclusion

To reassemble your device, follow these instructions in reverse order.

Cancel: I did not complete this guide.

Miranda Kuhn

Member since: 09/08/25

133 Reputation

1 Guide authored

0 Guide Comments

Add Comment

View Statistics:

Past 24 Hours: 2

Past 7 Days: 20

Past 30 Days: 56

All Time: 533