Introduction
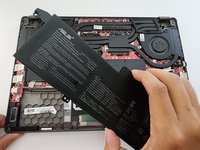
This is a comprehensive guide on replacing the battery in your Asus ROG Zephyrus G14 laptop. If your laptop can no longer retain a charge, it is probable that your dealing with a malfunctioning battery that needs to be replaced.
A properly functioning battery is responsible for supplying power to your laptop. As time passes and your laptop's battery undergoes numerous charge cycles, it may exhibit a quicker discharge rate. If you observe that your fully charged battery is depleting more rapidly than usual, it's advisable to perform a battery calibration to ascertain its true charging capacity. However, if you consistently experience substantial reductions in battery percentage, it's a clear indicator that it's time to replace your battery.
If you notice that your battery is swollen, take proper precautions. A punctured battery can cause a dangerous fire.
Before beginning, make sure that you power down your device.
What you need
-
-
-
Flip laptop so the back cover faces up.
-
Remove the ten (M2x10) screws.
-
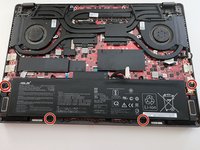
Remove the three (M2x5) screw.
-
Loosen (M2.5x6) pop-open screw without removing screw from the cover.
 Ask FixBot
-
-
-
Place iFixit opening tool at the pop-open screw (bottom right screw), there will be a gap there to place your tool.
-
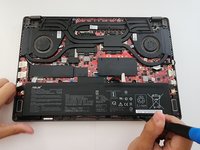
Pry your way around the perimeter of the laptop.
-
-
-
-
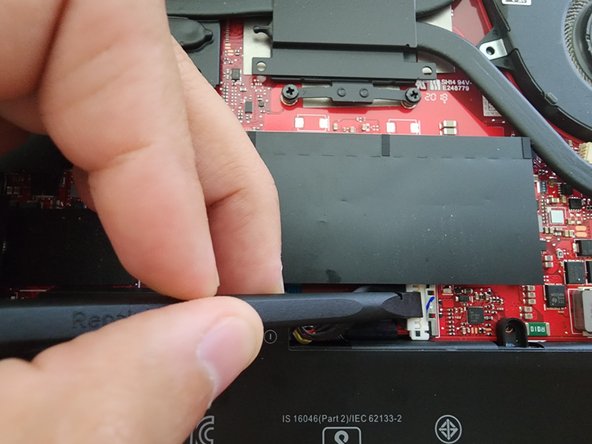
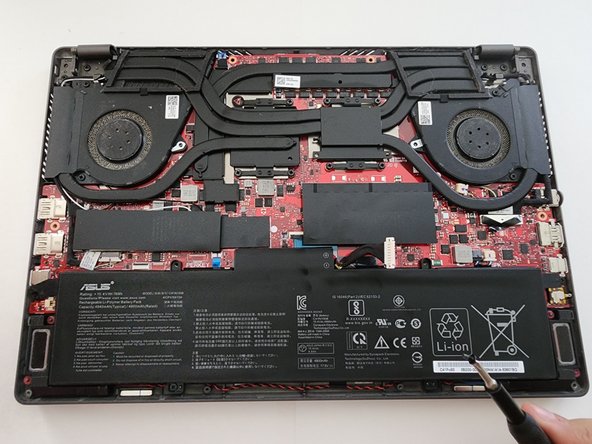
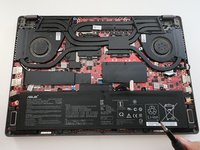
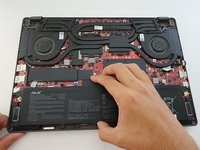
Use the plastic spudger to gently slide back the metal retaining clasp from the connector.
-
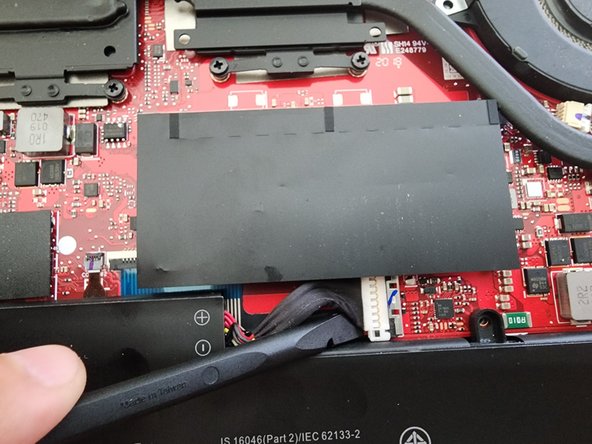
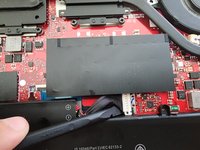
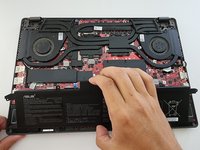
Place your spudger under the connector and carefully pry each side up.
-
-


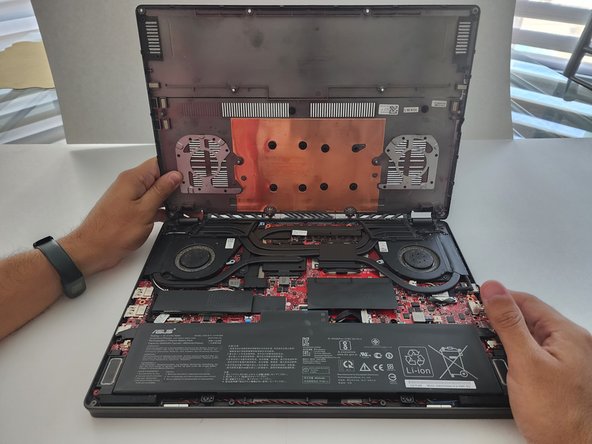
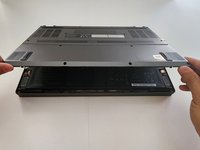
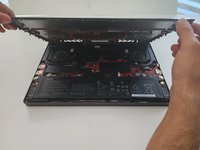
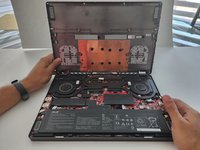





To reassemble your device, follow these instructions in reverse order. Take your e-waste to an R2 or e-Stewards certified recycler.
Cancel: I did not complete this guide.
7 other people completed this guide.

Team

York University, Team 2-9, O'Regan Fall 2023 Member of York University, Team 2-9, O'Regan Fall 2023
YORK-O'REGAN-F23S2G9
1 Member
12 Guides authored
1 Guide Comment
Replaced battery in 2025 but now it's dead. Clearly a bad battery. Can anyone suggest a good source for a reliable battery for this laptop?
