
Asus ROG Strix GL702VS Webcam Replacement

Alexander M. Lanyi and 3 other contributors
Last updated on May 7, 2024
Views: 942
View statistics:
- Past 24 Hours:
- 1
- Past 7 Days:
- 19
- Past 30 Days:
- 72
- All Time:
- 942
Comments: 0
No one has left comments on this guide. Will you be first?
Go to guide commentsCompleted: 1 2
1 person has marked this guide "completed." Will you be next?
2 people have marked this guide "completed." Including you — great job!
Favorites: 0 1
No one has favorited (and subscribed to) this guide. Will you be the first?
1 person has favorited (and subscribed to) this guide — and that's you!
Introduction
Go to step 1 ↓This is a step by step process for the replacement or repair of the webcam on your Asus ROG Strix GL702VS laptop. If you are experiencing bad quality or a black screen while using the webcam, follow these steps to remove the webcam and replace it.
What you need
Tools
-
Spudger4.9
-


-
-
-
Remove the two screw stickers at the bottom corners of the screen.
-
Remove the two 4mm JIS #0 screws beneath the stickers.
 Ask FixBot
-
-
-
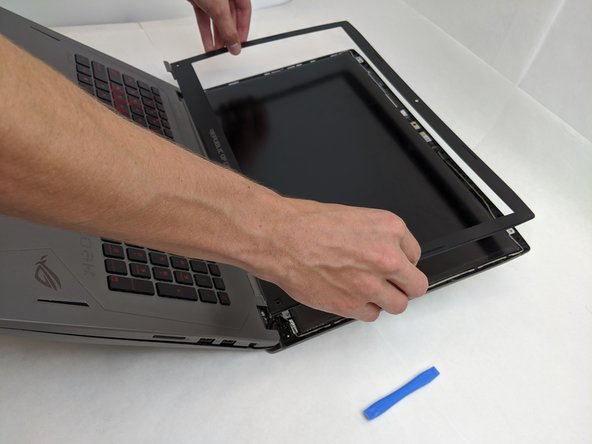
Break the glue between the bezel and screen with a nylon spudger, working around the inside of the bezel.
-
Using an opening tool, lift up the bezel once the glue has been removed.
-
-
-
-
Remove the four interior 4mm JIS #0 screws from each of the four metal LCD tabs.
-
-
Tool used on this step:Tweezers$4.99
-
On the backside of the LCD, disconnect the LCD cable using a pair of tweezers.
-
Once fully disconnected, remove the LCD and replace it.
-
-
-
-
-
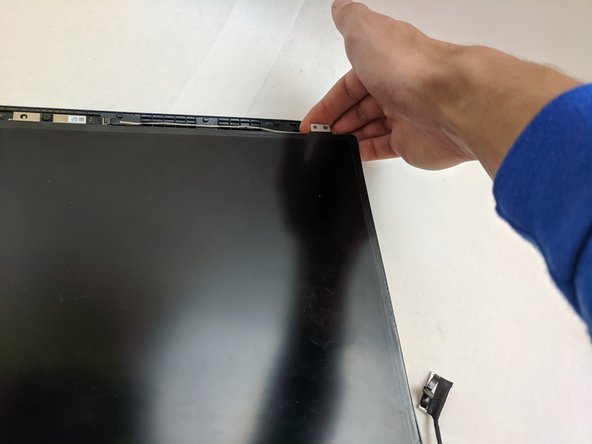
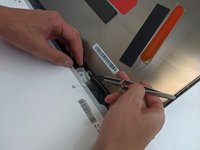
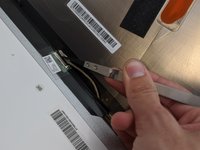
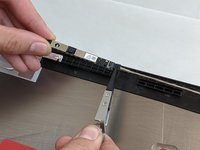
Gently lift the webcam out of its resting position at the top of the LCD assembly.
-
-
Tool used on this step:Tweezers$4.99
-
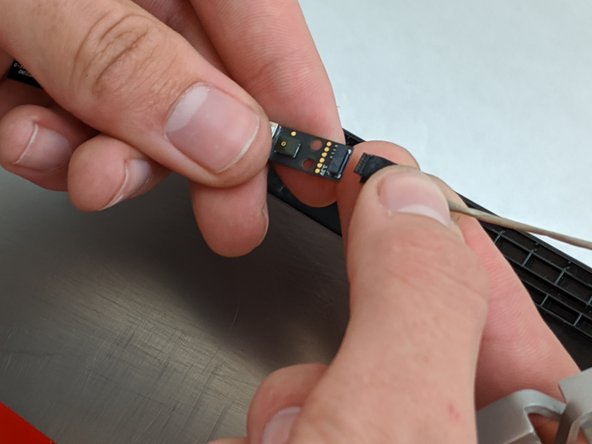
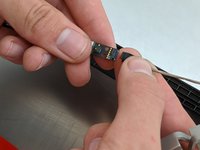
Using the nylon tweezers or your hand, disconnect the webcam module.
-
-




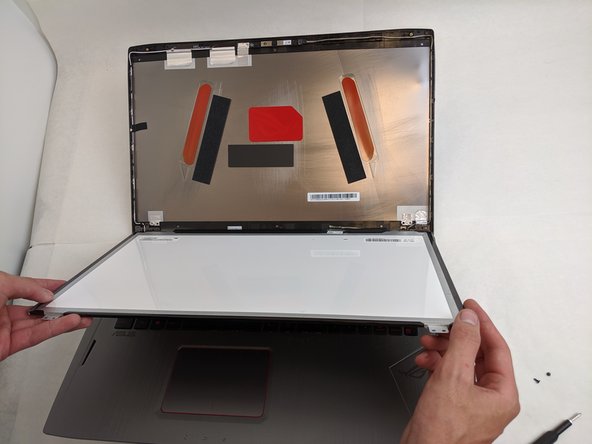
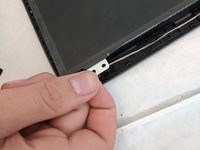
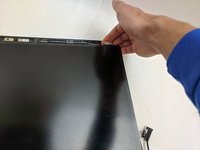
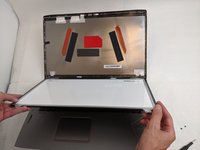




To reassemble your device, follow these instructions in reverse order.
Cancel: I did not complete this guide.
One other person completed this guide.

Team

Embry-Riddle Aeronautical University, Team S8-G6, Salas Fall 2019 Member of Embry-Riddle Aeronautical University, Team S8-G6, Salas Fall 2019
ERAU-SALAS-F19S8G6
4 Members
84 Guides authored
