
Free Shipping on Domestic Orders $75+

Asus ROG GL551J Optical Drive Replacement

What you need

  1. Asus ROG GL551J Optical Drive Replacement, Battery: step 1, image 1 of 1
    • Lay the device on a flat surface with the battery facing up.

    • Be sure to wear ESD or Rubber gloves to protect the computer components.

    Ask FixBot

    Add Comment

  2. Asus ROG GL551J Optical Drive Replacement: step 2, image 1 of 1
    • Push the latch found below the battery to the unlock position.

    Ask FixBot

    Add Comment

  3. Asus ROG GL551J Optical Drive Replacement: step 3, image 1 of 1
    • Pull the battery out.

    Ask FixBot

    Add Comment

  4. Asus ROG GL551J Optical Drive Replacement, Optical Drive: step 4, image 1 of 2 Asus ROG GL551J Optical Drive Replacement, Optical Drive: step 4, image 2 of 2
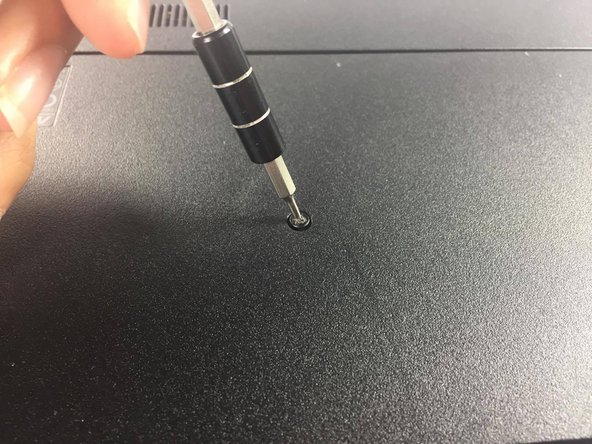
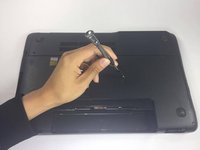
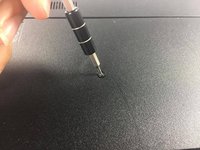
    • Locate and unscrew the screw which connects the optical drive to the chassis

    Ask FixBot

    Add Comment

  5. Asus ROG GL551J Optical Drive Replacement: step 5, image 1 of 1
    • Grasp the edge of the optical drive

    Ask FixBot

    Add Comment

  6. Asus ROG GL551J Optical Drive Replacement: step 6, image 1 of 1
    • Pull on the optical drive gently. With little resistance, the optical drive should just slide out

    Ask FixBot

    Add Comment

Conclusion

To reassemble your device, follow these instructions in reverse order.

Cancel: I did not complete this guide.

4 other people completed this guide.

Philip Muino

Member since: 02/15/17

179 Reputation

1 Guide authored

Team

USF Tampa, Team 5-4, Lacy Spring 2017 Member of USF Tampa, Team 5-4, Lacy Spring 2017

USFT-LACY-S17S5G4

4 Members

5 Guides authored

1 Guide Comment

ok.so , if someone had replaced the dvd rom with a hard disk drive i nust do the same for replace the drive?

anix - Reply Share

Add Comment

View Statistics:

Past 24 Hours: 3

Past 7 Days: 9

Past 30 Days: 32

All Time: 2,339