Free Shipping on Domestic Orders $75+

Asus ROG G752V Motherboard Replacement

What you need

  1. Asus ROG G752V Motherboard Replacement, Battery: step 1, image 1 of 2 Asus ROG G752V Motherboard Replacement, Battery: step 1, image 2 of 2
    Tool used on this step:
    Tweezers
    $4.99
    Buy
    • Make sure you disconnect the charger before starting this guide.

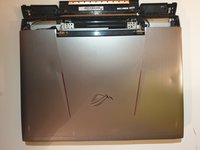
    • Pick out all 11 rubber plugs off of the back cover with a pair of tweezers.

    Ask FixBot

    Add Comment

  2. Asus ROG G752V Motherboard Replacement: step 2, image 1 of 2 Asus ROG G752V Motherboard Replacement: step 2, image 2 of 2
    • Using the Phillips #0 screwdriver, unscrew all twelve 5.2 mm screws on the back of the laptop.

    • There is one 5.2 mm screw under the rubber plug in the middle.

    Ask FixBot

    Add Comment

  3. Asus ROG G752V Motherboard Replacement: step 3, image 1 of 1
    • Pull up the rubber seal and the service cover will come off.

    Ask FixBot

    Add Comment

  4. Asus ROG G752V Motherboard Replacement: step 4, image 1 of 1
    • Using the Phillips #00 screwdriver, remove the six 5.2 mm screws under the service cover.

    Ask FixBot

    Add Comment

  5. Asus ROG G752V Motherboard Replacement: step 5, image 1 of 1
    • Using your hands, pull the optical drive out.

    Ask FixBot

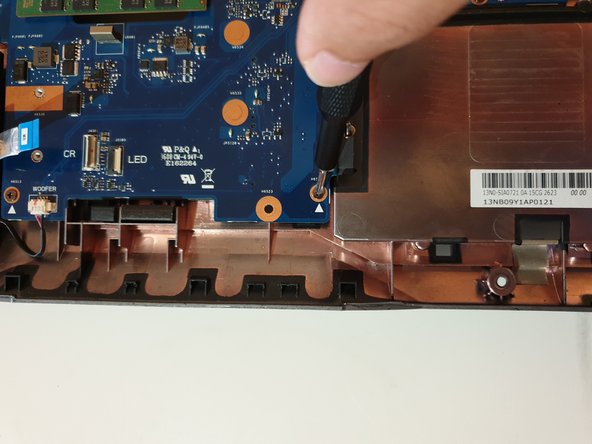
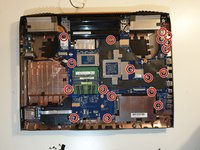
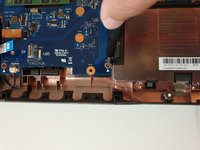
    Add Comment

  6. Asus ROG G752V Motherboard Replacement: step 6, image 1 of 2 Asus ROG G752V Motherboard Replacement: step 6, image 2 of 2
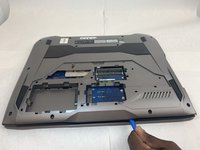
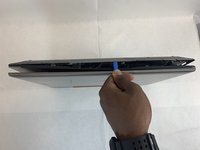
    • Use the iFixit Opening Tool to pry apart the back panel from the main body of the laptop.

    • Start from the front side of the laptop and then continue to the side for easier access.

    Ask FixBot

    Add Comment

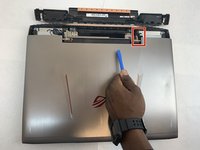
  7. Asus ROG G752V Motherboard Replacement: step 7, image 1 of 2 Asus ROG G752V Motherboard Replacement: step 7, image 2 of 2
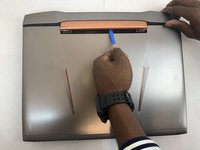
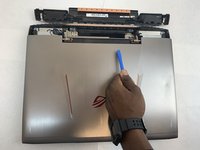
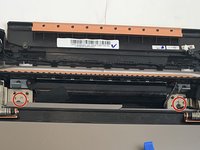
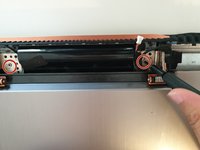
    • Remove the hinge on the back of the laptop cover using the iFixit Opening Tool. The piece should pop off.

    • Be gentle with the cover because there is a speaker wire attached to it.

    Ask FixBot

    Add Comment

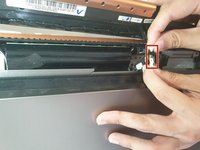
  8. Asus ROG G752V Motherboard Replacement: step 8, image 1 of 2 Asus ROG G752V Motherboard Replacement: step 8, image 2 of 2
    • Disconnect the speaker wire.

    Ask FixBot

    Add Comment

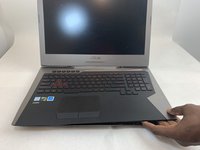
  9. Asus ROG G752V Motherboard Replacement: step 9, image 1 of 2 Asus ROG G752V Motherboard Replacement: step 9, image 2 of 2
    • Slowly pull out the keyboard while lifting it about an inch.

    • There are cables attached to the keyboard and motherboard. DO NOT lift it more than 2 inches above the laptop.

    Ask FixBot

    Add Comment

  10. Asus ROG G752V Motherboard Replacement: step 10, image 1 of 3 Asus ROG G752V Motherboard Replacement: step 10, image 2 of 3 Asus ROG G752V Motherboard Replacement: step 10, image 3 of 3
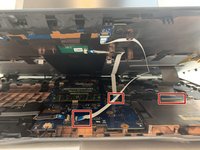
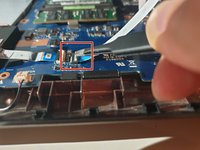
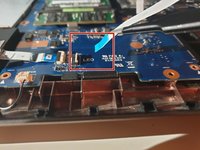
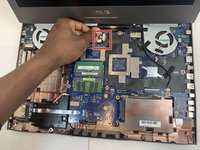
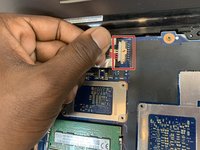
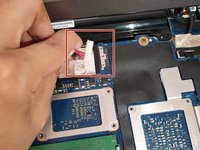
    • Using an ESD safe tool, detach all 3 ribbon cables securing the keyboard to the laptop.

    • To unlock a ZIF connector, use the tip of a spudger or your fingernail to flip up the small, hinged locking flap.

    Ask FixBot

    Add Comment

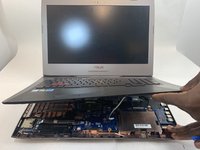
  11. Asus ROG G752V Motherboard Replacement: step 11, image 1 of 2 Asus ROG G752V Motherboard Replacement: step 11, image 2 of 2
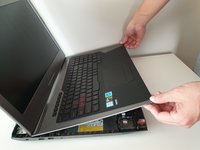
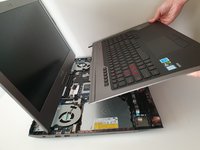
    • Once the cables are detached, lift the keyboard about 2 inches up and remove it from the rest of the body.

    • Make sure that the screen is open like the photo. This will ensure that none your laptop components will not be bent.

    Ask FixBot

    Add Comment

  12. Asus ROG G752V Motherboard Replacement: step 12, image 1 of 3 Asus ROG G752V Motherboard Replacement: step 12, image 2 of 3 Asus ROG G752V Motherboard Replacement: step 12, image 3 of 3
    • Disconnect the battery cable from its motherboard socket by gently pulling it towards the left of the socket.

    • Pull parallel to the motherboard, not straight up.

    Ask FixBot

    Add Comment

  13. Asus ROG G752V Motherboard Replacement: step 13, image 1 of 3 Asus ROG G752V Motherboard Replacement: step 13, image 2 of 3 Asus ROG G752V Motherboard Replacement: step 13, image 3 of 3
    • Remove two 5.8 mm screws holding the screen and the laptop located at the hinge.

    • This will unlatch the screen from the laptop entirely.

    • Remove the screen.

    Ask FixBot

    Add Comment

  14. Asus ROG G752V Motherboard Replacement: step 14, image 1 of 1
    • Remove the four 5.8 mm screws securing the battery to the laptop.

    Ask FixBot

    Add Comment

  15. Asus ROG G752V Motherboard Replacement: step 15, image 1 of 1
    • Use your hands to remove the battery.

    • If you're having trouble, push down on the black plastic on the screen side of the battery. This should release the battery.

    Ask FixBot

    Add Comment

  16. Asus ROG G752V Motherboard Replacement, Wireless Card: step 16, image 1 of 3 Asus ROG G752V Motherboard Replacement, Wireless Card: step 16, image 2 of 3 Asus ROG G752V Motherboard Replacement, Wireless Card: step 16, image 3 of 3
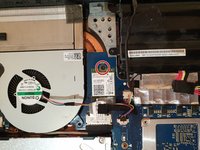
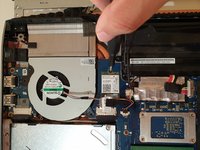
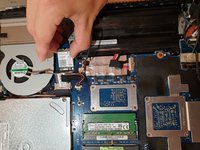
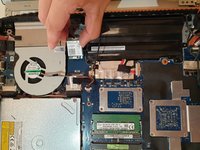
    • Unscrew one 3mm Philips #00 screw on the wireless card.

    Ask FixBot

    Add Comment

  17. Asus ROG G752V Motherboard Replacement: step 17, image 1 of 2 Asus ROG G752V Motherboard Replacement: step 17, image 2 of 2
    • Using your hands, unlatch the wireless card by pulling it out toward the screen.

    • Gently wiggle the card and pull it out of the motherboard.

    Ask FixBot

    Add Comment

  18. Asus ROG G752V Motherboard Replacement, Fan: step 18, image 1 of 2 Asus ROG G752V Motherboard Replacement, Fan: step 18, image 2 of 2
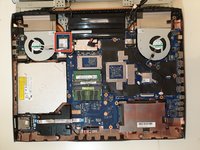
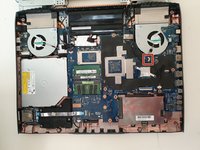
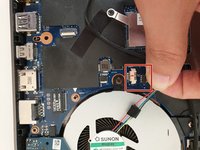
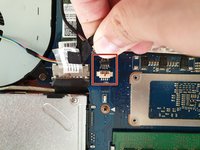
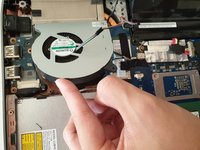
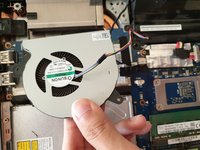
    • Unplug the fan-motherboard connection cable.

    Ask FixBot

    Add Comment

  19. Asus ROG G752V Motherboard Replacement: step 19, image 1 of 3 Asus ROG G752V Motherboard Replacement: step 19, image 2 of 3 Asus ROG G752V Motherboard Replacement: step 19, image 3 of 3
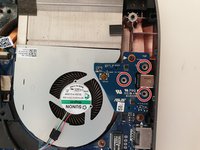
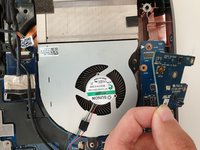
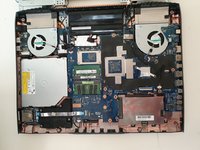
    • Unscrew and remove the three 5.8mm screws on the small circuit board to the right of the right side fan with a Phillips #00 screwdriver.

    • Lift up the small circuit board covering the fan and put it aside.

    Ask FixBot

    Add Comment

  20. Asus ROG G752V Motherboard Replacement: step 20, image 1 of 2 Asus ROG G752V Motherboard Replacement: step 20, image 2 of 2
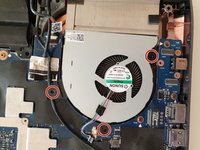
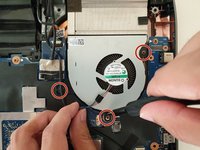
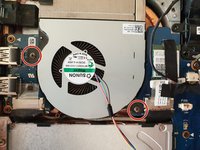
    • Using a Phillips #00 screwdriver, remove the three 5.2 mm screws that connect the fan to the motherboard.

    Ask FixBot

    Add Comment

  21. Asus ROG G752V Motherboard Replacement: step 21, image 1 of 1
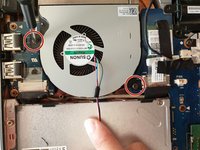
    • With your hands, slowly and carefully lift up the right side fan.

    Ask FixBot

    Add Comment

  22. Asus ROG G752V Motherboard Replacement: step 22, image 1 of 2 Asus ROG G752V Motherboard Replacement: step 22, image 2 of 2
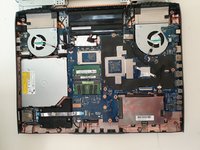
    • Carefully unlatch the left side fan cable from the motherboard.

    Ask FixBot

    Add Comment

  23. Asus ROG G752V Motherboard Replacement: step 23, image 1 of 3 Asus ROG G752V Motherboard Replacement: step 23, image 2 of 3 Asus ROG G752V Motherboard Replacement: step 23, image 3 of 3
    • Using a Phillips #00 screwdriver, remove the two 5.8mm screws that connect the left fan to the motherboard.

    Ask FixBot

    Add Comment

  24. Asus ROG G752V Motherboard Replacement: step 24, image 1 of 2 Asus ROG G752V Motherboard Replacement: step 24, image 2 of 2
    • With your hands, carefully lift the left fan and unlatch the fan from the motherboard.

    Ask FixBot

    Add Comment

  25. Asus ROG G752V Motherboard Replacement, Motherboard: step 25, image 1 of 2 Asus ROG G752V Motherboard Replacement, Motherboard: step 25, image 2 of 2
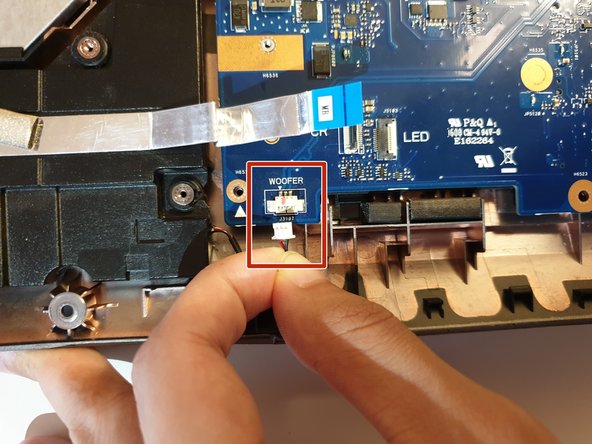
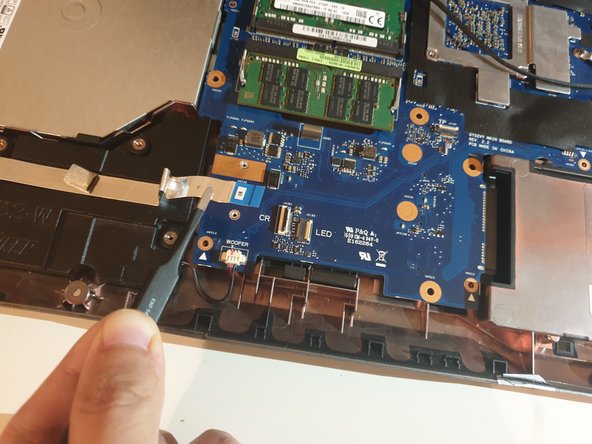
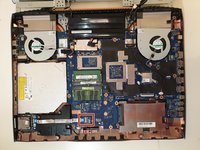
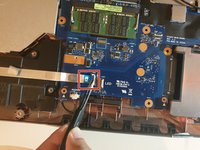
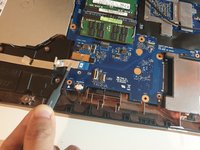
    • Using your hand, detach the Woofer Cable.

    Ask FixBot

    Add Comment

  26. Asus ROG G752V Motherboard Replacement: step 26, image 1 of 2 Asus ROG G752V Motherboard Replacement: step 26, image 2 of 2
    • Using your hand, detach the Speaker cable.

    Ask FixBot

    Add Comment

  27. Asus ROG G752V Motherboard Replacement: step 27, image 1 of 3 Asus ROG G752V Motherboard Replacement: step 27, image 2 of 3 Asus ROG G752V Motherboard Replacement: step 27, image 3 of 3
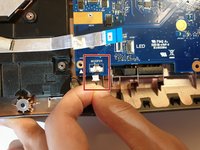
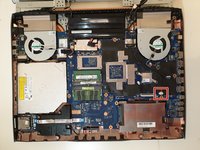
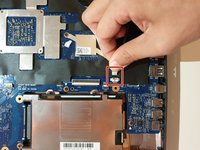
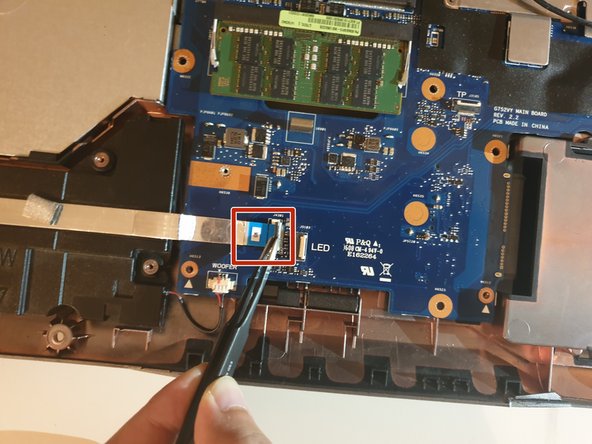
    • Using an ESD safe tool, first unlatch the ZIF connector clasp and then pull the cord disconnecting the SD card reader.

    Ask FixBot

    Add Comment

  28. Asus ROG G752V Motherboard Replacement: step 28, image 1 of 2 Asus ROG G752V Motherboard Replacement: step 28, image 2 of 2
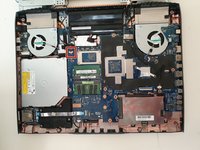
    • Unscrew eighteen 5.8 mm screws from the motherboard with a Phillips #00 screwdriver.

    Ask FixBot

    Add Comment

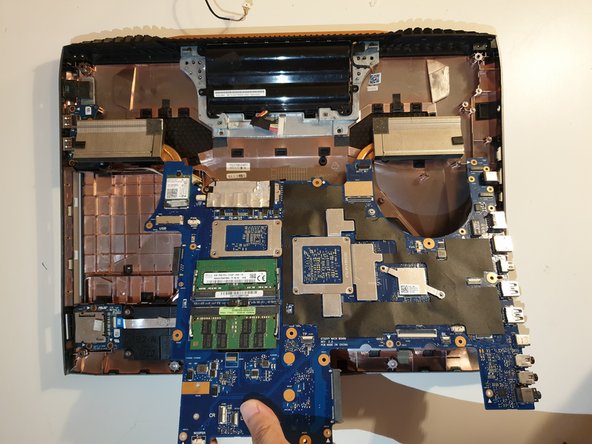
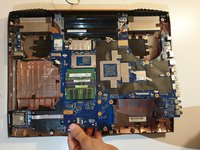
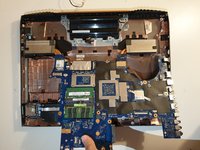
  29. Asus ROG G752V Motherboard Replacement: step 29, image 1 of 2 Asus ROG G752V Motherboard Replacement: step 29, image 2 of 2
    • Using your hands, unlatch the motherboard by lifting it up directly above the laptop.

    Ask FixBot

    Add Comment

Conclusion

To reassemble your device, follow these instructions in reverse order.

Cancel: I did not complete this guide.

3 other people completed this guide.

1 Guide Comment

This guide is full of mistakes, please redo it !!! not good at all.

The wifi card can stay on the mobo, and there is not always teh same screw size... Some screws can stay on the board or the place shown does not exists.... show the routing of the cables also, behind the screen....

Leo Etcheverry - Reply Share

Add Comment

View Statistics:

Past 24 Hours: 1

Past 7 Days: 15

Past 30 Days: 84

All Time: 6,046