Free Shipping on Domestic Orders $75+

Asus ROG G751JL-DS71 Fan Replacement

What you need

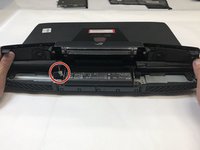
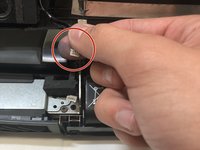
    1. Asus ROG G751JL-DS71 Fan Replacement, Fan: step 1, image 1 of 2 Asus ROG G751JL-DS71 Fan Replacement, Fan: step 1, image 2 of 2
      • Lift the rubber cover found on the bottom of the laptop.

      • Remove the 5.2 mm screw with a Phillips 1 Screwdriver.

      Ask FixBot

      Add Comment

    2. Asus ROG G751JL-DS71 Fan Replacement: step 2, image 1 of 3 Asus ROG G751JL-DS71 Fan Replacement: step 2, image 2 of 3 Asus ROG G751JL-DS71 Fan Replacement: step 2, image 3 of 3
      • Use the standard spudger to remove the back center panel.

      Ask FixBot

      Add Comment

    3. Asus ROG G751JL-DS71 Fan Replacement: step 3, image 1 of 3 Asus ROG G751JL-DS71 Fan Replacement: step 3, image 2 of 3 Asus ROG G751JL-DS71 Fan Replacement: step 3, image 3 of 3
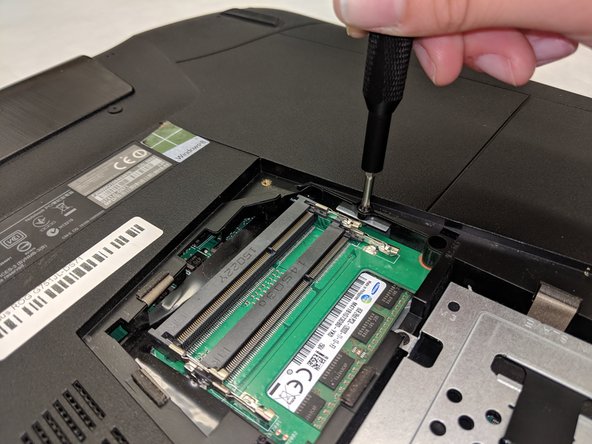
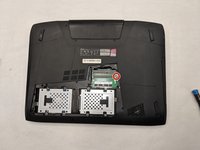
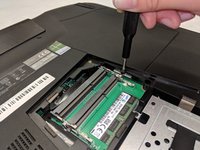
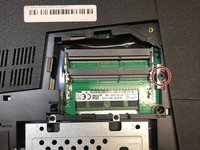
      • Use a Phillips 1 Screwdriver to remove the 5 mm screw that is located underneath the back panel.

      Ask FixBot

      Add Comment

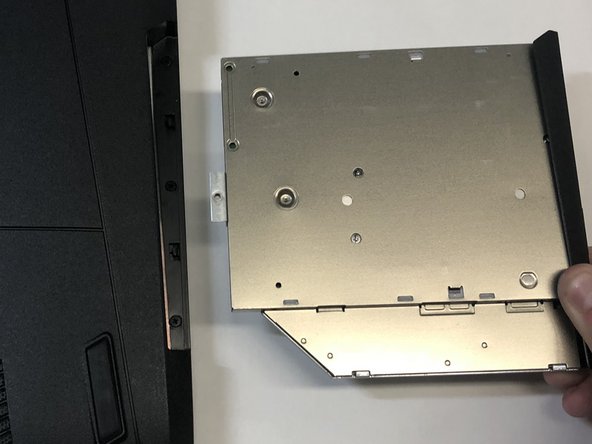
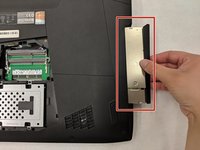
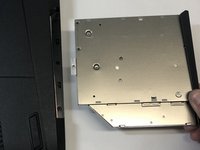
    4. Asus ROG G751JL-DS71 Fan Replacement: step 4, image 1 of 2 Asus ROG G751JL-DS71 Fan Replacement: step 4, image 2 of 2
      • Pull out the optical drive found on the side of the laptop.

      Ask FixBot

      Add Comment

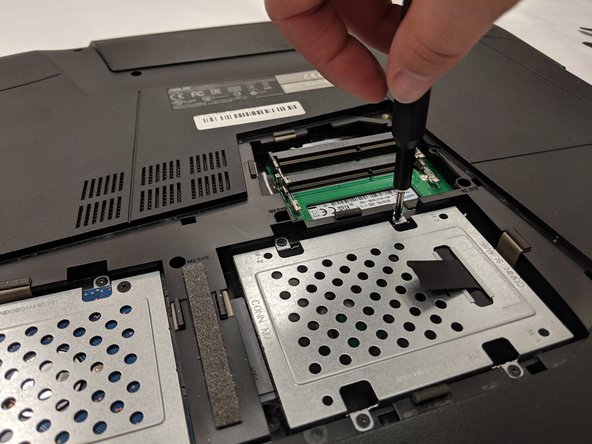
    5. Asus ROG G751JL-DS71 Fan Replacement: step 5, image 1 of 3 Asus ROG G751JL-DS71 Fan Replacement: step 5, image 2 of 3 Asus ROG G751JL-DS71 Fan Replacement: step 5, image 3 of 3
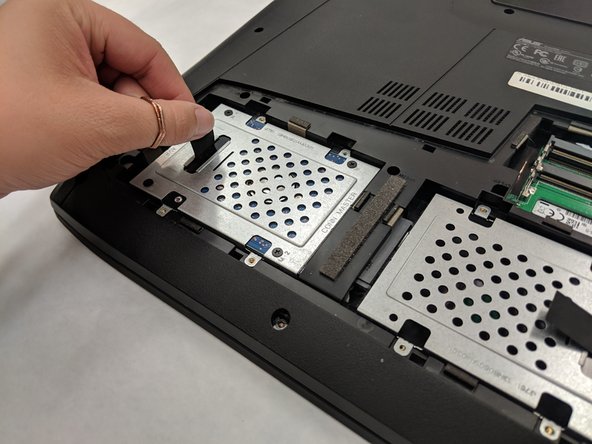
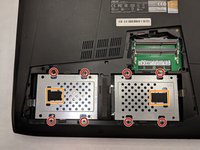
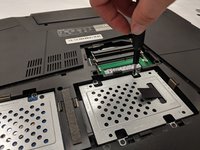
      • Remove the screws holding the hard drives in place using a phillips #1 screwdriver.

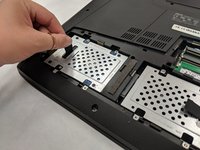
      • Using the small flaps, remove the hard drives by hand.

      Ask FixBot

      Add Comment

    6. Asus ROG G751JL-DS71 Fan Replacement: step 6, image 1 of 2 Asus ROG G751JL-DS71 Fan Replacement: step 6, image 2 of 2
      Tool used on this step:
      Tweezers
      $4.99
      Buy
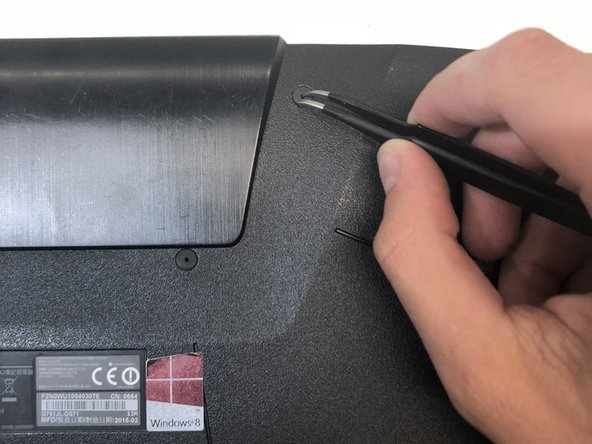
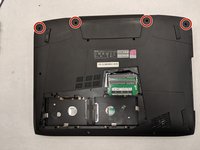
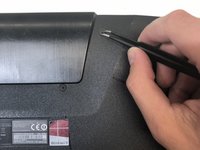
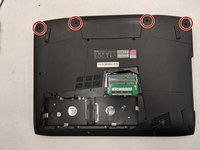
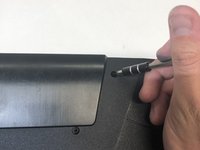
      • Use a pair of tweezers to remove the top four rubber stoppers found on the bottom of the laptop.

      Ask FixBot

      Add Comment

    7. Asus ROG G751JL-DS71 Fan Replacement: step 7, image 1 of 2 Asus ROG G751JL-DS71 Fan Replacement: step 7, image 2 of 2
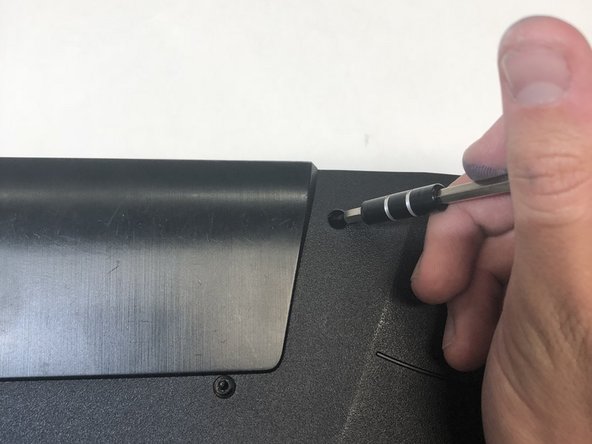
      • Use a Phillips 1 Screwdriver to remove the top four 8.5 mm screws.

      Ask FixBot

      Add Comment

    8. Asus ROG G751JL-DS71 Fan Replacement: step 8, image 1 of 3 Asus ROG G751JL-DS71 Fan Replacement: step 8, image 2 of 3 Asus ROG G751JL-DS71 Fan Replacement: step 8, image 3 of 3
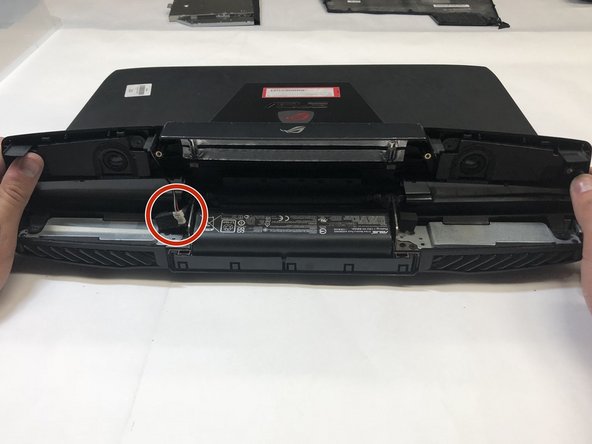
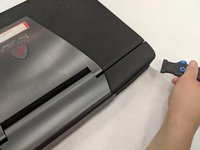
      • Use a metal spudger to carefully pry the top back panel off.

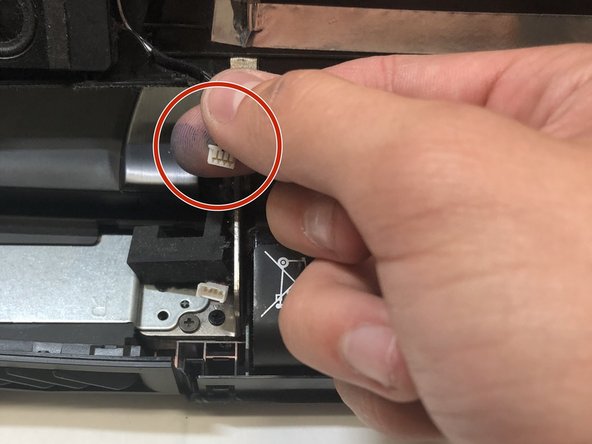
      • While removing the top back panel, be careful not to break the four pin connector located underneath.

      • Disconnect the four-pin connector and remove the top back panel from the computer.

      Ask FixBot

      Add Comment

    9. Asus ROG G751JL-DS71 Fan Replacement: step 9, image 1 of 1
      • Use a Phillips 1 Screwdriver to remove the four 6.8 mm screws underneath the back panel.

      Ask FixBot

      Add Comment

    10. Asus ROG G751JL-DS71 Fan Replacement: step 10, image 1 of 1
      • Use a Phillips 1 Screwdriver to remove the ten 5.2 mm screws holding the main panel in place.

      Ask FixBot

      Add Comment

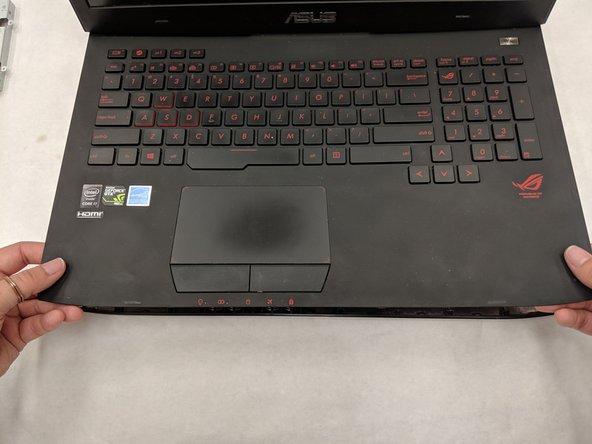
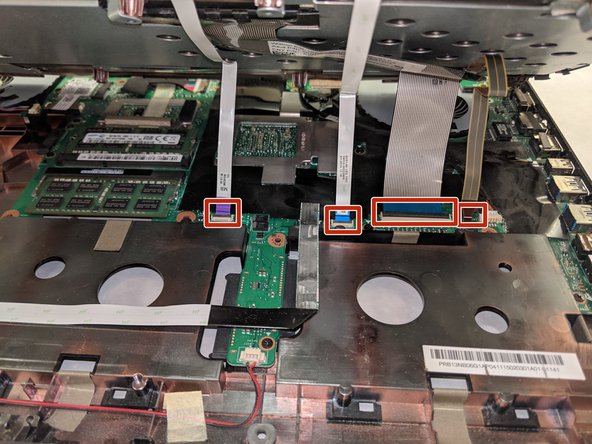
    11. Asus ROG G751JL-DS71 Fan Replacement: step 11, image 1 of 3 Asus ROG G751JL-DS71 Fan Replacement: step 11, image 2 of 3 Asus ROG G751JL-DS71 Fan Replacement: step 11, image 3 of 3
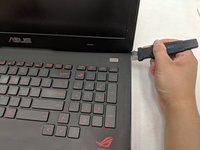
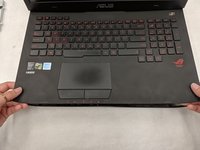
      • Use a metal opening tool to pry the keyboard from the base of the laptop.

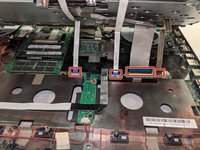
      • Lift the keyboard carefully so as to not tear or break the four ribbon connectors underneath the keyboard.

      Ask FixBot

      Add Comment

    12. Asus ROG G751JL-DS71 Fan Replacement: step 12, image 1 of 2 Asus ROG G751JL-DS71 Fan Replacement: step 12, image 2 of 2
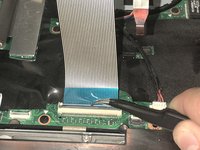
      • Use a pair of tweezers to undo each of the four ribbon connectors.

      • The keyboard is now completely disconnected from the laptop and you can remove it.

      Ask FixBot

      Add Comment

    13. Asus ROG G751JL-DS71 Fan Replacement: step 13, image 1 of 3 Asus ROG G751JL-DS71 Fan Replacement: step 13, image 2 of 3 Asus ROG G751JL-DS71 Fan Replacement: step 13, image 3 of 3
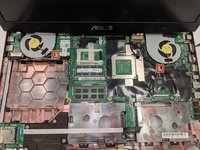
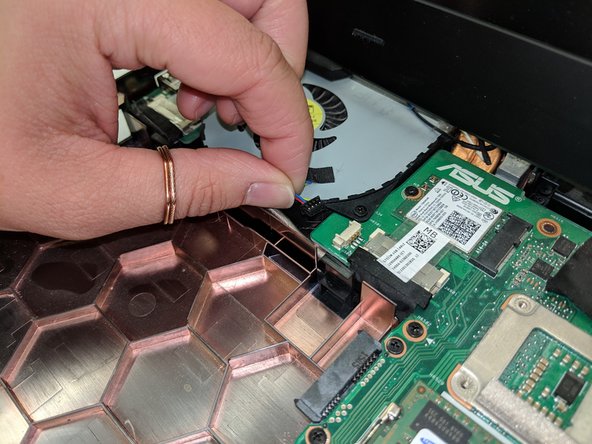
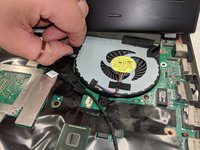
      • Disconnect the four-pin connectors from each fan and remove them

      • The fans are now completely disconnected from the laptop and you can remove them

      Ask FixBot

      Add Comment

Conclusion

To reassemble your device, follow these instructions in reverse order.

Cancel: I did not complete this guide.

One other person completed this guide.

Ashley Twigg

Member since: 04/01/19

237 Reputation

1 Guide authored

Team

IUPUI, Team S8-G8, Wilson Spring 2019 Member of IUPUI, Team S8-G8, Wilson Spring 2019

IUPUI-WILSON-S19S8G8

4 Members

36 Guides authored

1 Guide Comment

i was wondering if i can swap the bottom case of g751jl with bottom case of g751jy? thanks a ton

Avkash - Reply Share
Add Comment

View Statistics:

Past 24 Hours: 1

Past 7 Days: 7

Past 30 Days: 23

All Time: 1,353