Free Shipping on Domestic Orders $75+

Asus ROG G751JL-DS71 Central Processing Unit Replacement

What you need

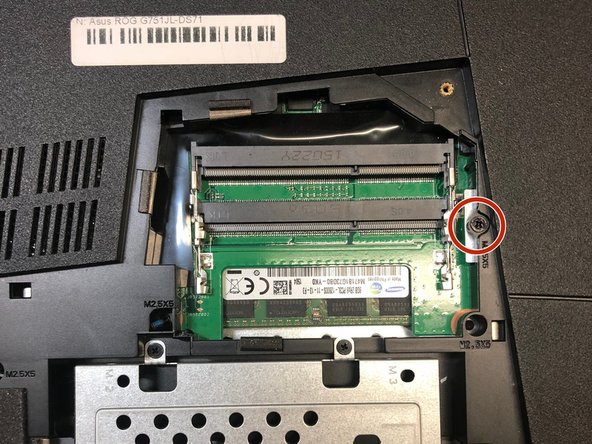
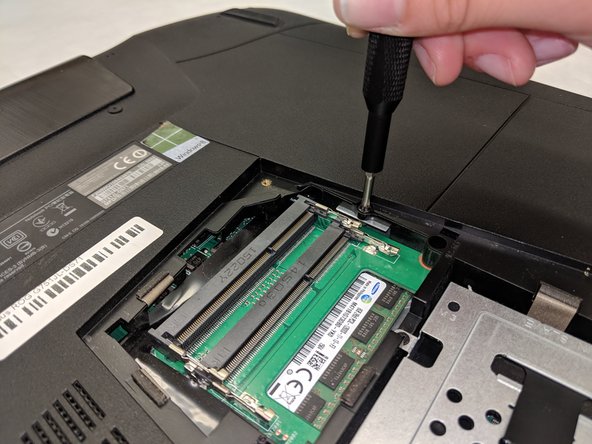
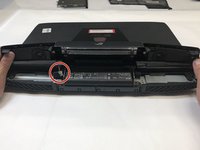
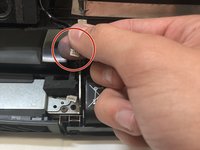
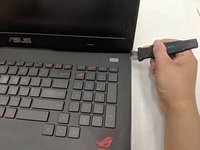
  1. Asus ROG G751JL-DS71 Central Processing Unit Replacement, Central Processing Unit: step 1, image 1 of 2 Asus ROG G751JL-DS71 Central Processing Unit Replacement, Central Processing Unit: step 1, image 2 of 2
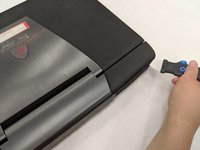
    • Lift the rubber cover found on the bottom of the laptop.

    • Remove the 5.2 mm screw with a Phillips 1 Screwdriver

    Ask FixBot

    Add Comment

  2. Asus ROG G751JL-DS71 Central Processing Unit Replacement: step 2, image 1 of 3 Asus ROG G751JL-DS71 Central Processing Unit Replacement: step 2, image 2 of 3 Asus ROG G751JL-DS71 Central Processing Unit Replacement: step 2, image 3 of 3
    • Use the standard spudger to remove the back center panel.

    Ask FixBot

    Add Comment

  3. Asus ROG G751JL-DS71 Central Processing Unit Replacement: step 3, image 1 of 3 Asus ROG G751JL-DS71 Central Processing Unit Replacement: step 3, image 2 of 3 Asus ROG G751JL-DS71 Central Processing Unit Replacement: step 3, image 3 of 3
    • Use a Phillips 1 Screwdriver to remove the 5 mm screw that is located underneath the back panel.

    Ask FixBot

    Add Comment

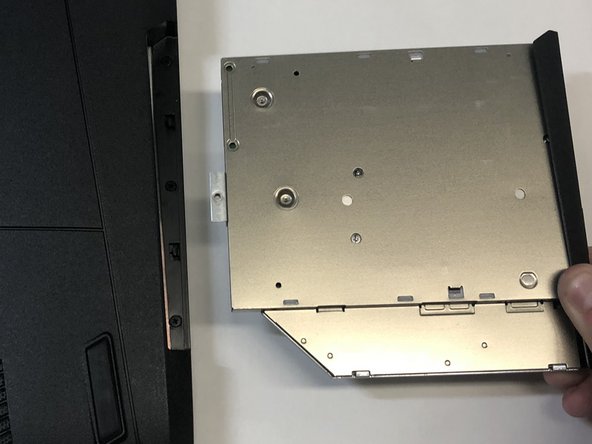
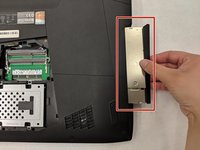
  4. Asus ROG G751JL-DS71 Central Processing Unit Replacement: step 4, image 1 of 2 Asus ROG G751JL-DS71 Central Processing Unit Replacement: step 4, image 2 of 2
    • Pull out the optical drive found on the side of the laptop.

    Ask FixBot

    Add Comment

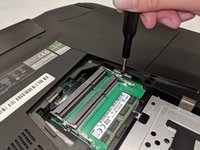
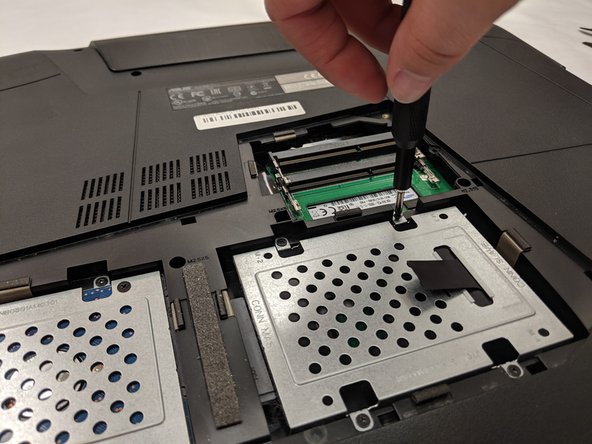
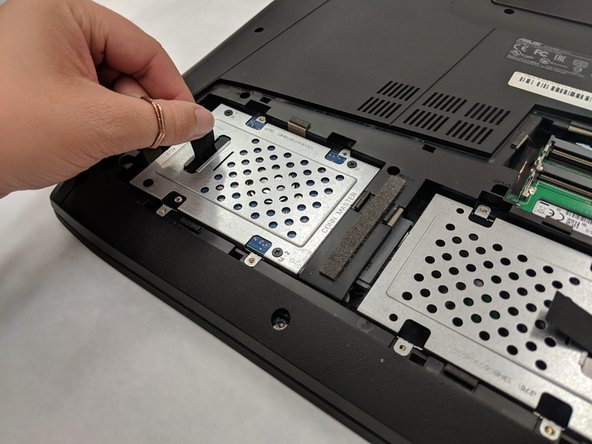
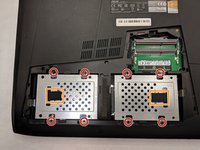
  5. Asus ROG G751JL-DS71 Central Processing Unit Replacement: step 5, image 1 of 3 Asus ROG G751JL-DS71 Central Processing Unit Replacement: step 5, image 2 of 3 Asus ROG G751JL-DS71 Central Processing Unit Replacement: step 5, image 3 of 3
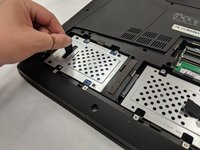
    • Remove the screws holding the hard drives in place using a phillips #1 screwdriver.

    • Using the small flaps, remove the hard drives by hand.

    Ask FixBot

    Add Comment

  6. Asus ROG G751JL-DS71 Central Processing Unit Replacement: step 6, image 1 of 2 Asus ROG G751JL-DS71 Central Processing Unit Replacement: step 6, image 2 of 2
    Tool used on this step:
    Tweezers
    $4.99
    Buy
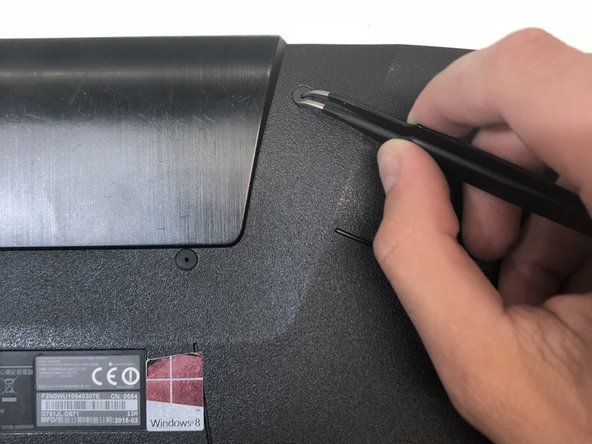
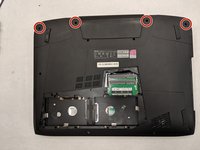
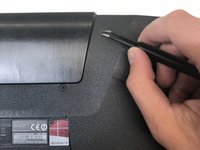
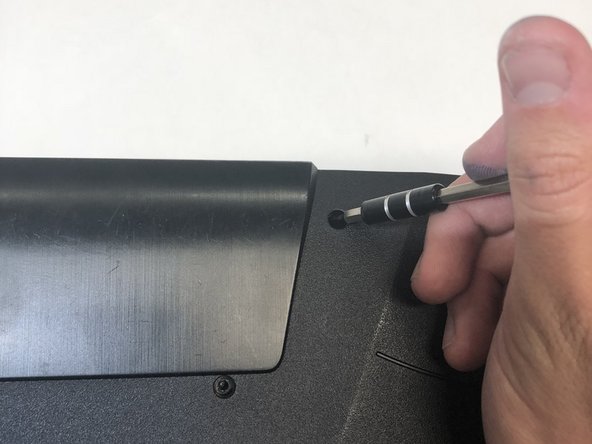
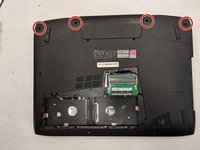
    • Use a pair of tweezers to remove the top four rubber stoppers found on the bottom of the laptop.

    Ask FixBot

    Add Comment

  7. Asus ROG G751JL-DS71 Central Processing Unit Replacement: step 7, image 1 of 2 Asus ROG G751JL-DS71 Central Processing Unit Replacement: step 7, image 2 of 2
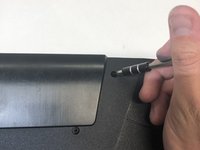
    • Use a Phillips 1 Screwdriver to remove the top four 8.5 mm screws.

    Ask FixBot

    Add Comment

  8. Asus ROG G751JL-DS71 Central Processing Unit Replacement: step 8, image 1 of 3 Asus ROG G751JL-DS71 Central Processing Unit Replacement: step 8, image 2 of 3 Asus ROG G751JL-DS71 Central Processing Unit Replacement: step 8, image 3 of 3
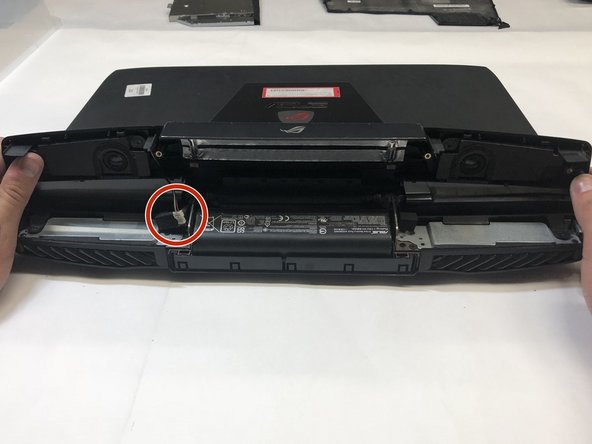
    • Use a metal spudger to carefully pry the top back panel off.

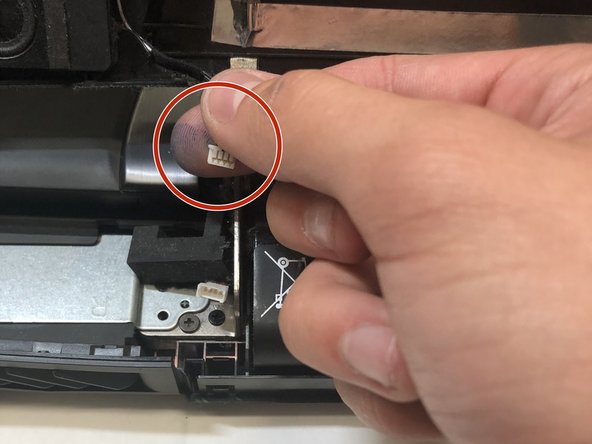
    • While removing the top back panel, be careful not to break the four pin connector located underneath.

    • Disconnect the four-pin connector and remove the top back panel from the computer.

    Ask FixBot

    Add Comment

  9. Asus ROG G751JL-DS71 Central Processing Unit Replacement: step 9, image 1 of 1
    • Use a Phillips 1 Screwdriver to remove the four 6.8 mm screws underneath the back panel.

    Ask FixBot

    Add Comment

  10. Asus ROG G751JL-DS71 Central Processing Unit Replacement: step 10, image 1 of 1
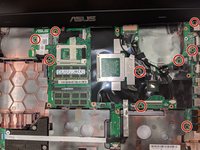
    • Use a Phillips 1 Screwdriver to remove the ten 5.2 mm screws holding the main panel in place.

    Ask FixBot

    Add Comment

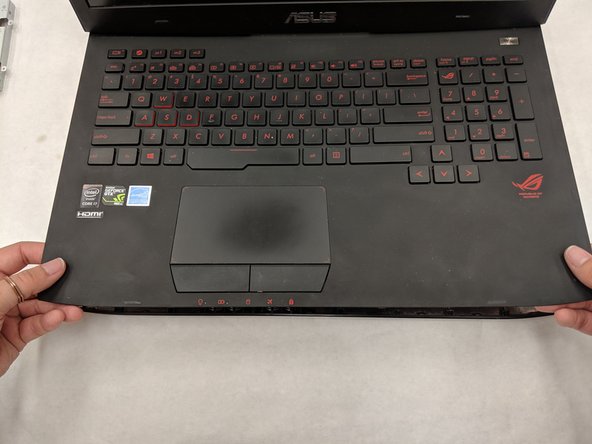
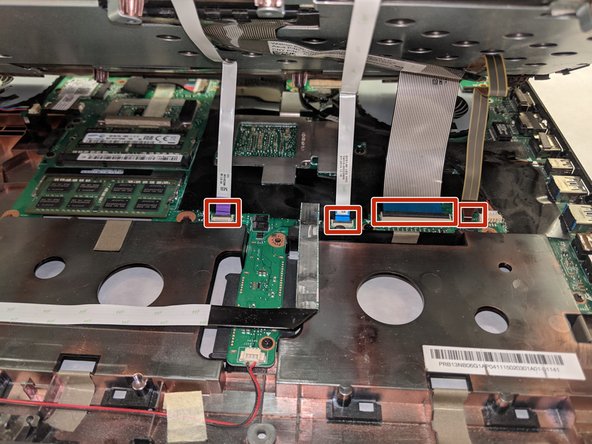
  11. Asus ROG G751JL-DS71 Central Processing Unit Replacement: step 11, image 1 of 3 Asus ROG G751JL-DS71 Central Processing Unit Replacement: step 11, image 2 of 3 Asus ROG G751JL-DS71 Central Processing Unit Replacement: step 11, image 3 of 3
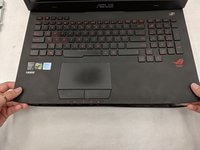
    • Use a metal opening tool to pry the keyboard from the base of the laptop.

    • Lift the keyboard carefully so as to not tear or break the four ribbon connectors underneath the keyboard.

    Ask FixBot

    Add Comment

  12. Asus ROG G751JL-DS71 Central Processing Unit Replacement: step 12, image 1 of 2 Asus ROG G751JL-DS71 Central Processing Unit Replacement: step 12, image 2 of 2
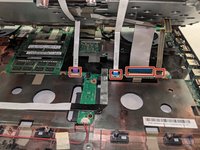
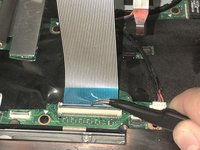
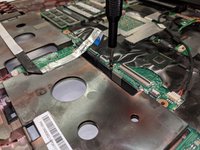
    • Use a pair of tweezers to undo each of the four ribbon connectors.

    • The keyboard is now completely disconnected from the laptop and you can remove it.

    Ask FixBot

    Add Comment

  13. Asus ROG G751JL-DS71 Central Processing Unit Replacement: step 13, image 1 of 3 Asus ROG G751JL-DS71 Central Processing Unit Replacement: step 13, image 2 of 3 Asus ROG G751JL-DS71 Central Processing Unit Replacement: step 13, image 3 of 3
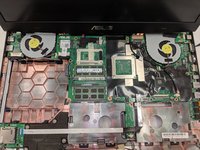
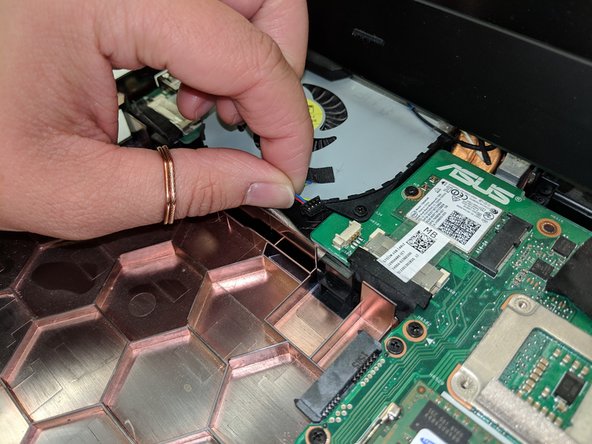
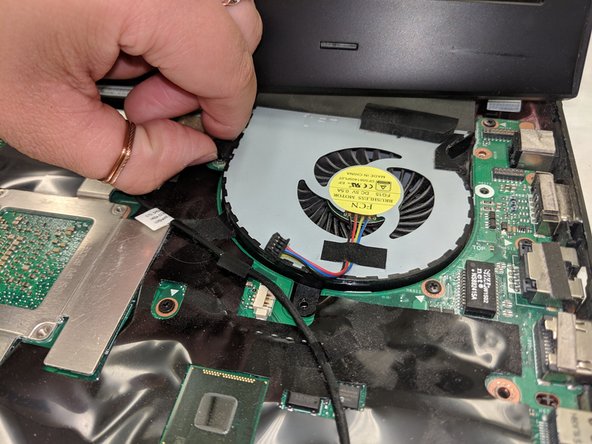
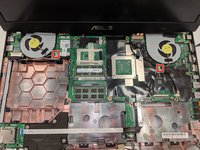
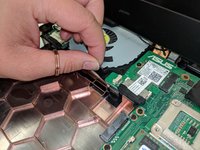
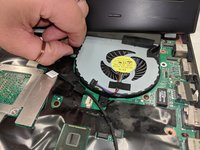
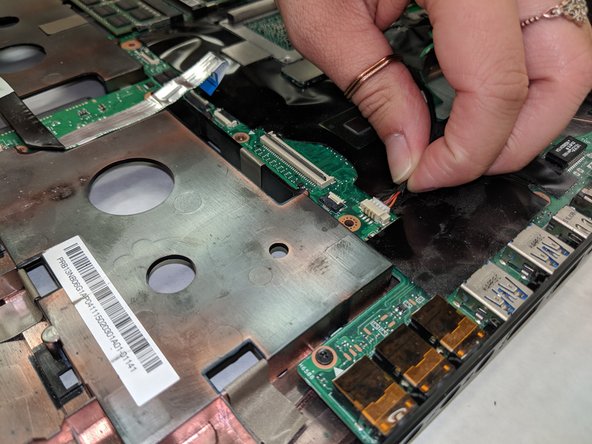
    • Remove the ribbon that connect the fans.

    Ask FixBot

    Add Comment

  14. Asus ROG G751JL-DS71 Central Processing Unit Replacement: step 14, image 1 of 2 Asus ROG G751JL-DS71 Central Processing Unit Replacement: step 14, image 2 of 2
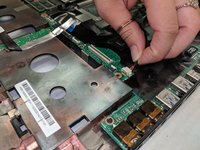
    • Remove the ribbon cables connected to the motherboard.

    Ask FixBot

    Add Comment

  15. Asus ROG G751JL-DS71 Central Processing Unit Replacement: step 15, image 1 of 3 Asus ROG G751JL-DS71 Central Processing Unit Replacement: step 15, image 2 of 3 Asus ROG G751JL-DS71 Central Processing Unit Replacement: step 15, image 3 of 3
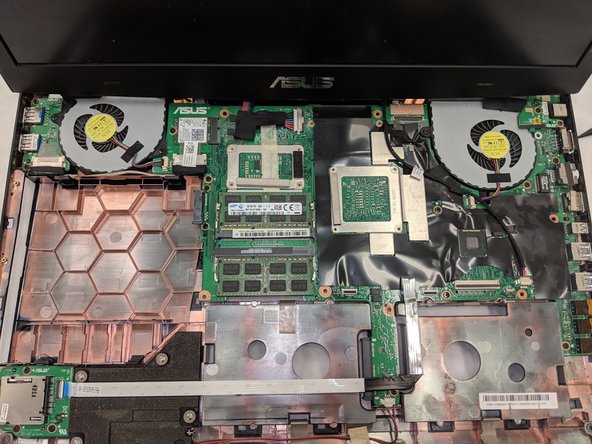
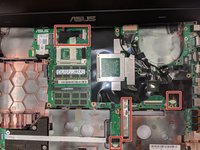
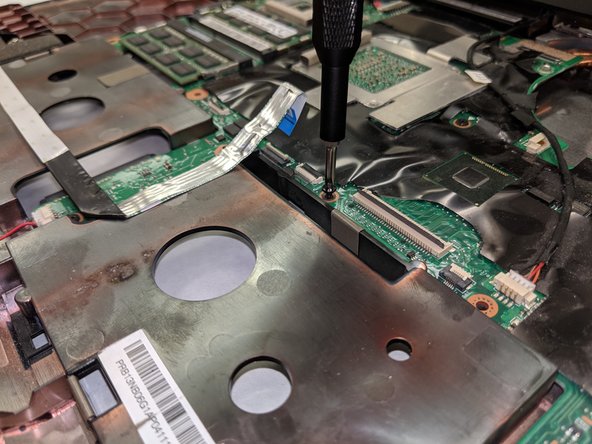
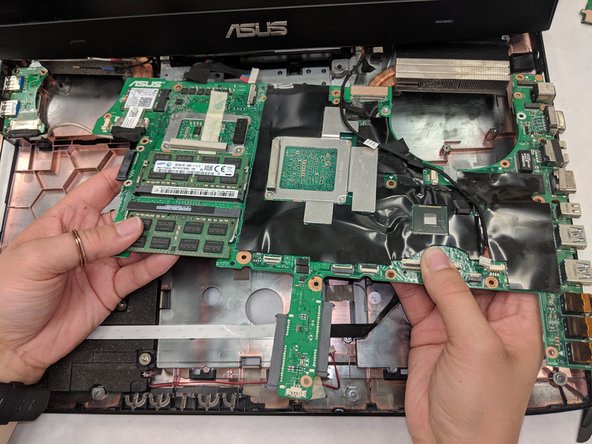
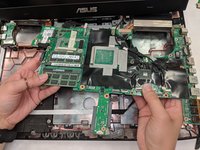
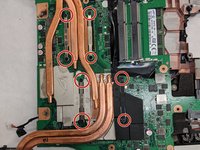
    • Remove the screws holding in the motherboard using a Phillips 0 screwdriver.

    • Remove the motherboard by hand. Be careful as the radiators for the fans are connected underneath the screen.

    Ask FixBot

    Add Comment

  16. Asus ROG G751JL-DS71 Central Processing Unit Replacement: step 16, image 1 of 3 Asus ROG G751JL-DS71 Central Processing Unit Replacement: step 16, image 2 of 3 Asus ROG G751JL-DS71 Central Processing Unit Replacement: step 16, image 3 of 3
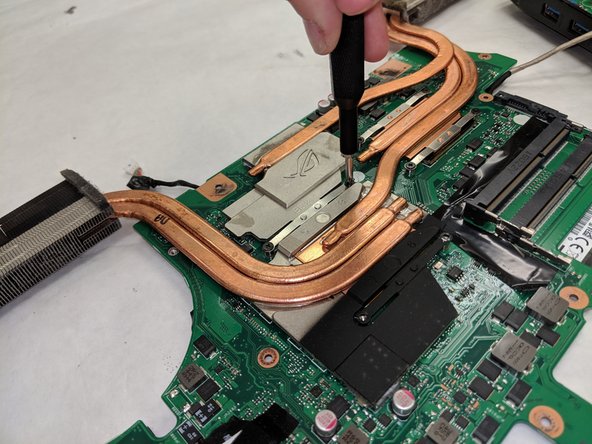
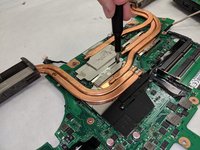
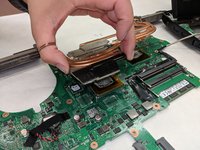
    • Remove the screws holding in the motherboard using a Phillips 0 screwdriver.

    • Remove the heat sink by hand. Be careful not to get thermal paste on your hand

    Ask FixBot

    Add Comment

  17. Asus ROG G751JL-DS71 Central Processing Unit Replacement: step 17, image 1 of 2 Asus ROG G751JL-DS71 Central Processing Unit Replacement: step 17, image 2 of 2
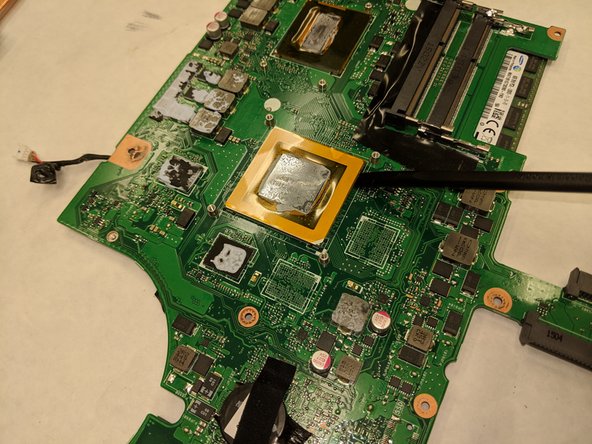
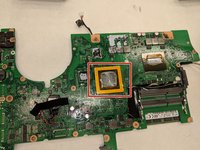
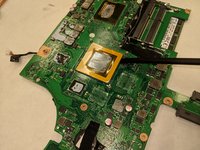
    • The CPU can then be removed with a regular spudger.

    • The CPU is now completely disconnected from the laptop and you can remove it.

    Ask FixBot

    Add Comment

Conclusion

To reassemble your device, follow these instructions in reverse order.

Cancel: I did not complete this guide.

Justin Keathley

Member since: 04/01/19

265 Reputation

1 Guide authored

Team

IUPUI, Team S8-G8, Wilson Spring 2019 Member of IUPUI, Team S8-G8, Wilson Spring 2019

IUPUI-WILSON-S19S8G8

4 Members

3 Guides authored

2 Guide Comments

Hi Justin, if I were to remove the motherboard and insert a new one using your procedure would I have to change anything in the bios or will just a physical switch do the thing.

kikiluthra - Reply Share
I was following this guide normally but then I saw the last step... are you f***ing kidding me?! You DO NOT PRY OFF that chip!! It's a BGA connection and you WILL destroy it. If you need your CPU or GPU replaced, either buy a new motherboard or seek a professional's service that replaces chips like that. But yikes, an iFixit guide that's pretty coherent yet the last step implies removing the chip and damaging it... I must be hallucinating. If anyone did mindlessly follow this guide without prior experience... you have my deepest condolences.

k24a1 - Reply Share
Add Comment

View Statistics:

Past 24 Hours: 1

Past 7 Days: 5

Past 30 Days: 24

All Time: 1,390