Introduction
This guide will demonstrate how to replace the Asus ROG G751JL-BSI7T28 display assembly on your Asus laptop computer.
This guide is helpful to those who wish to replace their display if it was broken or damaged. Symptoms of a broken display can range from a cracked or shattered display, patches of multicolored dots, one or more lines of discoloration, or a screen with rainbow colors.
The display is an LCD screen that has a size of 17.3”.
Detailed photos will accompany each step to provide a visual to assist in the disassembly of your laptop.
Warning: Ensure your device is powered down before starting this guide to prevent any electrical injuries or damage to your computer.
What you need
-
-
-
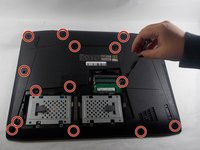
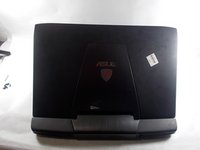
With the laptop closed, turn it upside-down so the bottom is facing up toward you.
 Ask FixBot
-
-
-
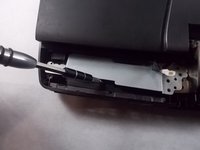
Place a spudger into the notch, and pry the small triangular piece away from the laptop.
-
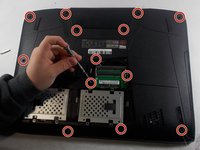
Using a Phillips #00 screwdriver, remove the single 3 mm screw.
-
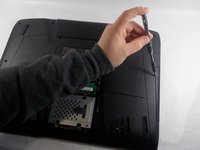
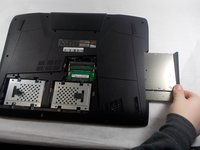
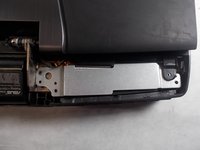
Place a spudger beneath the back panel and pry it away from the laptop.
-
-
-
-
-
-
Open the laptop and turn it so that the ASUS logo is facing you.
-
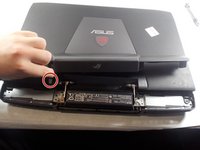
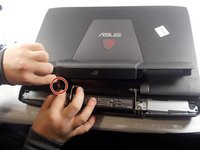
Gently lift up the display hinge housing shroud, but don’t pull it completely away yet.
-
Disconnect the RGB light power cable in the shroud, now the shroud can be put aside.
-
-
-
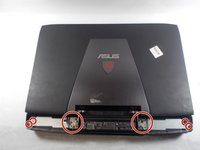
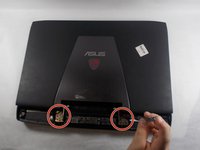
Remove the 5mm Phillips #00 screws.
-
Lift up the silver hinge brackets on each side of the laptop.
-
-
-
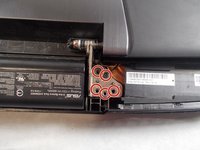
Remove the 5mm Phillips #00 screws from the hinges.
-
Detach the ribbon cable and remove the display assembly from the laptop.
-










To reassemble your device, follow these instructions in reverse order.