Free Shipping on Domestic Orders $75+

Asus ROG G750JH-DB71 Graphics Card Replacement

What you need

    1. Asus ROG G750JH-DB71 Graphics Card Replacement, Battery: step 1, image 1 of 2 Asus ROG G750JH-DB71 Graphics Card Replacement, Battery: step 1, image 2 of 2
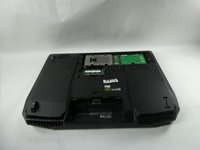
      • Ensure the laptop is powered off and unplugged before beginning.

      • Flip the laptop over so the bottom case is facing up.

      Ask FixBot

      Add Comment

    2. Asus ROG G750JH-DB71 Graphics Card Replacement: step 2, image 1 of 3 Asus ROG G750JH-DB71 Graphics Card Replacement: step 2, image 2 of 3 Asus ROG G750JH-DB71 Graphics Card Replacement: step 2, image 3 of 3
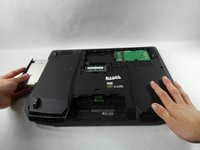
      • Push the switch near the front of the laptop to release the battery from the computer.

      • Pull the battery out and away from the center of the computer.

      Ask FixBot

      Add Comment

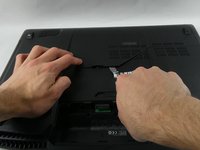
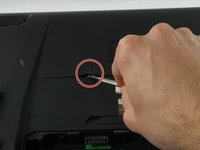
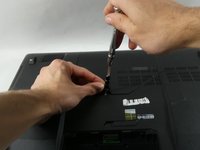
    1. Asus ROG G750JH-DB71 Graphics Card Replacement, Asus ROG G750JH-DB71: step 3, image 1 of 3 Asus ROG G750JH-DB71 Graphics Card Replacement, Asus ROG G750JH-DB71: step 3, image 2 of 3 Asus ROG G750JH-DB71 Graphics Card Replacement, Asus ROG G750JH-DB71: step 3, image 3 of 3
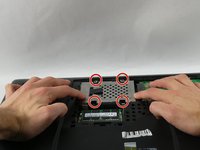
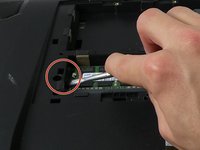
      • Use a spudger or your finger to lift up the plastic cover on the bottom of the laptop.

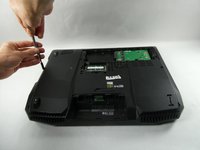
      • Under the plastic cover is a captive screw; unscrew it using a Phillips #00 screwdriver.

      Ask FixBot

      Add Comment

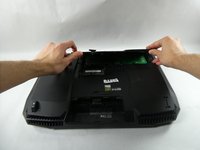
    2. Asus ROG G750JH-DB71 Graphics Card Replacement: step 4, image 1 of 2 Asus ROG G750JH-DB71 Graphics Card Replacement: step 4, image 2 of 2
      • Remove the cover.

      • If your goal is to replace/remove only the hard drive, you don't have to complete the following disassembly steps and can go on to the hard drive replacement guide.

      Ask FixBot
      Add Comment

    3. Asus ROG G750JH-DB71 Graphics Card Replacement: step 5, image 1 of 3 Asus ROG G750JH-DB71 Graphics Card Replacement: step 5, image 2 of 3 Asus ROG G750JH-DB71 Graphics Card Replacement: step 5, image 3 of 3
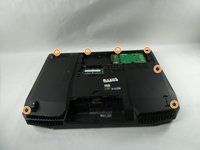
      • Remove the hard drive by unscrewing the 4.4 mm Phillips #00 screws.

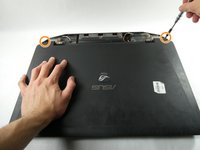
      • Remove all of the plastic caps around the edges using a spudger. Remove the screws underneath the caps.

      • There is one 13 mm Phillips #00 screw and six 8 mm Phillips #00 screws.

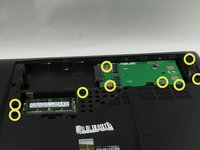
      • Remove the remaining screws underneath the cover.

      • There are six 8 mm Phillips #00 screws and three 1 mm Phillips #00 screws.

      Ask FixBot
      Add Comment

    4. Asus ROG G750JH-DB71 Graphics Card Replacement: step 6, image 1 of 3 Asus ROG G750JH-DB71 Graphics Card Replacement: step 6, image 2 of 3 Asus ROG G750JH-DB71 Graphics Card Replacement: step 6, image 3 of 3
      • You will find a metal tab holding the disc drive in place. Push on the tab with a spudger to remove the disc drive. It is located below a previously removed screw.

      • Do not pull the disc drive out from the side before pushing the metal tab as it will only damage the cover.

      • Remove the three 4 mm Phillips #00 screws that were previously covered by the disc drive.

      Ask FixBot
      Add Comment

    5. Asus ROG G750JH-DB71 Graphics Card Replacement: step 7, image 1 of 3 Asus ROG G750JH-DB71 Graphics Card Replacement: step 7, image 2 of 3 Asus ROG G750JH-DB71 Graphics Card Replacement: step 7, image 3 of 3
      • The back cover can be taken off by hand.

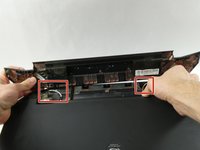
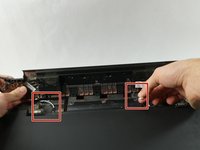
      • Disconnect the speaker cables.

      • Remove two 8 mm Phillips #00 screws on each corner.

      Ask FixBot

      Add Comment

    6. Asus ROG G750JH-DB71 Graphics Card Replacement: step 8, image 1 of 3 Asus ROG G750JH-DB71 Graphics Card Replacement: step 8, image 2 of 3 Asus ROG G750JH-DB71 Graphics Card Replacement: step 8, image 3 of 3
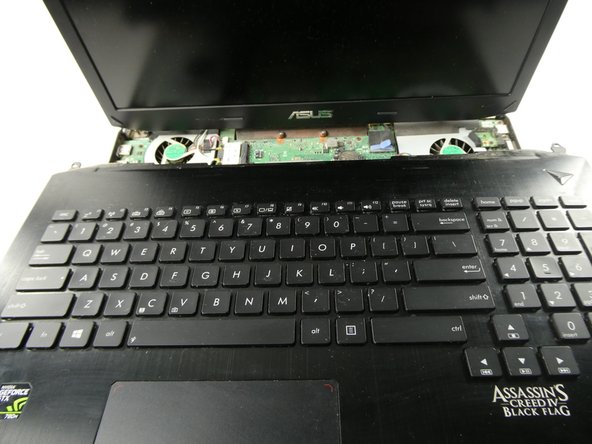
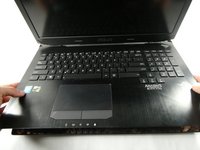
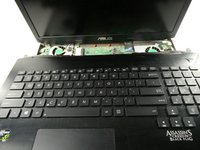
      • Pry the keyboard gently using a spudger.

      • Make sure to unhook the cables and wires from the keyboard gently in Picture 3.

      Ask FixBot

      Add Comment

    7. Asus ROG G750JH-DB71 Graphics Card Replacement: step 9, image 1 of 2 Asus ROG G750JH-DB71 Graphics Card Replacement: step 9, image 2 of 2
      • Now you can pull the keyboard off but make sure to do so carefully without damaging or scuffing any components.

      • Pull up and out at an angle to avoid damaging the internals of the laptop.

      Ask FixBot

      Add Comment

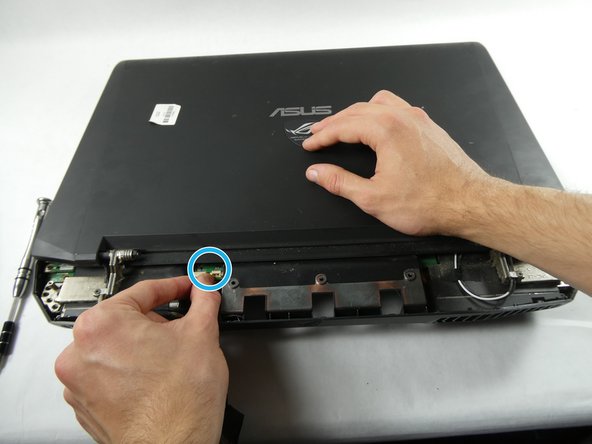
    1. Asus ROG G750JH-DB71 Graphics Card Replacement, Fan: step 10, image 1 of 1
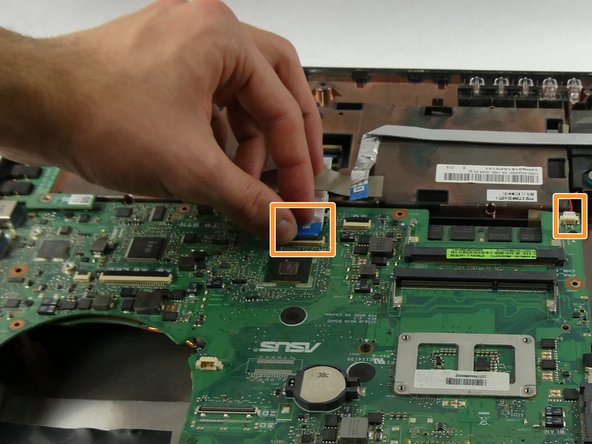
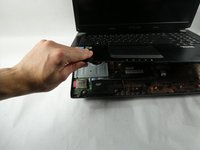
      • Remove the Data and Wi-fi cables from the sockets shown.

      Ask FixBot
      Add Comment
    2. Asus ROG G750JH-DB71 Graphics Card Replacement: step 11, image 1 of 3 Asus ROG G750JH-DB71 Graphics Card Replacement: step 11, image 2 of 3 Asus ROG G750JH-DB71 Graphics Card Replacement: step 11, image 3 of 3
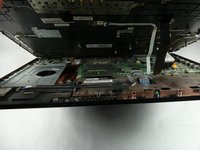
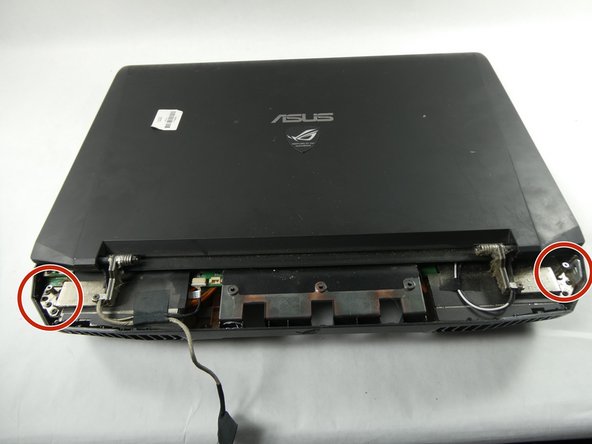
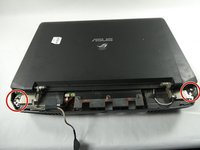
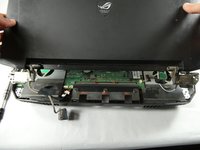
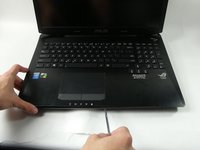
      • Slowly close the lid and turn the device around.

      • Remove the 6 screws (3 on each side) from the edges of the device. (8mm Phillips 00)

      • Remove the Webcam cable.

      Ask FixBot

      Add Comment

    3. Asus ROG G750JH-DB71 Graphics Card Replacement: step 12, image 1 of 3 Asus ROG G750JH-DB71 Graphics Card Replacement: step 12, image 2 of 3 Asus ROG G750JH-DB71 Graphics Card Replacement: step 12, image 3 of 3
      • Carefully lift the lid away from the rest of the device.

      • There may be tape covering the fans or other components. Remove it slowly as to not damage anything.

      Ask FixBot

      Add Comment

    4. Asus ROG G750JH-DB71 Graphics Card Replacement: step 13, image 1 of 3 Asus ROG G750JH-DB71 Graphics Card Replacement: step 13, image 2 of 3 Asus ROG G750JH-DB71 Graphics Card Replacement: step 13, image 3 of 3
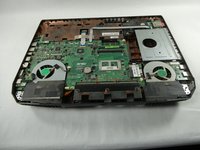
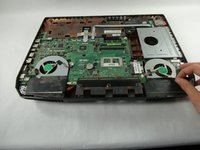
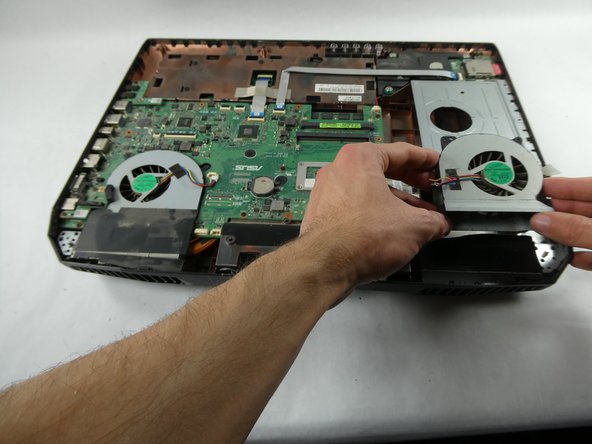
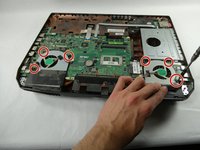
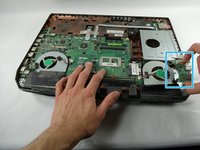
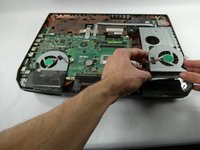
      • Remove the three screws surrounding each fan shown along with the ribbon cables connecting them to the motherboard. (4mm Phillips 00)

      • Remove the USB port board blocking the rightmost fan.

      • Remove the fans from the board.

      Ask FixBot

      Add Comment

    1. Asus ROG G750JH-DB71 Graphics Card Replacement, Graphics Card: step 14, image 1 of 2 Asus ROG G750JH-DB71 Graphics Card Replacement, Graphics Card: step 14, image 2 of 2
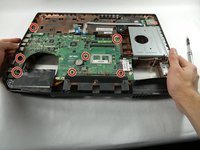
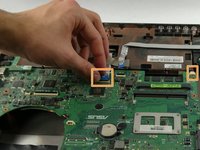
      • Use a Phillips #00 to remove seven 4.0 mm screws connecting the motherboard to the case.

      • Disconnect the cables still attached to the main board.

      Ask FixBot

      Add Comment

    2. Asus ROG G750JH-DB71 Graphics Card Replacement: step 15, image 1 of 2 Asus ROG G750JH-DB71 Graphics Card Replacement: step 15, image 2 of 2
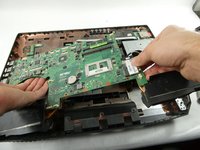
      • Slowly lift the main board out of the chassis.

      Ask FixBot

      Add Comment

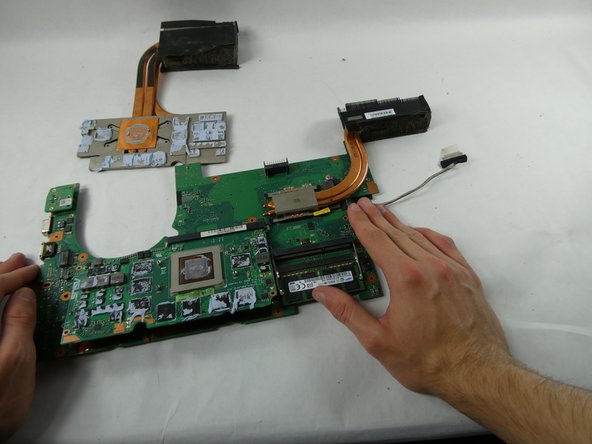
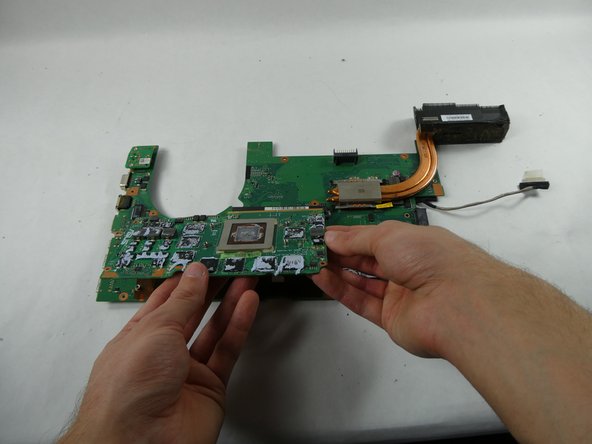
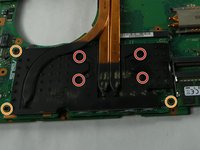
    3. Asus ROG G750JH-DB71 Graphics Card Replacement: step 16, image 1 of 3 Asus ROG G750JH-DB71 Graphics Card Replacement: step 16, image 2 of 3 Asus ROG G750JH-DB71 Graphics Card Replacement: step 16, image 3 of 3
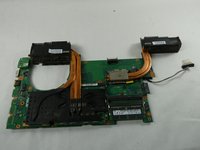
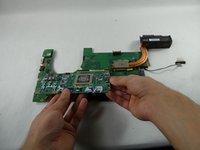
      • Use a Phillips #00 screwdriver to remove the four 4 mm screws connecting to the heat sink.

      • Use a Phillips #00 screwdriver to remove the three 1 mm screws connected to the board.

      • Lift the graphics card off to remove it from the main board.

      Ask FixBot

      Add Comment

Conclusion

To reassemble your device, follow these instructions in reverse order.

Cancel: I did not complete this guide.

James Mills

Member since: 10/25/22

486 Reputation

4 Guides authored

Team

UMass Dartmouth, Team 5-5, Sinclaire Fall 2022 Member of UMass Dartmouth, Team 5-5, Sinclaire Fall 2022

UMASSD-SINCLAIRE-F22S5G5

4 Members

71 Guides authored

0 Guide Comments

Add Comment

View Statistics:

Past 24 Hours: 3

Past 7 Days: 15

Past 30 Days: 42

All Time: 846