Free Shipping on Domestic Orders $75+

Asus ROG Ally Heatsink Replacement

What you need

  1. Asus ROG Ally Heatsink Replacement, Prepare your device for disassembly: step 1, image 1 of 3 Asus ROG Ally Heatsink Replacement, Prepare your device for disassembly: step 1, image 2 of 3 Asus ROG Ally Heatsink Replacement, Prepare your device for disassembly: step 1, image 3 of 3
    • Let your device's battery drain below 25% before starting this repair—a charged lithium‑ion battery may catch fire if damaged.

    • Completely power off your device and unplug all cables.

    • Consider laying your device on a soft cloth to prevent scratching or damaging the screen during your repair.

    Ask FixBot

    Add Comment

  2. Asus ROG Ally Heatsink Replacement, Unfasten the back cover: step 2, image 1 of 2 Asus ROG Ally Heatsink Replacement, Unfasten the back cover: step 2, image 2 of 2
    Tool used on this step:
    FixMat
    $36.95
    Buy
    • Throughout this repair, keep track of each screw and make sure it goes back exactly where it came from.

    • Use a Phillips #0 screwdriver to remove the five 17.2 mm‑long screws securing the top edge and bottom corners of the back cover.

    • Use a Phillips #0 screwdriver to fully loosen the remaining captive screw at the center of the bottom edge. This should create a small gap between the back cover and chassis.

    • Don't try to remove this screw.

    Ask FixBot

    Add Comment

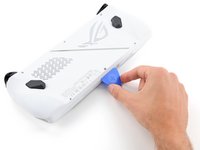
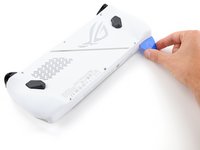
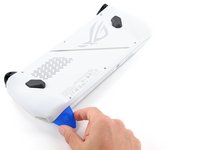
  3. Asus ROG Ally Heatsink Replacement, Insert an opening pick: step 3, image 1 of 3 Asus ROG Ally Heatsink Replacement, Insert an opening pick: step 3, image 2 of 3 Asus ROG Ally Heatsink Replacement, Insert an opening pick: step 3, image 3 of 3
    • Insert the flat edge of an opening pick between the bottom edge of the back cover and chassis, near the captive screw.

    • Angle the pick upward and push it under the back cover.

    Ask FixBot

    Add Comment

  4. Asus ROG Ally Heatsink Replacement, Release the back cover's clips: step 4, image 1 of 3 Asus ROG Ally Heatsink Replacement, Release the back cover's clips: step 4, image 2 of 3 Asus ROG Ally Heatsink Replacement, Release the back cover's clips: step 4, image 3 of 3
    • Plastic clips secure the perimeter of the back cover. You should feel and hear them release during this step.

    • Slide the opening pick along the bottom edge and around the corners of the back cover to release the clips securing it.

    • Keep the pick at an upward angle under the back cover to help release the clips.

    Ask FixBot

    Add Comment

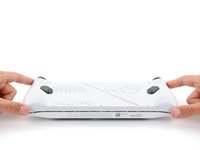
  5. Asus ROG Ally Heatsink Replacement, Remove the back cover: step 5, image 1 of 3 Asus ROG Ally Heatsink Replacement, Remove the back cover: step 5, image 2 of 3 Asus ROG Ally Heatsink Replacement, Remove the back cover: step 5, image 3 of 3
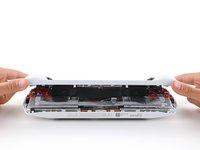
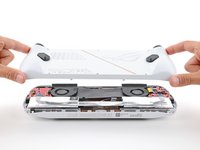
    • Lift the bottom edge of the back cover off the chassis to release the remaining clips.

    • Remove the back cover.

    • During reassembly, lay the back cover onto your device and firmly push down around the perimeter to engage the clips.

    Ask FixBot

    Add Comment

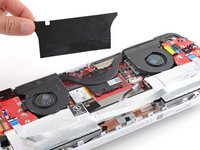
  6. Asus ROG Ally Heatsink Replacement, Remove the plastic cover: step 6, image 1 of 3 Asus ROG Ally Heatsink Replacement, Remove the plastic cover: step 6, image 2 of 3 Asus ROG Ally Heatsink Replacement, Remove the plastic cover: step 6, image 3 of 3
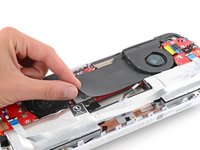
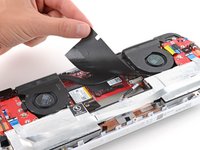
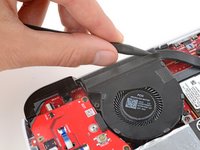
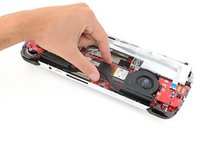
    • Use your fingers to peel up and remove the black plastic cover between the fans.

    • Put the cover aside—you'll use it during reassembly.

    Ask FixBot

    Add Comment

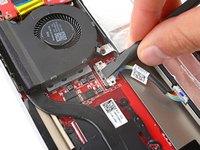
  7. Asus ROG Ally Heatsink Replacement, Unlatch the locking bar: step 7, image 1 of 3 Asus ROG Ally Heatsink Replacement, Unlatch the locking bar: step 7, image 2 of 3 Asus ROG Ally Heatsink Replacement, Unlatch the locking bar: step 7, image 3 of 3
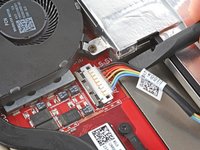
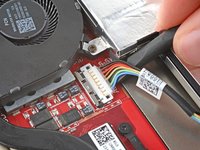
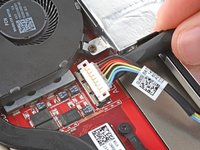
    • A metal locking bar secures the top edge of the battery connector

    • Use the flat end of a spudger to gently push the locking bar away from the connector to unlatch it.

    Ask FixBot

    Add Comment

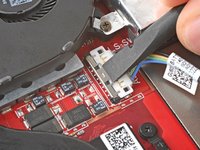
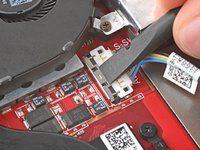
  8. Asus ROG Ally Heatsink Replacement, Disconnect the battery: step 8, image 1 of 3 Asus ROG Ally Heatsink Replacement, Disconnect the battery: step 8, image 2 of 3 Asus ROG Ally Heatsink Replacement, Disconnect the battery: step 8, image 3 of 3
    • Make sure the locking bar is not covering the battery connector at all, or you may damage the socket and the locking bar.

    • Insert the flat end of a spudger under the center of the battery connector.

    • Lift the connector straight up and out of its socket to disconnect the battery.

    • During reassembly, use your fingers or the flat end of a spudger to firmly push the connector onto its socket until it clicks into place.

    Ask FixBot

    Add Comment

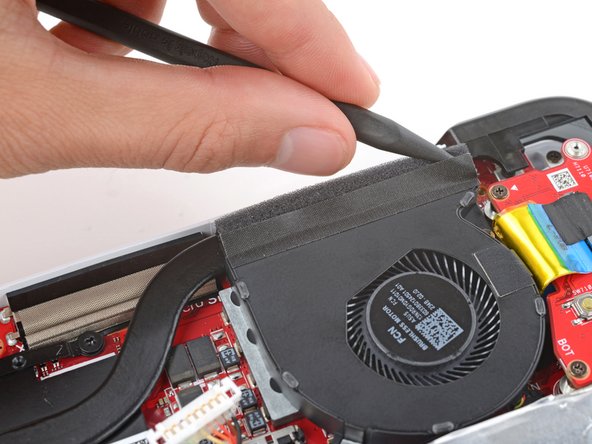
  9. Asus ROG Ally Heatsink Replacement, Separate the fan tape: step 9, image 1 of 3 Asus ROG Ally Heatsink Replacement, Separate the fan tape: step 9, image 2 of 3 Asus ROG Ally Heatsink Replacement, Separate the fan tape: step 9, image 3 of 3
    • Two pieces of tape secure the upper edges of the fans to the heatsink foam.

    • Insert the point of a spudger between the tape on the upper edge of one of the fans and the heatsink foam.

    • Slide the spudger under the length of the tape to separate it from the foam.

    Ask FixBot

    Add Comment

  10. Asus ROG Ally Heatsink Replacement: step 10, image 1 of 3 Asus ROG Ally Heatsink Replacement: step 10, image 2 of 3 Asus ROG Ally Heatsink Replacement: step 10, image 3 of 3
    • Repeat the previous step to separate the other piece of fan tape.

    • During reassembly, firmly press both pieces of tape back onto the foam.

    Ask FixBot

    Add Comment

  11. Asus ROG Ally Heatsink Replacement, Unfasten the heatsink: step 11, image 1 of 2 Asus ROG Ally Heatsink Replacement, Unfasten the heatsink: step 11, image 2 of 2
    Tool used on this step:
    Tweezers
    $4.99
    Buy
    • Use a Phillips #0 screwdriver to fully loosen the four captive screws securing the heatsink. Don't try to remove these screws.

    • The bottom left screw has a warning sticker on it. Pierce through it with your screwdriver or use tweezers to remove it.

    • During reassembly, tighten the screws in order (1, 2, 3, 4) based on the number stamped next to each screw.

    Ask FixBot

    Add Comment

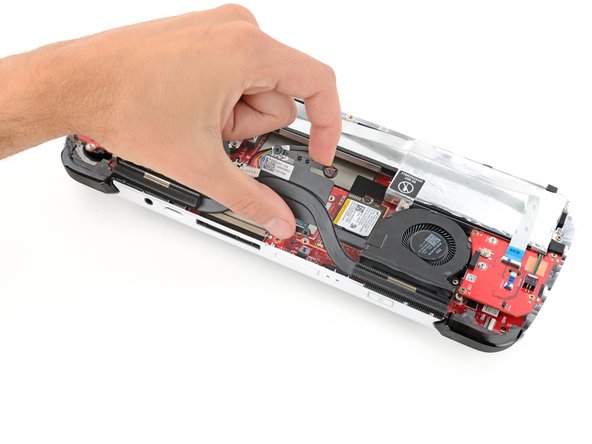
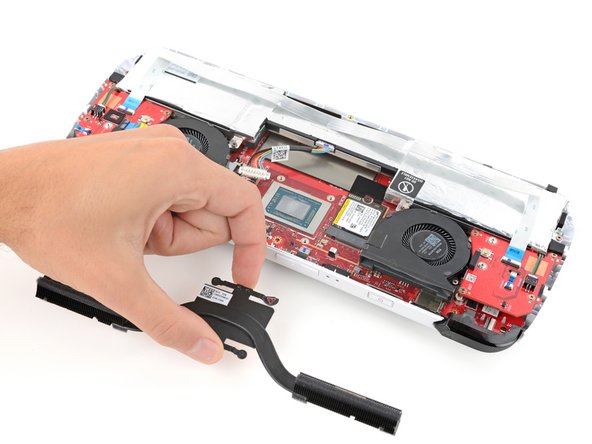
  12. Asus ROG Ally Heatsink Replacement, Remove the heatsink: step 12, image 1 of 3 Asus ROG Ally Heatsink Replacement, Remove the heatsink: step 12, image 2 of 3 Asus ROG Ally Heatsink Replacement, Remove the heatsink: step 12, image 3 of 3
    • Lift the bottom edge of the heatsink and remove it.

    • You may feel some resistance, as thermal paste bonds the heatsink to the CPU.

    Ask FixBot

    Add Comment

  13. Asus ROG Ally Heatsink Replacement, Replace the thermal paste: step 13, image 1 of 3 Asus ROG Ally Heatsink Replacement, Replace the thermal paste: step 13, image 2 of 3 Asus ROG Ally Heatsink Replacement, Replace the thermal paste: step 13, image 3 of 3
    • Before installing a heatsink, follow this guide to clean both the CPU and heatsink and apply new thermal paste.

    Ask FixBot

    Add Comment

Conclusion

To reassemble your device, follow these instructions in reverse order.

Take your e-waste to an R2 or e-Stewards certified recycler.

Repair didn’t go as planned? Try some basic troubleshooting, or ask our Answers community for help.

Cancel: I did not complete this guide.

5 other people completed this guide.

Spencer Day

Member since: 09/14/22

196,314 Reputation

1,243 Guides authored

Team

iFixit Member of iFixit

Staff

123 Members

28,230 Guides authored

1 Guide Comment

What kind of Thermal Paste does ROG Ally use? Just normal thermal paste or some kind of phase-change thermal pad?

Rizky Saputra - Reply Share

Add Comment

View Statistics:

Past 24 Hours: 4

Past 7 Days: 44

Past 30 Days: 240

All Time: 4,503