Free Shipping on Domestic Orders $75+

Asus R510CA-OB01 Keyboard and Mousepad Replacement

What you need

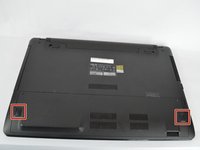
    1. Asus R510CA-OB01 Keyboard and Mousepad Replacement, Battery: step 1, image 1 of 3 Asus R510CA-OB01 Keyboard and Mousepad Replacement, Battery: step 1, image 2 of 3 Asus R510CA-OB01 Keyboard and Mousepad Replacement, Battery: step 1, image 3 of 3
      • Locate the two switches that lock the battery.

      • Then, push the right switch outward to unlock it.

      Ask FixBot

      Add Comment

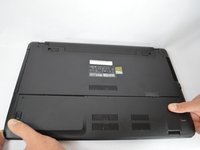
    2. Asus R510CA-OB01 Keyboard and Mousepad Replacement: step 2, image 1 of 2 Asus R510CA-OB01 Keyboard and Mousepad Replacement: step 2, image 2 of 2
      • Push the left switch outward and push the battery upward at the same time.

      Ask FixBot

      Add Comment

    3. Asus R510CA-OB01 Keyboard and Mousepad Replacement: step 3, image 1 of 1
      • Use a Li-ion battery as a replacement for your battery.

      Ask FixBot

      Add Comment

    1. Asus R510CA-OB01 Keyboard and Mousepad Replacement, Keyboard and Mousepad: step 4, image 1 of 1
      • Shut down the computer and disconnect all external devices connected to it.

      • Turn the computers that it is upside down. Position the computer with the front towards you.

      Ask FixBot

      Add Comment

    2. Asus R510CA-OB01 Keyboard and Mousepad Replacement: step 5, image 1 of 1
      • After detaching the battery, remove the two 5mm screws holding down the casing using a Phillips #00 screwdriver.

      Ask FixBot

      Add Comment

    3. Asus R510CA-OB01 Keyboard and Mousepad Replacement: step 6, image 1 of 2 Asus R510CA-OB01 Keyboard and Mousepad Replacement: step 6, image 2 of 2
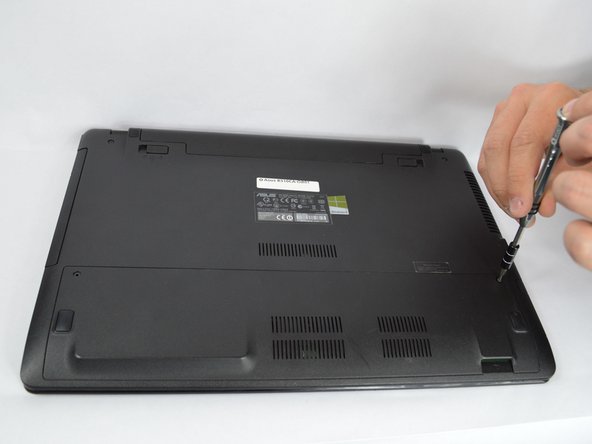
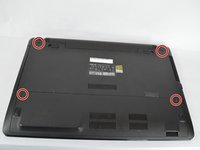
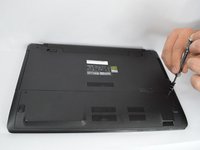
      • Loosen the four 12mm screws on the bottom and top panel of your device using a Phillips #0 screwdriver.

      Ask FixBot

      Add Comment

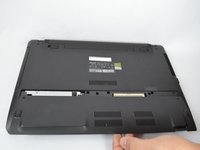
    4. Asus R510CA-OB01 Keyboard and Mousepad Replacement: step 7, image 1 of 3 Asus R510CA-OB01 Keyboard and Mousepad Replacement: step 7, image 2 of 3 Asus R510CA-OB01 Keyboard and Mousepad Replacement: step 7, image 3 of 3
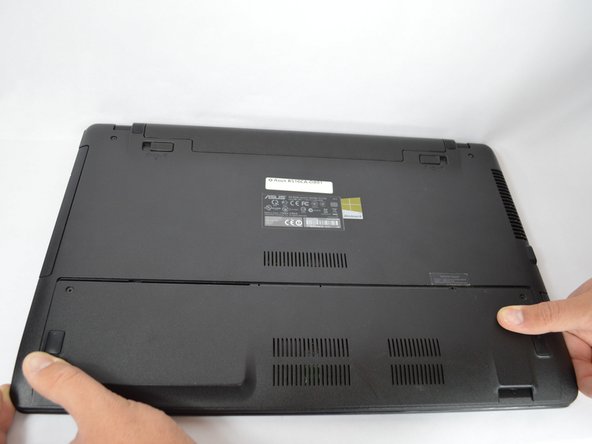
      • Use the grips to slide the panel off.

      • Remove the panel by lifting it off the device.

      Ask FixBot

      Add Comment

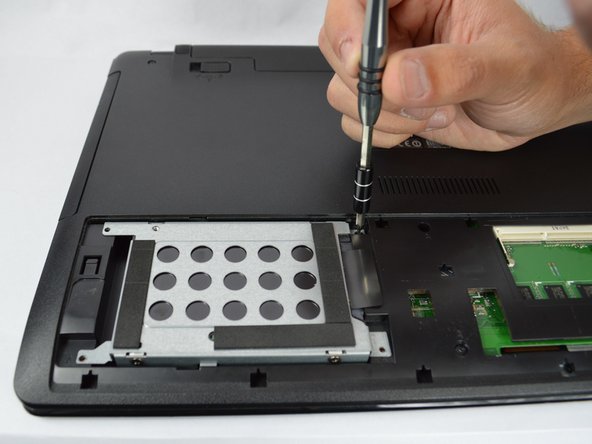
    5. Asus R510CA-OB01 Keyboard and Mousepad Replacement: step 8, image 1 of 2 Asus R510CA-OB01 Keyboard and Mousepad Replacement: step 8, image 2 of 2
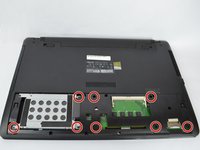
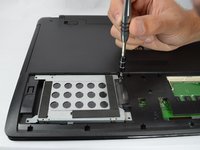
      • Remove the three 5mm screws holding down the hard drive and the five 5mm screws holding down the casing using a Phillips #00 bit.

      Ask FixBot

      Add Comment

    6. Asus R510CA-OB01 Keyboard and Mousepad Replacement: step 9, image 1 of 2 Asus R510CA-OB01 Keyboard and Mousepad Replacement: step 9, image 2 of 2
      • Turn the laptop the right way up and face it towards you.

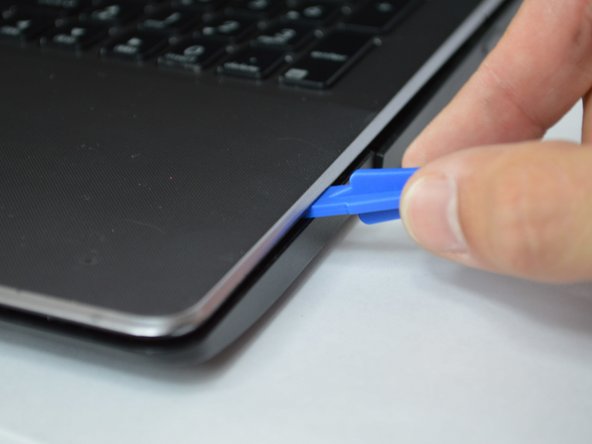
      • Insert the flat edge of the flat plastic opening tool into the crease of the keyboard cover.

      • While the opening tool is in the crease, carefully pry open the casing by sliding the plastic opening tool along the edge.

      Ask FixBot

      Add Comment

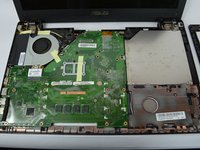
    7. Asus R510CA-OB01 Keyboard and Mousepad Replacement: step 10, image 1 of 2 Asus R510CA-OB01 Keyboard and Mousepad Replacement: step 10, image 2 of 2
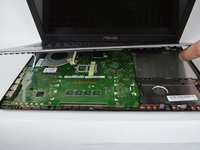
      • Make sure that the entire cover has been released front the plastic pins.

      • Slowly lift the cover open from the front of the laptop but do not completely remove.

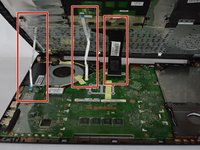
      • Note the three locations of the three white and blue data cables connecting the keyboard to the computer's main board.

      Ask FixBot

      Add Comment

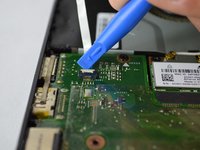
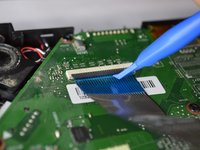
    8. Asus R510CA-OB01 Keyboard and Mousepad Replacement: step 11, image 1 of 3 Asus R510CA-OB01 Keyboard and Mousepad Replacement: step 11, image 2 of 3 Asus R510CA-OB01 Keyboard and Mousepad Replacement: step 11, image 3 of 3
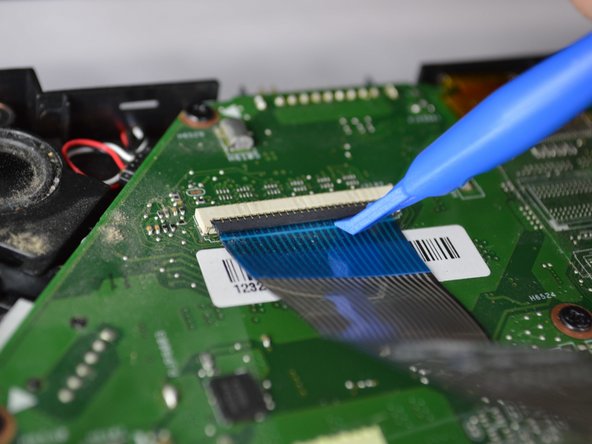
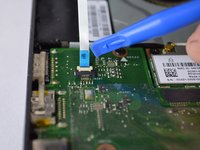
      • Remove each data cable from the motherboard by using your finger or the plastic opening tool to lift the white latch.

      • The cable will slide out of its place.

      Ask FixBot

      Add Comment

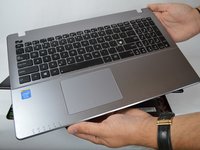
    9. Asus R510CA-OB01 Keyboard and Mousepad Replacement: step 12, image 1 of 2 Asus R510CA-OB01 Keyboard and Mousepad Replacement: step 12, image 2 of 2
      • With the data cables removed and the keyboard module fully disconnected, the keyboard module should come free from the laptop.

      Ask FixBot

      Add Comment

Conclusion

To reassemble your device, follow these instructions in reverse order.

Cancel: I did not complete this guide.

One other person completed this guide.

Blanche Pinto

Member since: 09/28/17

461 Reputation

4 Guides authored

Team

USF Tampa, Team S3-G4, Nance Fall 2017 Member of USF Tampa, Team S3-G4, Nance Fall 2017

USFT-NANCE-F17S3G4

2 Members

48 Guides authored

0 Guide Comments

Add Comment

View Statistics:

Past 24 Hours: 3

Past 7 Days: 10

Past 30 Days: 39

All Time: 1,132