
Asus R510CA-OB01 Hard Drive Replacement

Blanche Pinto and 3 other contributors
Last updated on Apr 10, 2019
Views: 998
View statistics:
- Past 24 Hours:
- 2
- Past 7 Days:
- 18
- Past 30 Days:
- 83
- All Time:
- 998
Comments: 0
No one has left comments on this guide. Will you be first?
Go to guide commentsCompleted: 0 1
No one has marked this guide "completed." Will you be the first?
1 person has marked this guide "completed." It's you — great job!
Favorites: 0 1
No one has favorited (and subscribed to) this guide. Will you be the first?
1 person has favorited (and subscribed to) this guide — and that's you!
Introduction
Go to step 1 ↓Use this guide to replace the hard drive of your Asus R510CA-OB01 laptop. In the event that you don't have enough memory space on your laptop, or your current hard drive is damaged, you can use this guide to replace the hard drive in your device.
What you need
Tools


-
-
-
Shut down the computer and disconnect all external devices connected to it.
-
Turn the computer so that it is upside down. Position the computer with the front towards you.
 Ask FixBot
-
-
-
Loosen the two 12 mm screws on the bottom panel of your device using a Phillips size 0 bit.
-
-
-
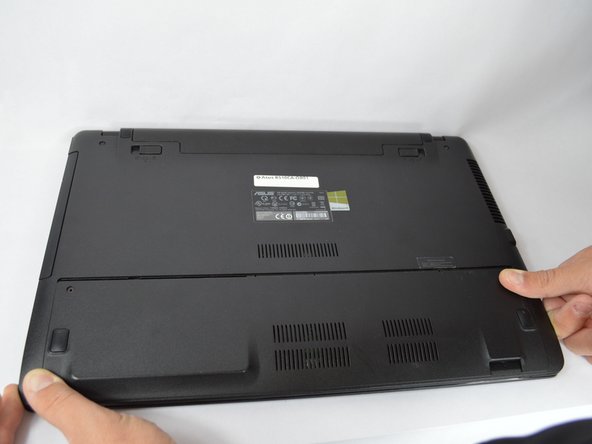
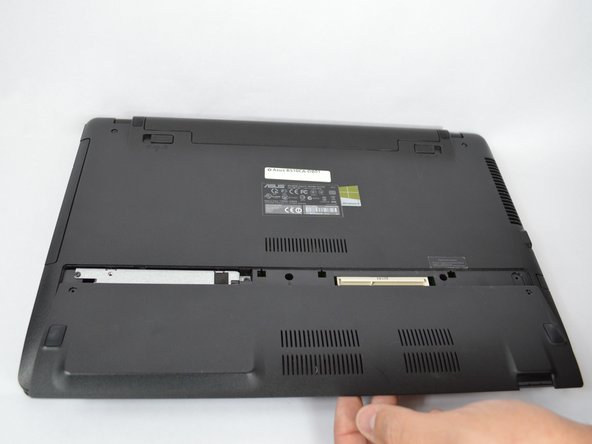
Use the grips to slide the panel off.
-
Remove the panel by lifting it off the device.
-
-
-
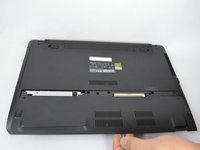
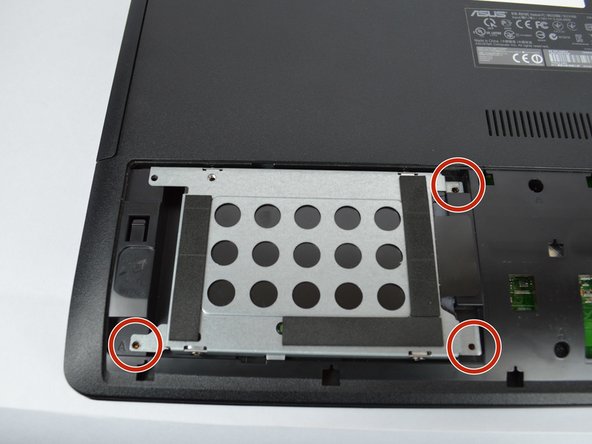
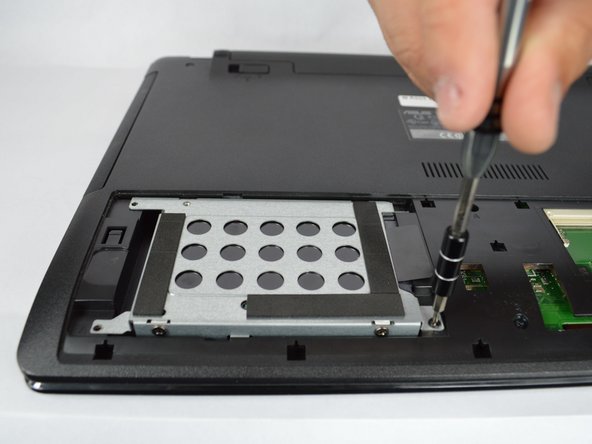
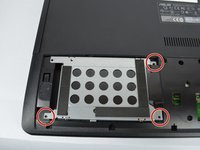
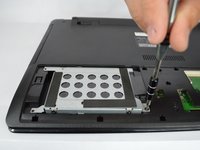
Loosen the three 5 mm screws holding down the hard drive using a Phillips #00 bit.
-
-
-
-
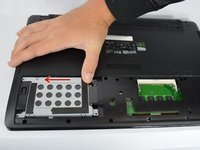
Slide the casing (hard drive bay) for the hard drive to the left.
-
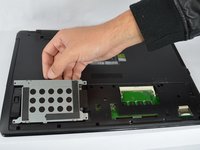
Lift it to remove it from the device.
-
-





To reassemble your device, follow these instructions in reverse order.

Team

USF Tampa, Team S3-G4, Nance Fall 2017 Member of USF Tampa, Team S3-G4, Nance Fall 2017
USFT-NANCE-F17S3G4
2 Members
48 Guides authored
