Free Shipping on Domestic Orders $75+

Asus Q550LF-BBI7T07 Disc Drive Replacement

What you need

    1. Asus Q550LF-BBI7T07 Disc Drive Replacement, Battery: step 1, image 1 of 2 Asus Q550LF-BBI7T07 Disc Drive Replacement, Battery: step 1, image 2 of 2
      • Use a T4 Torx screwdriver head to remove the ten 4mm Torx head screws on the bottom of the laptop.

      Ask FixBot

      Add Comment

    2. Asus Q550LF-BBI7T07 Disc Drive Replacement: step 2, image 1 of 2 Asus Q550LF-BBI7T07 Disc Drive Replacement: step 2, image 2 of 2
      • Use an opening tool to pry open the rear cover. Lift the cover off and away from the board.

      Ask FixBot

      Add Comment

    3. Asus Q550LF-BBI7T07 Disc Drive Replacement: step 3, image 1 of 2 Asus Q550LF-BBI7T07 Disc Drive Replacement: step 3, image 2 of 2
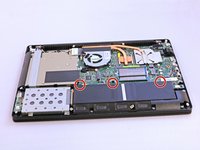
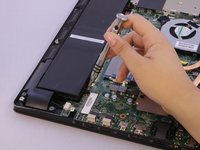
      • Use a Phillips #0 screwdriver head to remove the three black 7mm Phillips head screws that hold the battery in place.

      Ask FixBot

      Add Comment

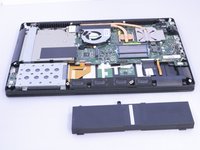
    4. Asus Q550LF-BBI7T07 Disc Drive Replacement: step 4, image 1 of 2 Asus Q550LF-BBI7T07 Disc Drive Replacement: step 4, image 2 of 2
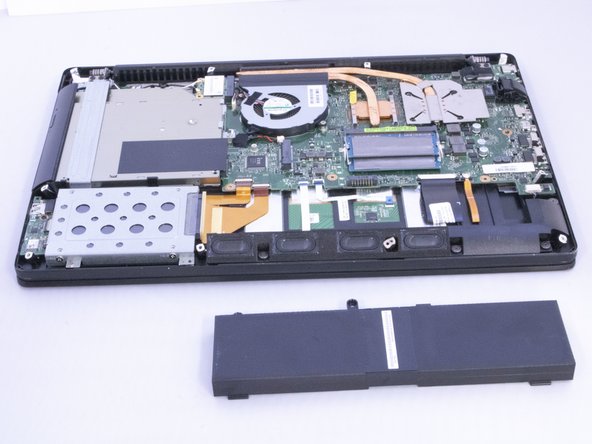
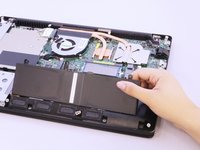
      • Once the screws have been removed, gently lift the battery out.

      Ask FixBot

      Add Comment

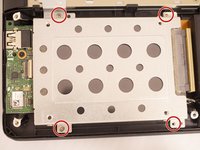
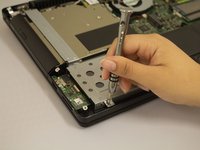
    1. Asus Q550LF-BBI7T07 Disc Drive Replacement, Hard Drive: step 5, image 1 of 2 Asus Q550LF-BBI7T07 Disc Drive Replacement, Hard Drive: step 5, image 2 of 2
      • Use the Phillips #0 Screwdriver to unscrew the four silver 5mm screws.

      Ask FixBot

      Add Comment

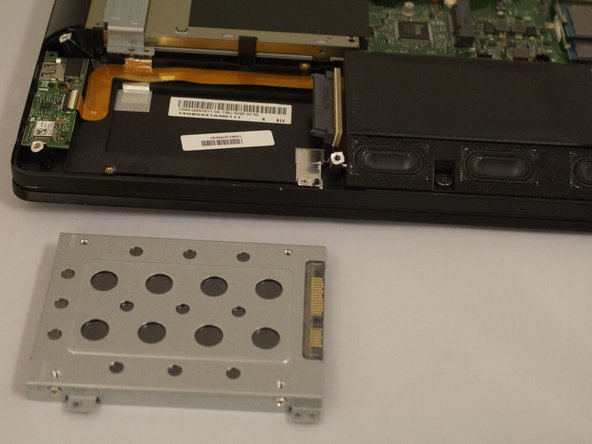
    2. Asus Q550LF-BBI7T07 Disc Drive Replacement: step 6, image 1 of 2 Asus Q550LF-BBI7T07 Disc Drive Replacement: step 6, image 2 of 2
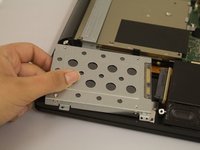
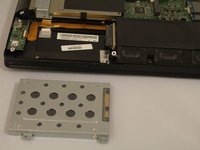
      • Gently disconnect the Hard Drive from the connector cable. Lift it out and remove it.

      Ask FixBot

      Add Comment

    1. Asus Q550LF-BBI7T07 Disc Drive Replacement, Disc Drive: step 7, image 1 of 2 Asus Q550LF-BBI7T07 Disc Drive Replacement, Disc Drive: step 7, image 2 of 2
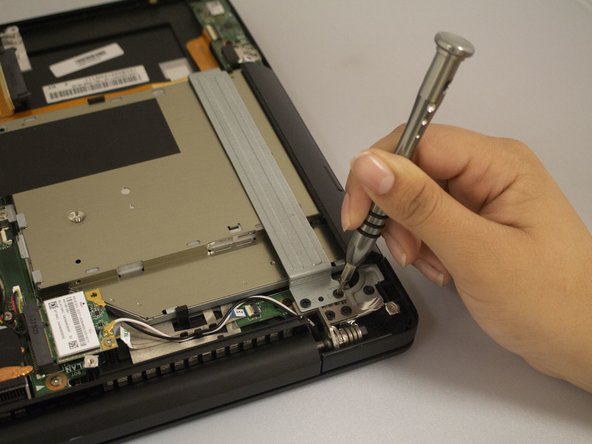
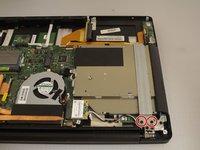
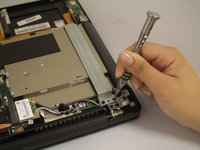
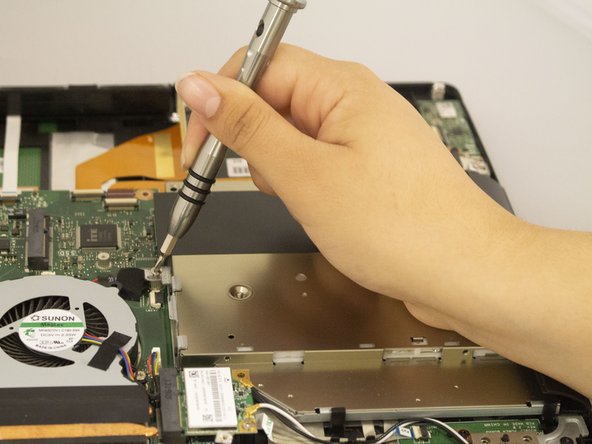
      • Use the Phillips #0 screwdriver to remove the two 7mm Phillips head screws from the metal disc drive holder.

      Ask FixBot

      Add Comment

    2. Asus Q550LF-BBI7T07 Disc Drive Replacement: step 8, image 1 of 1
      • Lift the metal disc drive holder off of the disc drive to remove it.

      Ask FixBot

      Add Comment

    3. Asus Q550LF-BBI7T07 Disc Drive Replacement: step 9, image 1 of 2 Asus Q550LF-BBI7T07 Disc Drive Replacement: step 9, image 2 of 2
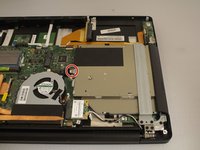
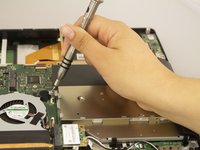
      • Use the Phillips #0 screwdriver to unscrew the one silver 5mm Phillips head screw that connects the disc drive to the motherboard.

      Ask FixBot

      Add Comment

    4. Asus Q550LF-BBI7T07 Disc Drive Replacement: step 10, image 1 of 2 Asus Q550LF-BBI7T07 Disc Drive Replacement: step 10, image 2 of 2
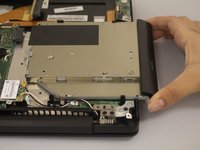
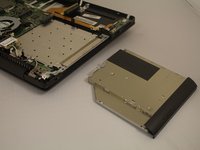
      • Slowly slide out the disc drive, keeping it level, to remove it.

      Ask FixBot

      Add Comment

Conclusion

To reassemble your device, follow these instructions in reverse order.

Cancel: I did not complete this guide.

0 Guide Comments

Add Comment

View Statistics:

Past 24 Hours: 3

Past 7 Days: 11

Past 30 Days: 32

All Time: 723