Free Shipping on Domestic Orders $75+

Asus Q524U Wi-Fi Card Replacement

Views: 456

View statistics:

Past 24 Hours:
1
Past 7 Days:
18
Past 30 Days:
63
All Time:
456
Comments: 0

No one has left comments on this guide. Will you be first?

Go to guide comments
Completed: 0

No one has marked this guide "completed." Will you be the first?

Favorites: 0

No one has favorited (and subscribed to) this guide. Will you be the first?

Time Required: 5 minutes
Difficulty: Moderate
Needs Better Images

Better photos will improve this guide. Help out by taking, editing, or uploading new ones!

Asus Q524U Wi-Fi Card Replacement

Introduction

Go to step 1 ↓

This guide will show you how to replace the Wi-Fi and Bluetooth chip for the Asus Q524U (Asus Q524UQ) laptop. The Wi-Fi and Bluetooth chip allows the computer to connect to wireless Wi-Fi and also connect to devices that support Bluetooth.

What you need

Tools

    1. Asus Q524U Wi-Fi Card Replacement, Back Panel: step 1, image 1 of 2 Asus Q524U Wi-Fi Card Replacement, Back Panel: step 1, image 2 of 2
      • Remove ten 3 mm screws using a Phillips #0 screwdriver.

      Ask FixBot

      Add Comment

    2. Asus Q524U Wi-Fi Card Replacement: step 2, image 1 of 1
      • Lift up the back panel and set it to the side.

      Ask FixBot

      Add Comment

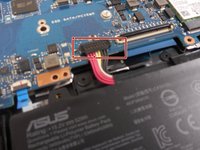
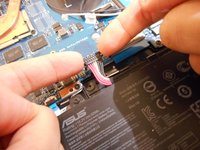
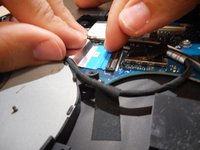
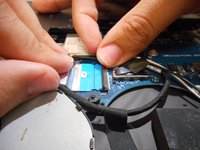
    1. Asus Q524U Wi-Fi Card Replacement, Battery: step 3, image 1 of 2 Asus Q524U Wi-Fi Card Replacement, Battery: step 3, image 2 of 2
      • Using your fingers, grip onto both sides of the wire harness and push it upwards.

      Ask FixBot

      Add Comment

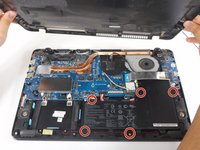
    2. Asus Q524U Wi-Fi Card Replacement: step 4, image 1 of 2 Asus Q524U Wi-Fi Card Replacement: step 4, image 2 of 2
      • Remove the five 3 mm screws holding the battery in place using a Phillips #0 screwdriver.

      Ask FixBot

      Add Comment

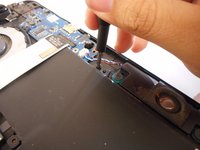
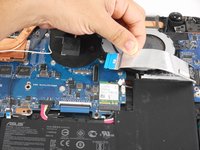
    3. Asus Q524U Wi-Fi Card Replacement: step 5, image 1 of 3 Asus Q524U Wi-Fi Card Replacement: step 5, image 2 of 3 Asus Q524U Wi-Fi Card Replacement: step 5, image 3 of 3
      • Tilt the small black tab up which will allow the blue tape to be slid out.

      Ask FixBot

      Add Comment

    4. Asus Q524U Wi-Fi Card Replacement: step 6, image 1 of 1
      • Simply lift the battery up and out of its holding area.

      Ask FixBot

      Add Comment

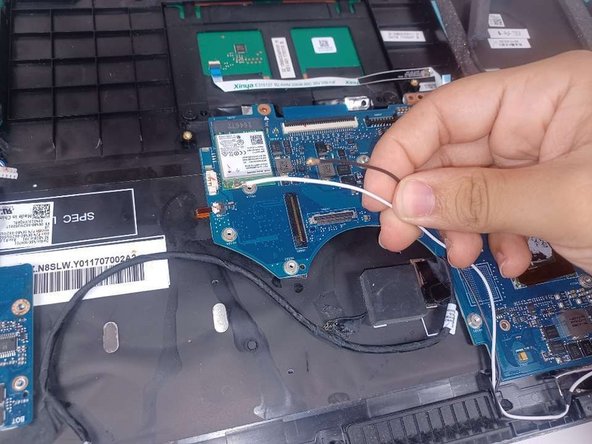
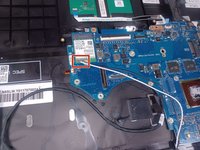
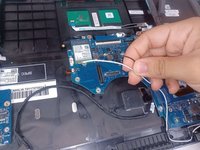
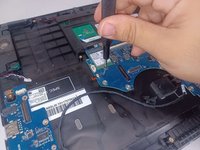
    1. Asus Q524U Wi-Fi Card Replacement, Wi-Fi Card: step 7, image 1 of 2 Asus Q524U Wi-Fi Card Replacement, Wi-Fi Card: step 7, image 2 of 2
      • Disconnect the black and white wires by pulling them up.

      Ask FixBot

      Add Comment

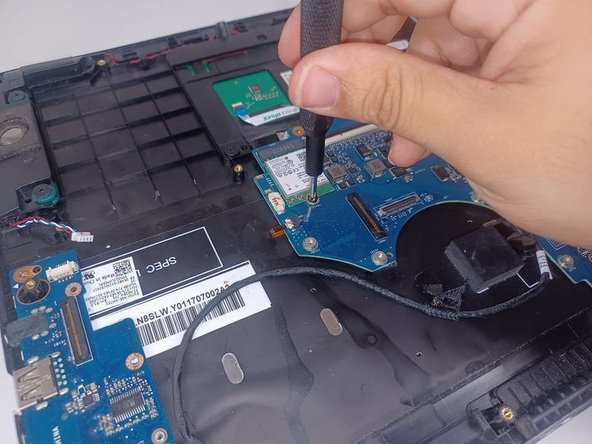
    2. Asus Q524U Wi-Fi Card Replacement: step 8, image 1 of 2 Asus Q524U Wi-Fi Card Replacement: step 8, image 2 of 2
      • Unscrew the single 3 mm screw using a Phillips #0 screwdriver.

      Ask FixBot

      Add Comment

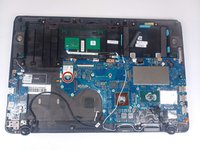
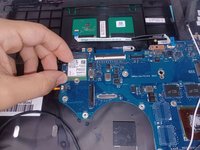
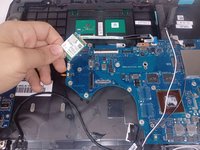
    3. Asus Q524U Wi-Fi Card Replacement: step 9, image 1 of 2 Asus Q524U Wi-Fi Card Replacement: step 9, image 2 of 2
      • Slide the Wi-Fi card out of its slot.

      Ask FixBot

      Add Comment

Conclusion

To reassemble your device, follow these instructions in reverse order.

Cancel: I did not complete this guide.

0 Guide Comments

Add Comment

View Statistics:

Past 24 Hours: 1

Past 7 Days: 18

Past 30 Days: 63

All Time: 456