Free Shipping on Domestic Orders $75+

Asus Q325U Keyboard Replacement

What you need

    1. Asus Q325U Keyboard Replacement, Back Panel: step 1, image 1 of 3 Asus Q325U Keyboard Replacement, Back Panel: step 1, image 2 of 3 Asus Q325U Keyboard Replacement, Back Panel: step 1, image 3 of 3
      • Remove the ten 5mm screws using a T5 Torx screwdriver.

      Ask FixBot

      Add Comment

    2. Asus Q325U Keyboard Replacement: step 2, image 1 of 3 Asus Q325U Keyboard Replacement: step 2, image 2 of 3 Asus Q325U Keyboard Replacement: step 2, image 3 of 3
      • Lift the back panel upward using the suction tool.

      Ask FixBot

      Add Comment

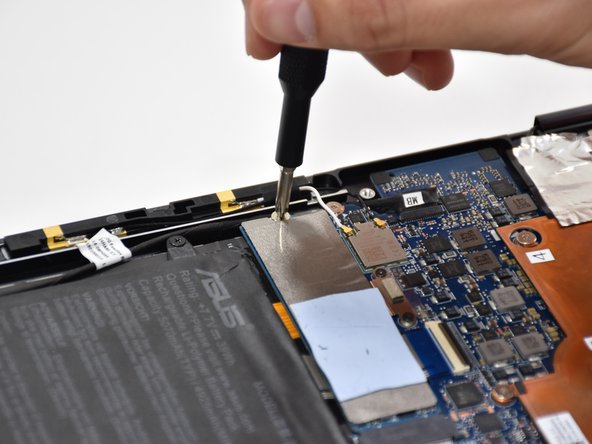
    1. Asus Q325U Keyboard Replacement, SSD: step 3, image 1 of 2 Asus Q325U Keyboard Replacement, SSD: step 3, image 2 of 2
      • Remove one 2mm screw on top of the SSD using a Phillips #1 screwdriver.

      Ask FixBot

      Add Comment

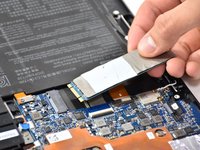
    2. Asus Q325U Keyboard Replacement: step 4, image 1 of 2 Asus Q325U Keyboard Replacement: step 4, image 2 of 2
      • Carefully slide and lift the SSD to remove it.

      Ask FixBot
      Add Comment

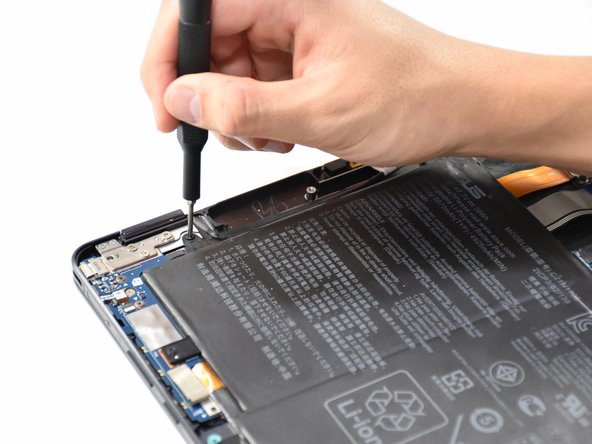
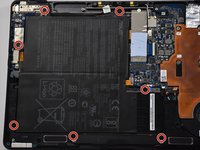
    1. Asus Q325U Keyboard Replacement, Battery: step 5, image 1 of 2 Asus Q325U Keyboard Replacement, Battery: step 5, image 2 of 2
      • Remove the seven 5mm screws around the battery using a Phillips #00 screwdriver.

      Ask FixBot

      Add Comment

    2. Asus Q325U Keyboard Replacement: step 6, image 1 of 2 Asus Q325U Keyboard Replacement: step 6, image 2 of 2
      • Using a Phillips #000 screwdriver, remove the two 3mm screws on top of the orange battery connector.

      Ask FixBot

      Add Comment

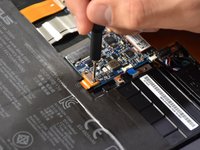
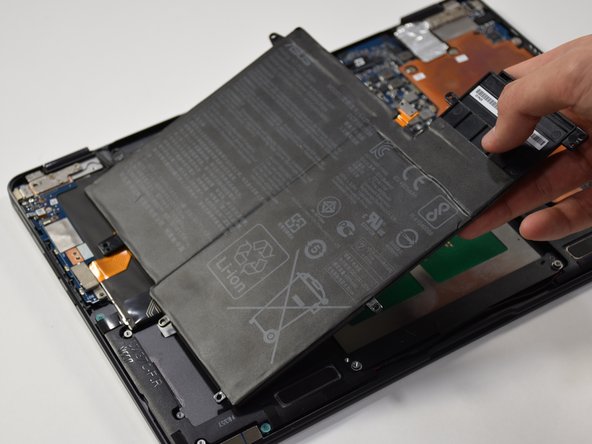
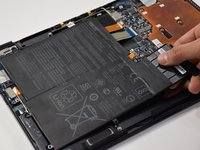
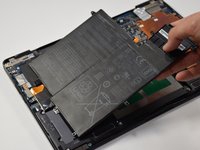
    3. Asus Q325U Keyboard Replacement: step 7, image 1 of 2 Asus Q325U Keyboard Replacement: step 7, image 2 of 2
      • Lift the battery out from the laptop.

      Ask FixBot

      Add Comment

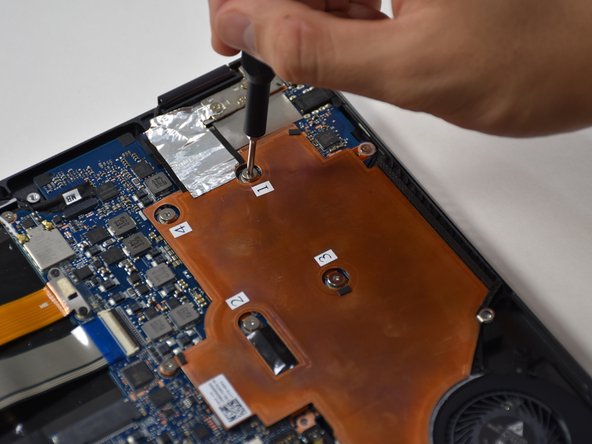
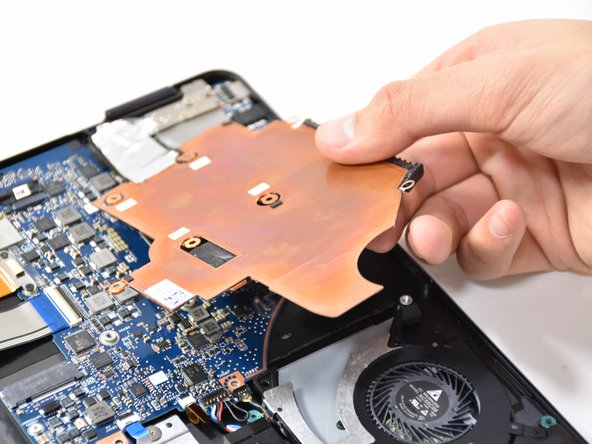
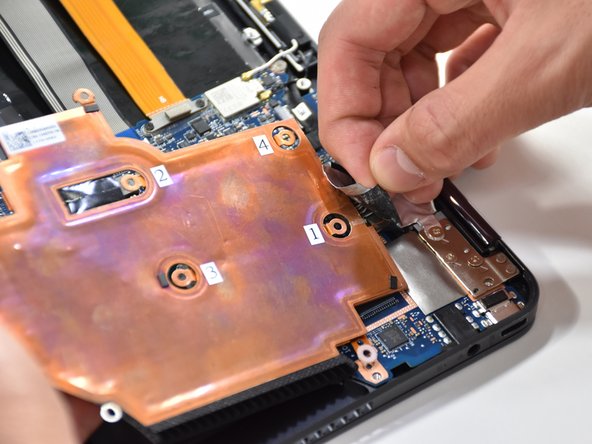
    1. Asus Q325U Keyboard Replacement, Copper Plate: step 8, image 1 of 2 Asus Q325U Keyboard Replacement, Copper Plate: step 8, image 2 of 2
      • Remove the six 3mm screws using a Phillips #00.

      Ask FixBot
      Add Comment

    2. Asus Q325U Keyboard Replacement: step 9, image 1 of 2 Asus Q325U Keyboard Replacement: step 9, image 2 of 2
      • Use the plastic opening tool to lift up the edge. Pull upward on the edge.

      Ask FixBot
      Add Comment

    3. Asus Q325U Keyboard Replacement: step 10, image 1 of 2 Asus Q325U Keyboard Replacement: step 10, image 2 of 2
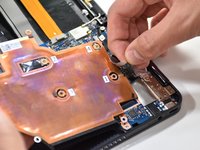
      • On the other side of the plate, remove the tape.

      Ask FixBot
      Add Comment

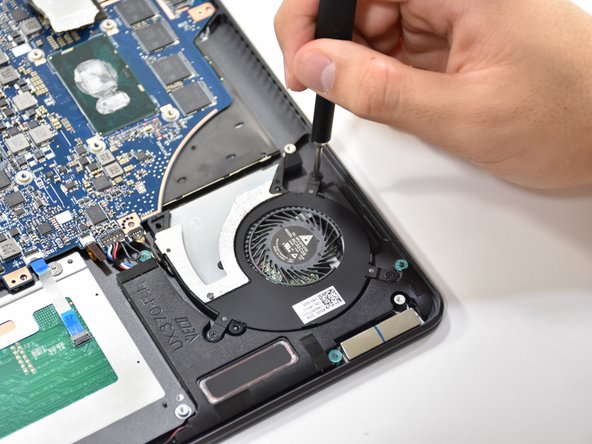
    1. Asus Q325U Keyboard Replacement, CPU Fan: step 11, image 1 of 2 Asus Q325U Keyboard Replacement, CPU Fan: step 11, image 2 of 2
      • Remove the three 3.7 mm screws using a Phillips #00 screwdriver.

      Ask FixBot

      Add Comment

    2. Asus Q325U Keyboard Replacement: step 12, image 1 of 1
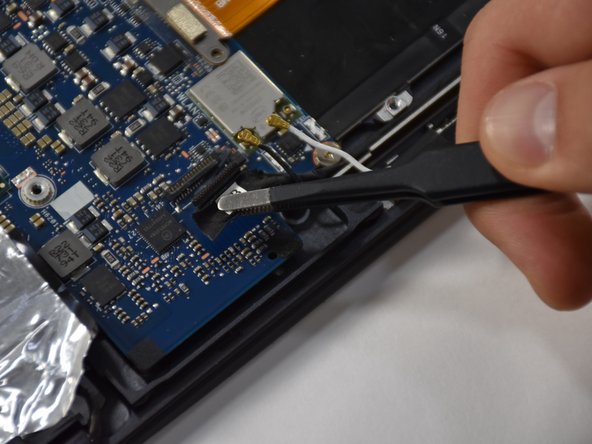
      • Detach the black wire and plug shown using a tweezer.

      Ask FixBot

      Add Comment

    3. Asus Q325U Keyboard Replacement: step 13, image 1 of 1
      • Grab CPU fan by its edge and gently pull upwards to remove.

      Ask FixBot

      Add Comment

    1. Asus Q325U Keyboard Replacement, Motherboard: step 14, image 1 of 2 Asus Q325U Keyboard Replacement, Motherboard: step 14, image 2 of 2
      Tool used on this step:
      Halberd Spudger
      $2.99
      Buy
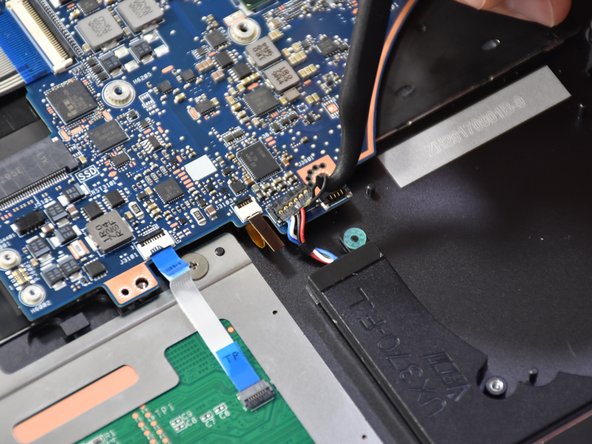
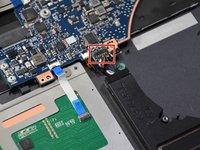
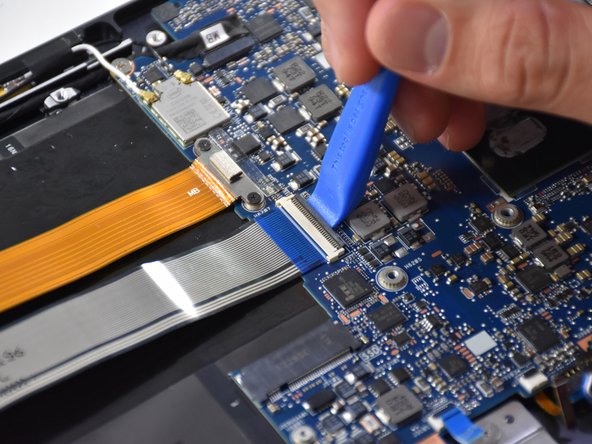
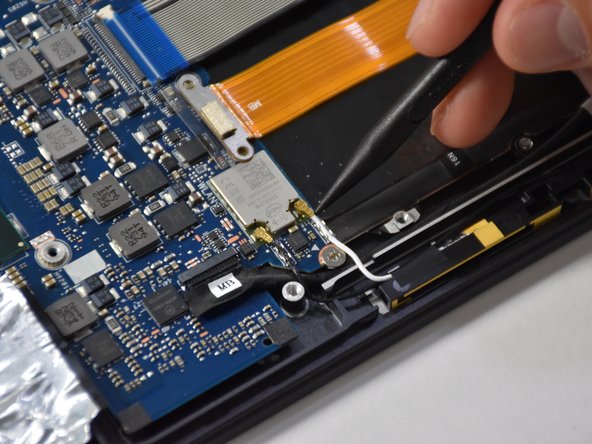
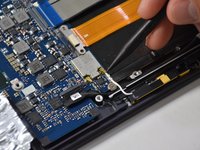
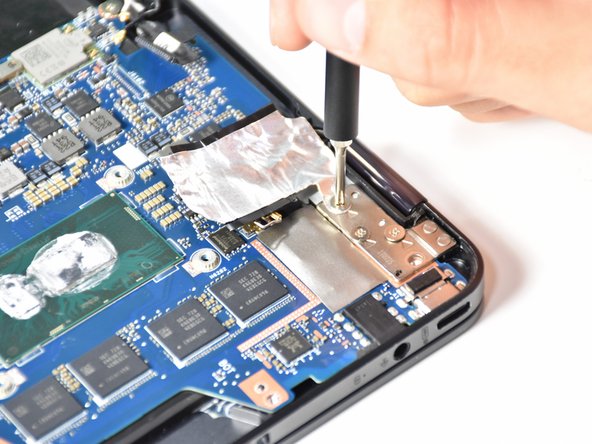
      • Remove the first connection wire by pulling the small back loop with the Halberd Spudger.

      Ask FixBot
      Add Comment

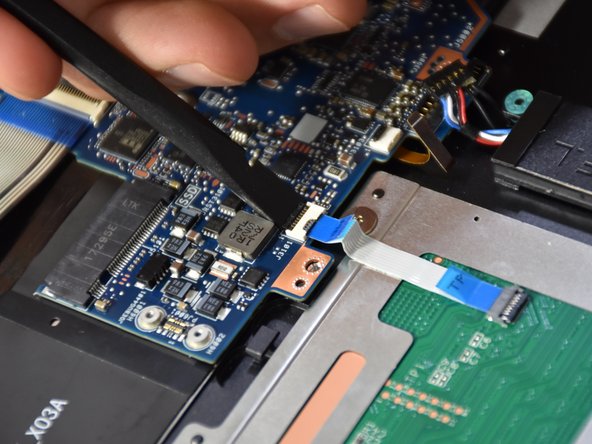
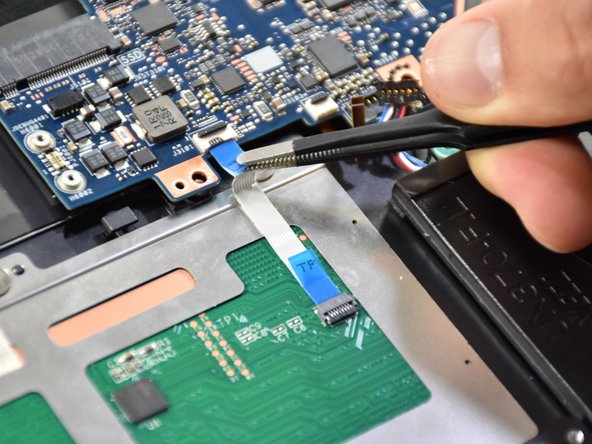
    2. Asus Q325U Keyboard Replacement: step 15, image 1 of 3 Asus Q325U Keyboard Replacement: step 15, image 2 of 3 Asus Q325U Keyboard Replacement: step 15, image 3 of 3
      Tool used on this step:
      Tweezers
      $4.99
      Buy
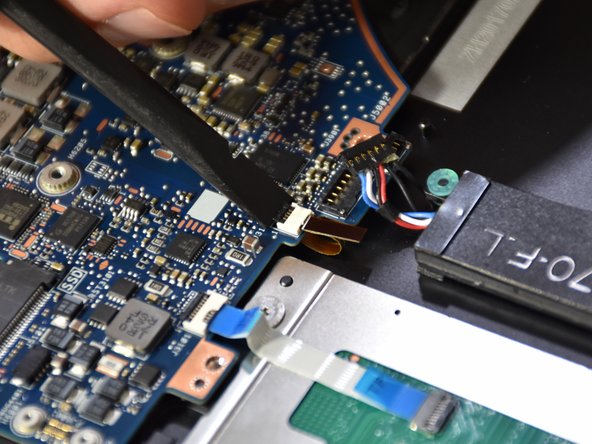
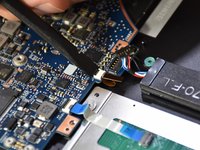
      • Lift the small black tab of the orange connector with your fingers or a plastic opening tool.

      • Remove the orange connector by pulling with tweezers.

      Ask FixBot

      Add Comment

    3. Asus Q325U Keyboard Replacement: step 16, image 1 of 3 Asus Q325U Keyboard Replacement: step 16, image 2 of 3 Asus Q325U Keyboard Replacement: step 16, image 3 of 3
      • Lift the small black tab on the white plastic piece of the touch pad connector with a spudger.

      • Remove the touch pad connector by pulling with tweezers.

      Ask FixBot

      Add Comment

    4. Asus Q325U Keyboard Replacement: step 17, image 1 of 3 Asus Q325U Keyboard Replacement: step 17, image 2 of 3 Asus Q325U Keyboard Replacement: step 17, image 3 of 3
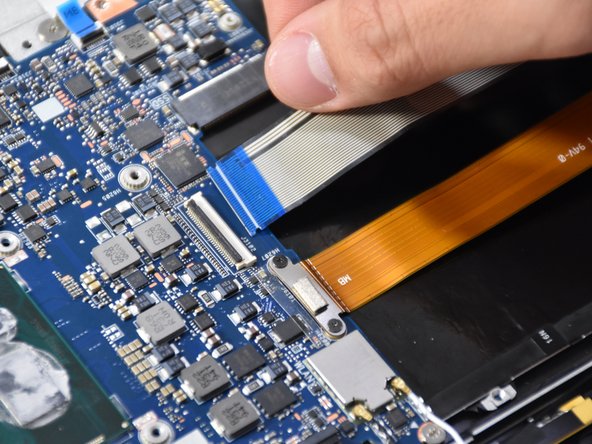
      • Lift the black tab on the long white plastic piece of the thick blue band.

      • Remove the thick blue band by pulling.

      Ask FixBot

      Add Comment

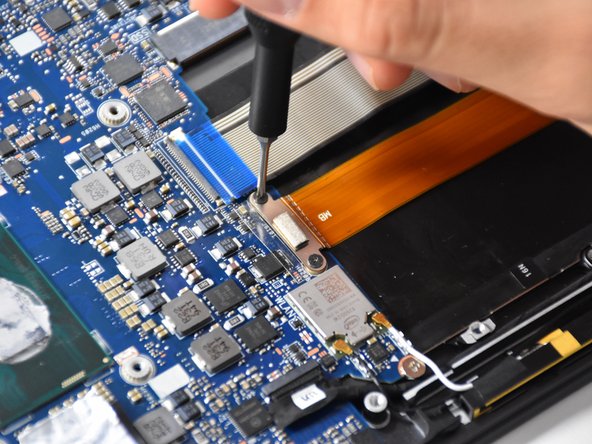
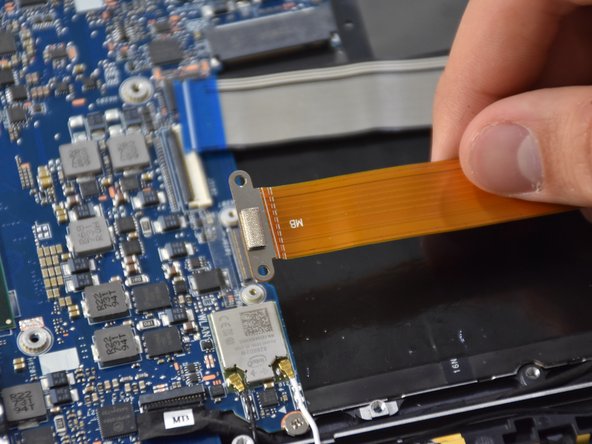
    5. Asus Q325U Keyboard Replacement: step 18, image 1 of 3 Asus Q325U Keyboard Replacement: step 18, image 2 of 3 Asus Q325U Keyboard Replacement: step 18, image 3 of 3
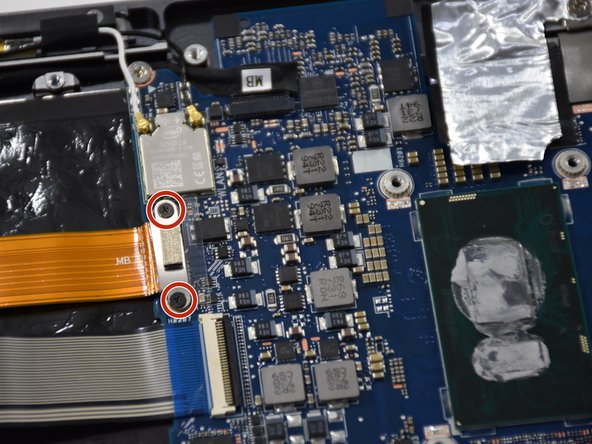
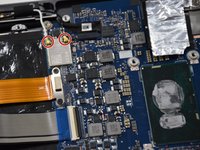
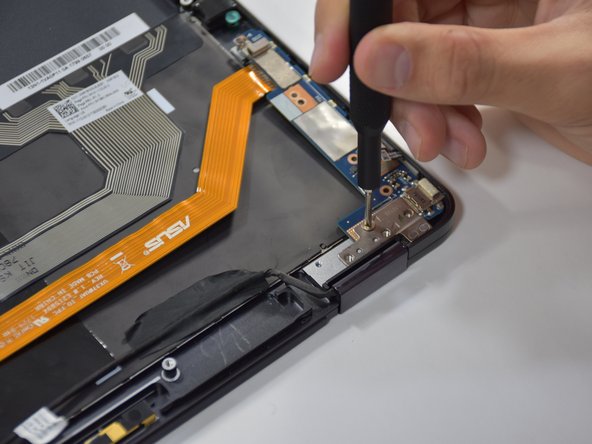
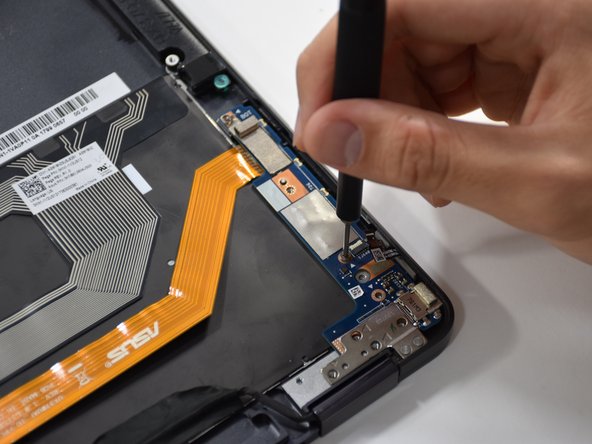
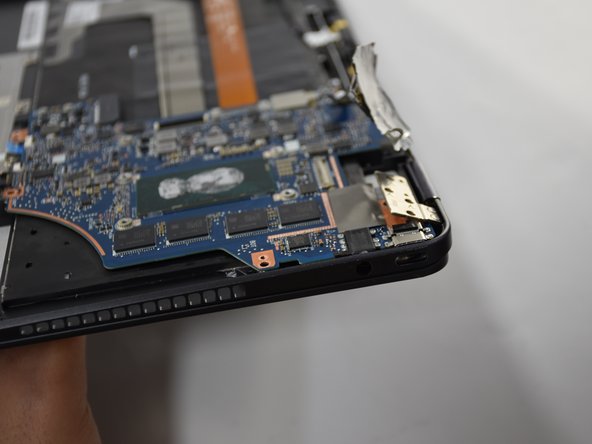
      • Remove the two Phillips #000 screws on the metal connector above the thick orange band.

      • Lift up the thick orange band.

      Ask FixBot
      Add Comment

    6. Asus Q325U Keyboard Replacement: step 19, image 1 of 3 Asus Q325U Keyboard Replacement: step 19, image 2 of 3 Asus Q325U Keyboard Replacement: step 19, image 3 of 3
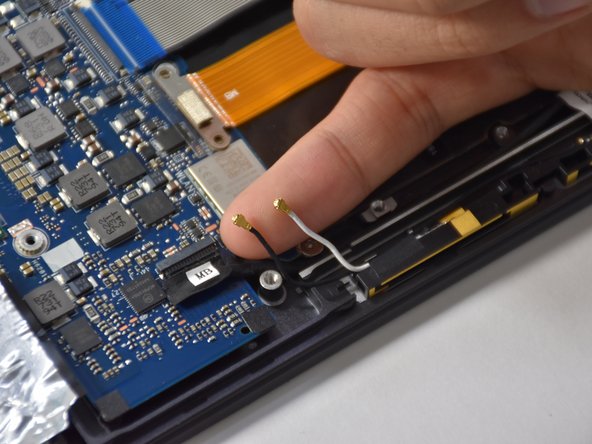
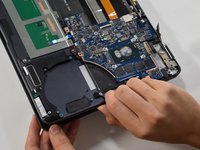
      • Gently lift up the two smallest connectors using your fingers or a plastic opening tool.

      Ask FixBot
      Add Comment

    7. Asus Q325U Keyboard Replacement: step 20, image 1 of 2 Asus Q325U Keyboard Replacement: step 20, image 2 of 2
      • Lift up the black hinge of the connector using a plastic opening tool.

      • Remove the connector using a tweezer.

      Ask FixBot

      Add Comment

    8. Asus Q325U Keyboard Replacement: step 21, image 1 of 3 Asus Q325U Keyboard Replacement: step 21, image 2 of 3 Asus Q325U Keyboard Replacement: step 21, image 3 of 3
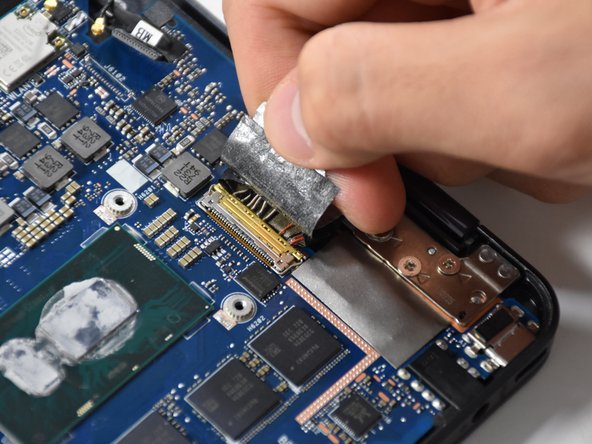
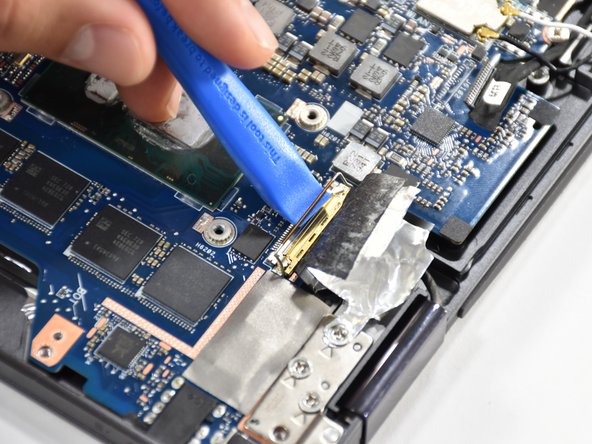
      • Pull up the tap of the biggest connector using your fingers.

      • Lift the gold hinge using a plastic opening tool.

      • Lift the connector up with your fingers to remove.

      Ask FixBot

      Add Comment

    9. Asus Q325U Keyboard Replacement: step 22, image 1 of 2 Asus Q325U Keyboard Replacement: step 22, image 2 of 2
      • Remove the four 4.8 mm screws using a Phillips #00 screwdriver.

      Ask FixBot

      Add Comment

    10. Asus Q325U Keyboard Replacement: step 23, image 1 of 2 Asus Q325U Keyboard Replacement: step 23, image 2 of 2
      • Slightly open up the laptop. This will lift up the hinge at the corner and free the motherboard.

      Ask FixBot

      Add Comment

    11. Asus Q325U Keyboard Replacement: step 24, image 1 of 2 Asus Q325U Keyboard Replacement: step 24, image 2 of 2
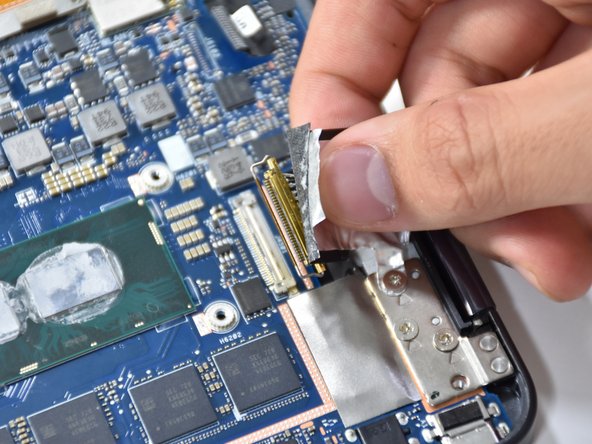
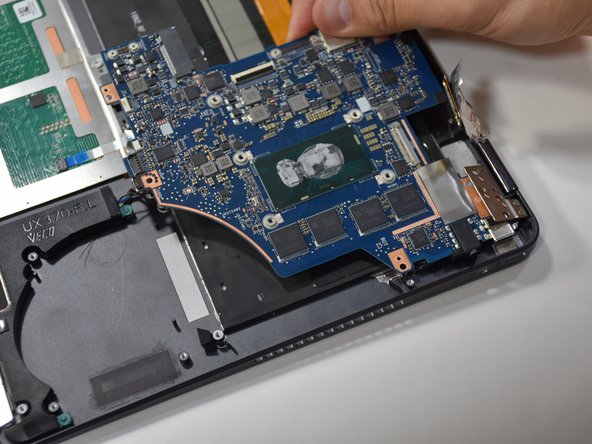
      • Pull the motherboard away from the corner to remove.

      Ask FixBot

      Add Comment

    1. Asus Q325U Keyboard Replacement, Keyboard: step 25, image 1 of 3 Asus Q325U Keyboard Replacement, Keyboard: step 25, image 2 of 3 Asus Q325U Keyboard Replacement, Keyboard: step 25, image 3 of 3
      • Remove the three 4 mm screws using a Phillips #00 screwdriver.

      • Remove the four 4.8 mm screws using a Phillips #000 screwdriver.

      Ask FixBot

      Add Comment

    2. Asus Q325U Keyboard Replacement: step 26, image 1 of 1
      • Slide out the blue chip board connected to the long orange piece by gently grabbing the tab and lifting.

      Ask FixBot

      Add Comment

    3. Asus Q325U Keyboard Replacement: step 27, image 1 of 1
      • Release the single MB wire by removing the black piece of tape.

      Ask FixBot

      Add Comment

    4. Asus Q325U Keyboard Replacement: step 28, image 1 of 1
      • Untape the blue striped strip by pulling upwards and laying it flat.

      Ask FixBot

      Add Comment

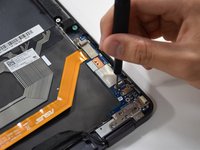
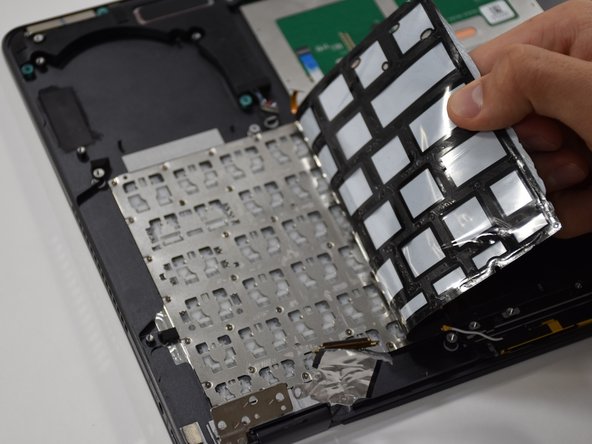
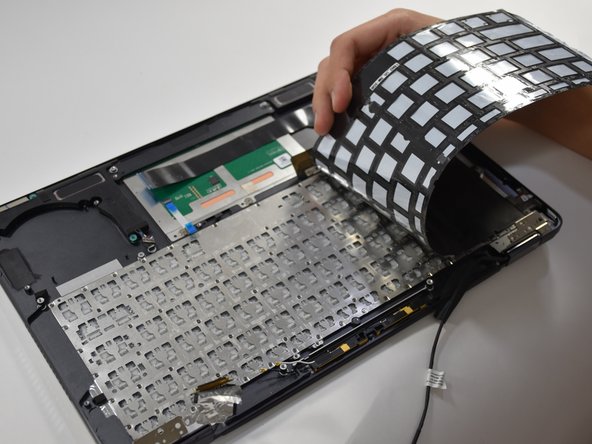
    5. Asus Q325U Keyboard Replacement: step 29, image 1 of 3 Asus Q325U Keyboard Replacement: step 29, image 2 of 3 Asus Q325U Keyboard Replacement: step 29, image 3 of 3
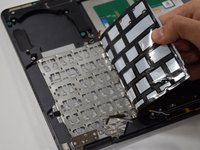
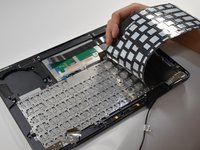
      • Starting at the upper left corner, remove the black adhesive from the keyboard.

      Ask FixBot

      Add Comment

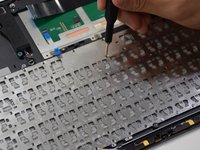
    6. Asus Q325U Keyboard Replacement: step 30, image 1 of 2 Asus Q325U Keyboard Replacement: step 30, image 2 of 2
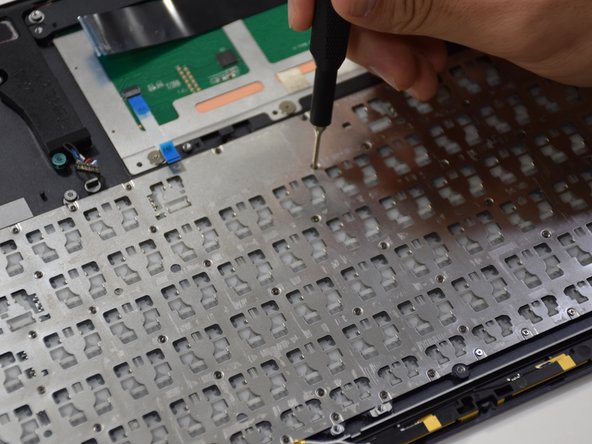
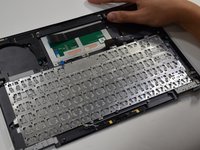
      • Remove eighty 1 mm screws located on the keyboard frame using a Phillips #000 screwdriver.

      Ask FixBot

      Add Comment

    7. Asus Q325U Keyboard Replacement: step 31, image 1 of 1
      • Grab the edge of the keyboard and lift upwards to remove.

      Ask FixBot

      Add Comment

Conclusion

To reassemble your device, follow these instructions in reverse order.

Cancel: I did not complete this guide.

Matthew Slawson

Member since: 01/29/19

271 Reputation

2 Guides authored

Team

Cal Poly, Team S19-G1, White Winter 2019 Member of Cal Poly, Team S19-G1, White Winter 2019

CPSU-WHITE-W19S19G1

3 Members

72 Guides authored

0 Guide Comments

Add Comment

View Statistics:

Past 24 Hours: 2

Past 7 Days: 6

Past 30 Days: 14

All Time: 1,025