Free Shipping on Domestic Orders $75+

Asus Padfone 2 Vibrator Replacement

What you need

    1. Asus Padfone 2 Vibrator Replacement, Power Down Device: step 1, image 1 of 1
      • Hold down the power button

      Ask FixBot

      Add Comment

    2. Asus Padfone 2 Vibrator Replacement, Remove Back Plate: step 2, image 1 of 3 Asus Padfone 2 Vibrator Replacement, Remove Back Plate: step 2, image 2 of 3 Asus Padfone 2 Vibrator Replacement, Remove Back Plate: step 2, image 3 of 3
      • Use plastic opening tool to pry off the back cover of the phone.

      Ask FixBot

      Add Comment

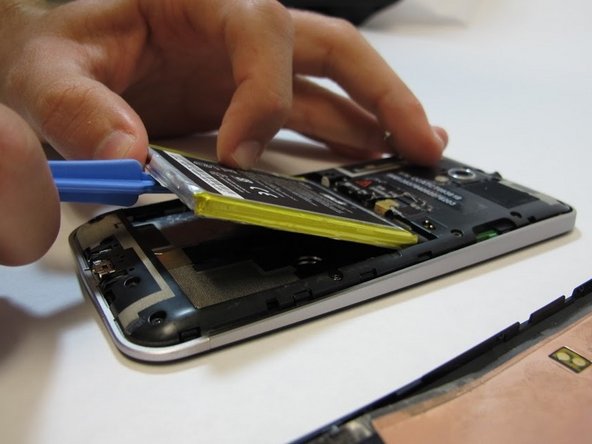
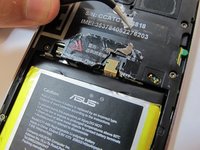
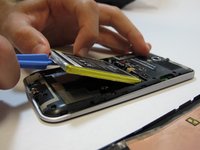
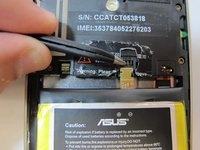
    3. Asus Padfone 2 Vibrator Replacement, Battery Removal: step 3, image 1 of 3 Asus Padfone 2 Vibrator Replacement, Battery Removal: step 3, image 2 of 3 Asus Padfone 2 Vibrator Replacement, Battery Removal: step 3, image 3 of 3
      Tool used on this step:
      Tweezers
      $4.99
      Buy
      • Remove the warning sticker that covers the battery plug and connecting cord.

      • Look for the widest gap on either side of the battery. Using the plastic opening tool carefully lift battery out.

      • The battery is held down with adhesive. Be careful not to damage battery or connecting cord.

      • Disconnect battery connecting cord using tweezers.

      Ask FixBot

      Add Comment

    4. Asus Padfone 2 Vibrator Replacement, Remove Internal Back Plate: step 4, image 1 of 2 Asus Padfone 2 Vibrator Replacement, Remove Internal Back Plate: step 4, image 2 of 2
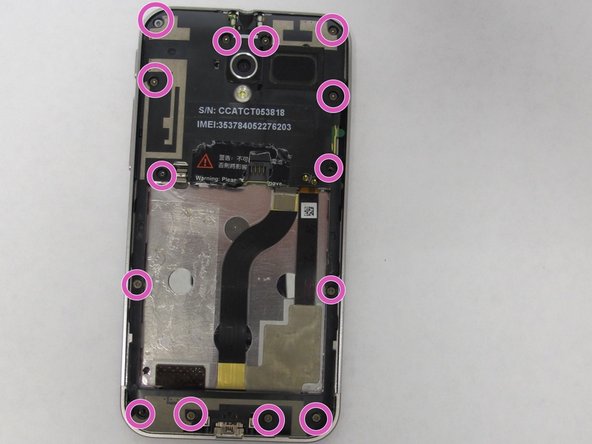
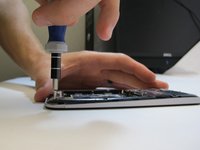
      • Use T5 Torx screwdriver to remove 14 screws from internal back plate.

      • Use of magnetic pad will help with keeping track of screws.

      • Once screws are out, remove the plate.

      Ask FixBot

      Add Comment

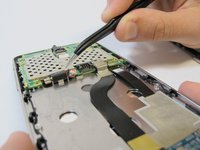
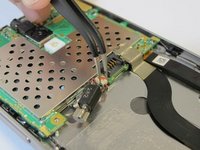
    5. Asus Padfone 2 Vibrator Replacement, Removal of A68 Vibrator: step 5, image 1 of 2 Asus Padfone 2 Vibrator Replacement, Removal of A68 Vibrator: step 5, image 2 of 2
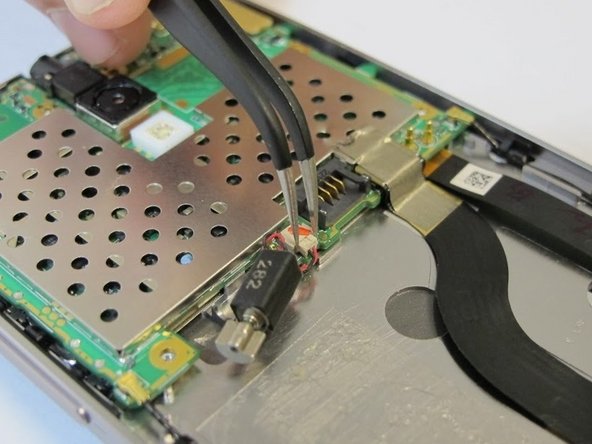
      • Use tweezers to remove motor from housing, pulling the plug downward away from the phone.

      • Use tweezers to unplug the device from the circuit board.

      Ask FixBot

      Add Comment

Conclusion

To reassemble your device, follow these instructions in reverse order.

Cancel: I did not complete this guide.

2 other people completed this guide.

Zach Standridge

Member since: 09/25/14

368 Reputation

2 Guides authored

Team

USF Tampa, Team 5-4, Mcgee Fall 2014 Member of USF Tampa, Team 5-4, Mcgee Fall 2014

USFT-MCGEE-F14S5G4

4 Members

48 Guides authored

0 Guide Comments

Add Comment

View Statistics:

Past 24 Hours: 2

Past 7 Days: 2

Past 30 Days: 21

All Time: 1,752