Introduction
This guide will show you how to remove the back camera of your Asus PadFone S. There are 3 moderate steps to this guide that require some precision and patience. This guide will make it easy to replace a broken or damaged back camera to get your phone working again. Some common tools are required for this replacement so make sure you have them before you start.
What you need
-
-
-
Place your thumb in the charging port and pry the back cover off of the phone.
-
Separate cover all the way around the sides of the phone.
 Ask FixBot
-
-
-
-
Remove all the screws on the back panel using a T5 Torx screwdriver.
-
Lift the back panel off to reveal the logic board and battery.
-
-
Tool used on this step:Tweezers$4.99
-
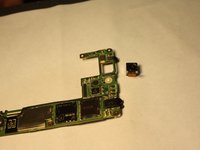
The back camera is located at the top left on the logic board.
-
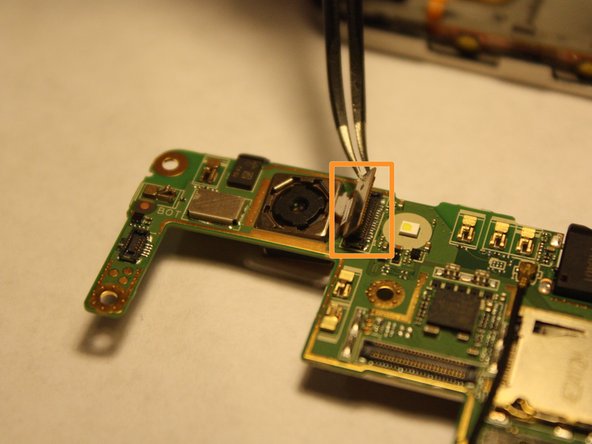
Use tweezers to lift back camera strip from logic board.
-
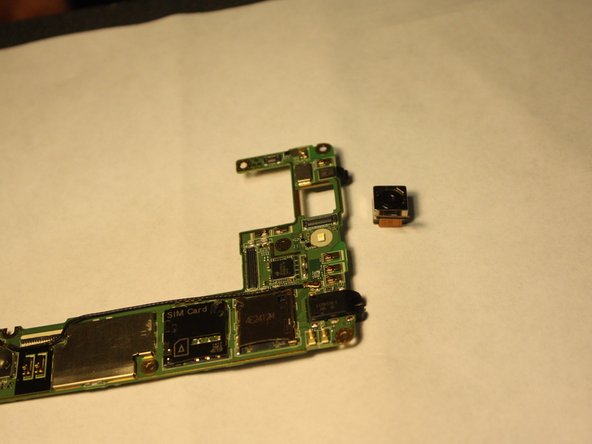
Lift back camera out of logic board.
-
-



To reassemble your device, follow these instructions in reverse order.
Cancel: I did not complete this guide.
One other person completed this guide.

Team

UMass Dartmouth, Team 6-1, Vijaybhaskar Fall 2014 Member of UMass Dartmouth, Team 6-1, Vijaybhaskar Fall 2014
UMASSD-VIJAYBHASKAR-F14S6G1
3 Members
60 Guides authored
