Free Shipping on Domestic Orders $75+

Asus PadFone S Front Facing Camera Replacement

What you need

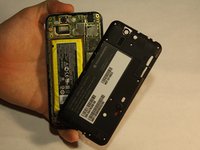
    1. Asus PadFone S Front Facing Camera Replacement, Remove the Back Panel: step 1, image 1 of 1
      • Place your thumb in the charging port and pry the back cover off of the phone.

      Ask FixBot

      Add Comment

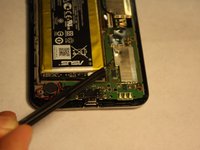
    2. Asus PadFone S Front Facing Camera Replacement, Remove the Back Panel: step 2, image 1 of 2 Asus PadFone S Front Facing Camera Replacement, Remove the Back Panel: step 2, image 2 of 2
      • Remove all screws using the T5 Torx screwdriver

      • Lift the back panel off the phone.

      Ask FixBot

      Add Comment

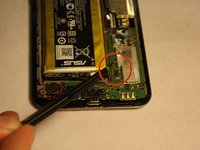
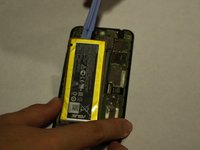
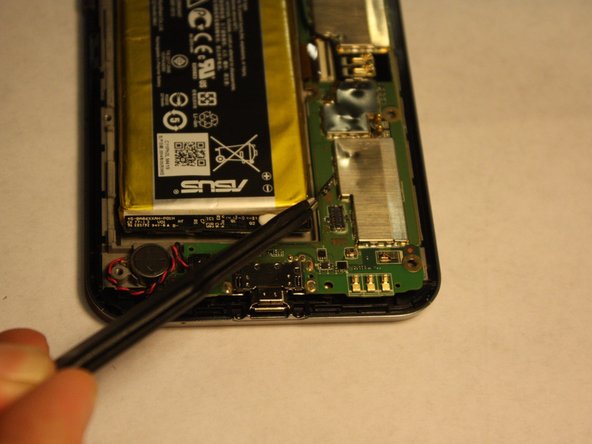
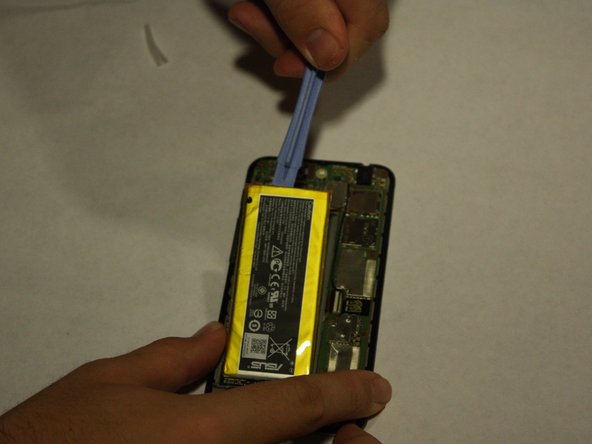
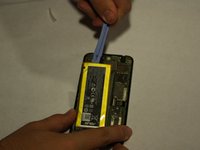
    3. Asus PadFone S Front Facing Camera Replacement, Remove the Battery: step 3, image 1 of 2 Asus PadFone S Front Facing Camera Replacement, Remove the Battery: step 3, image 2 of 2
      Tool used on this step:
      Tweezers
      $4.99
      Buy
      • Disconnect the battery from the logic board using tweezers

      • Using the plastic opening tools, lift the battery up from its slot

      • Apply consistent, steady force to lift the battery from its slot. Be careful not to damage the battery while removing it.

      Ask FixBot

      Add Comment

    1. Asus PadFone S Front Facing Camera Replacement, Front Facing Camera: step 4, image 1 of 3 Asus PadFone S Front Facing Camera Replacement, Front Facing Camera: step 4, image 2 of 3 Asus PadFone S Front Facing Camera Replacement, Front Facing Camera: step 4, image 3 of 3
      • Once the Battery has been successfully removed, move on to the step 2.

      Ask FixBot

      Add Comment

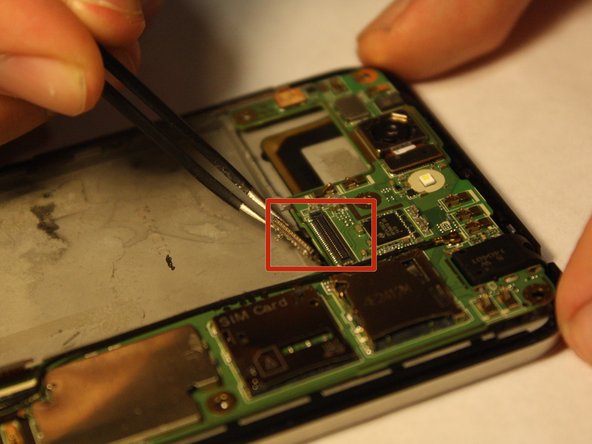
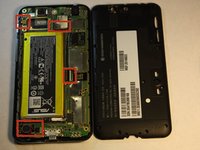
    2. Asus PadFone S Front Facing Camera Replacement, Start of Logic Board Removal: step 5, image 1 of 2 Asus PadFone S Front Facing Camera Replacement, Start of Logic Board Removal: step 5, image 2 of 2
      Tool used on this step:
      Tweezers
      $4.99
      Buy
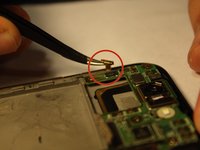
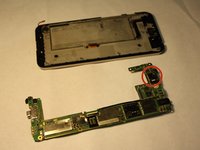
      • Disconnect the marked strips from the logic board using the tweezers.

      • Applying too much force may damage the strips/connectors.

      • Remember to remove speaker connection located at the bottom left hand corner.

      Ask FixBot

      Add Comment

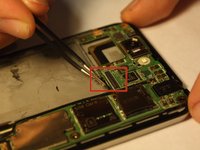
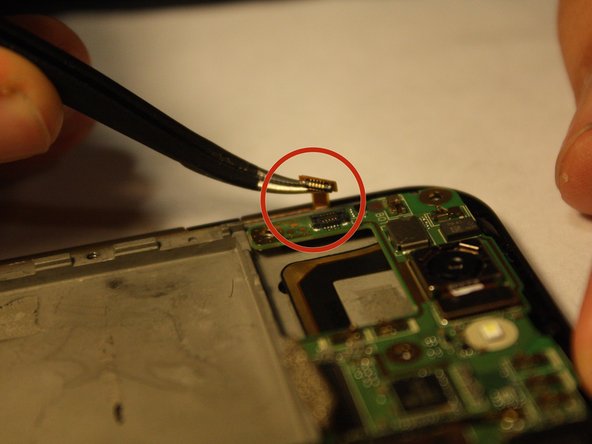
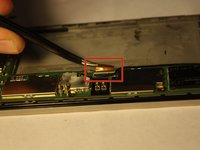
    3. Asus PadFone S Front Facing Camera Replacement, Logic Board Removal - Continued: step 6, image 1 of 2 Asus PadFone S Front Facing Camera Replacement, Logic Board Removal - Continued: step 6, image 2 of 2
      • Disconnect the other two strips that connect the logic board to the phone.

      • Applying too much force may damage the strips/connectors.

      Ask FixBot

      Add Comment

    4. Asus PadFone S Front Facing Camera Replacement, Remove The Camera: step 7, image 1 of 2 Asus PadFone S Front Facing Camera Replacement, Remove The Camera: step 7, image 2 of 2
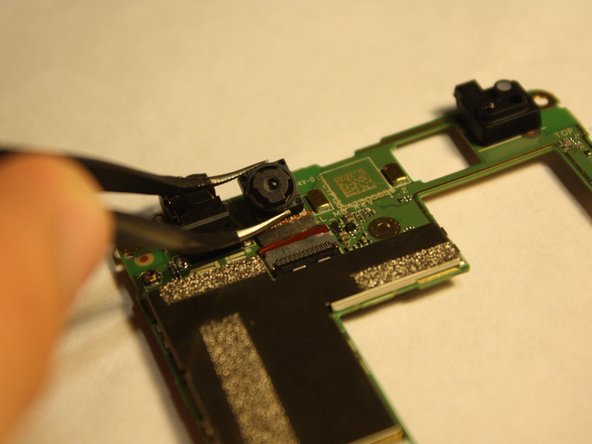
      • Turn over the logic board to locate the front camera.

      • Grasp the sides of the camera with the tweezers and carefully remove the camera from the logic board.

      • Applying to much force will damage the connective strip.

      Ask FixBot

      Add Comment

Conclusion

To reassemble your device, follow these instructions in reverse order.

Cancel: I did not complete this guide.

One other person completed this guide.

Everette Gonsalves

Member since: 10/23/14

26 Reputation

1 Guide authored

Team

0 Guide Comments

Add Comment

View Statistics:

Past 24 Hours: 0

Past 7 Days: 4

Past 30 Days: 34

All Time: 1,852