Free Shipping on Domestic Orders $75+

Asus N56VM Motherboard Replacement

What you need

    1. Asus N56VM Motherboard Replacement, Remove battery: step 1, image 1 of 1
      • Remove the battery and the AC power

      Ask FixBot

      Add Comment

    2. Asus N56VM Motherboard Replacement, Remove bottom cover: step 2, image 1 of 2 Asus N56VM Motherboard Replacement, Remove bottom cover: step 2, image 2 of 2
      • Remove the M2x4 screw of the bottom cover

      • Remove the bottom cover by sliding it downwards

      Ask FixBot

      Add Comment

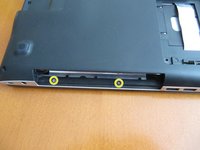
    1. Asus N56VM Motherboard Replacement, Optical drive: step 3, image 1 of 1
      • Remove the screw holding the optical drive

      Ask FixBot

      Add Comment

    2. Asus N56VM Motherboard Replacement: step 4, image 1 of 1
      • Pull out the optical drive

      Ask FixBot

      Add Comment

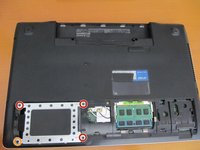
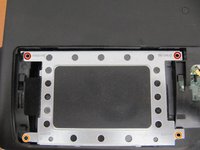
    1. Asus N56VM Motherboard Replacement, Hard Disk: step 5, image 1 of 2 Asus N56VM Motherboard Replacement, Hard Disk: step 5, image 2 of 2
      • Remove the screws

      • Remove the 3 M2x10 screws

      • Remove the one M2x4 screw

      Ask FixBot

      Add Comment

    2. Asus N56VM Motherboard Replacement: step 6, image 1 of 1
      • Gently pull the hard disk to the left

      Ask FixBot
      Add Comment

    1. Asus N56VM Motherboard Replacement, RAM: step 7, image 1 of 1
      • Remove the two RAM modules

      • Pop them out gently

      • Make sure you are electrostatically not loaded

      Ask FixBot
      Add Comment

    2. Asus N56VM Motherboard Replacement: step 8, image 1 of 1
      • Detach the two cables from the wireless module

      Ask FixBot

      Add Comment

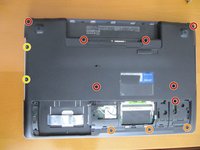
    3. Asus N56VM Motherboard Replacement: step 9, image 1 of 2 Asus N56VM Motherboard Replacement: step 9, image 2 of 2
      • Remove all screws from the bottom cover

      • Remove 7 M2x10 screws

      • Remove 3 M2x4 screws

      • Remove 2 small screws

      Ask FixBot

      Add Comment

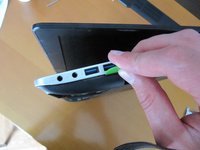
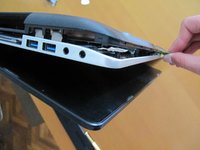
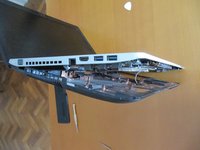
    4. Asus N56VM Motherboard Replacement: step 10, image 1 of 3 Asus N56VM Motherboard Replacement: step 10, image 2 of 3 Asus N56VM Motherboard Replacement: step 10, image 3 of 3
      • Open the lid of the notebook

      • Use a plastic opening tool to pry the bottom case

      • Be very careful when opening so that the cables in the case are not severed.

      Ask FixBot

      Add Comment

    5. Asus N56VM Motherboard Replacement: step 11, image 1 of 1
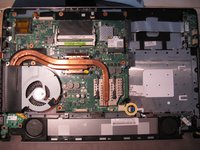
      • The motherboard is still connected to the bottom case by several cables, so don't try to remove it entirely just yet.

      • Hold the upper part with one hand, and use your other hand to disconnect the black&white cable (antenna for the wifi card)

      Ask FixBot
      Add Comment

    6. Asus N56VM Motherboard Replacement: step 12, image 1 of 1
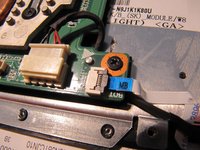
      • The motherboard is still connected to the bottom case by several cables, so don't try to remove it entirely just yet.

      • Continue to hold the upper part with one hand, and use your other hand to disconnect the black ribbon cable

      • Remove the upper part with the motherboard

      Ask FixBot
      Add Comment

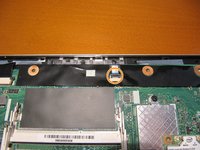
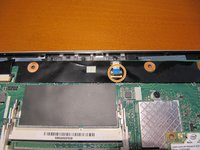
    7. Asus N56VM Motherboard Replacement: step 13, image 1 of 2 Asus N56VM Motherboard Replacement: step 13, image 2 of 2
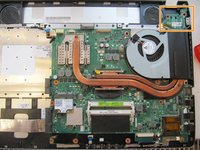
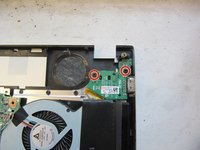
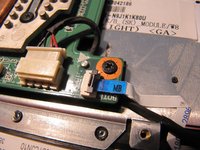
      • This component is attached by a cable to the lower side of the motherboard therefore it is advised to remove it.

      • Remove the two screws holding the VGA IC

      • Lift the IC

      Ask FixBot
      Add Comment

    8. Asus N56VM Motherboard Replacement: step 14, image 1 of 3 Asus N56VM Motherboard Replacement: step 14, image 2 of 3 Asus N56VM Motherboard Replacement: step 14, image 3 of 3
      • Remove the cable by first lifting the black holder and then removing the cable

      Ask FixBot

      Add Comment

    9. Asus N56VM Motherboard Replacement: step 15, image 1 of 1
      • Remove the white cable simply by pulling it out from the connector

      Ask FixBot

      Add Comment

    10. Asus N56VM Motherboard Replacement: step 16, image 1 of 3 Asus N56VM Motherboard Replacement: step 16, image 2 of 3 Asus N56VM Motherboard Replacement: step 16, image 3 of 3
      • Remove the touchpad cable by first lifting the black holder

      Ask FixBot

      Add Comment

    11. Asus N56VM Motherboard Replacement: step 17, image 1 of 3 Asus N56VM Motherboard Replacement: step 17, image 2 of 3 Asus N56VM Motherboard Replacement: step 17, image 3 of 3
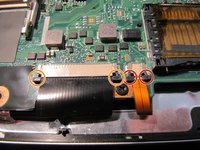
      • Remove the two keyboard cables by first pulling out the black holders. After that the cables are released

      Ask FixBot

      Add Comment

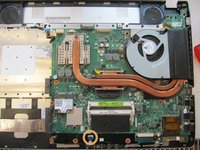
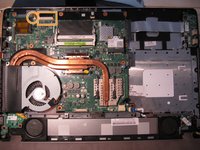
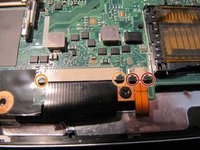
    12. Asus N56VM Motherboard Replacement: step 18, image 1 of 2 Asus N56VM Motherboard Replacement: step 18, image 2 of 2
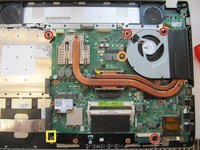
      • Remove the four screws holding the motherboard

      • Remove the screw holding the fan

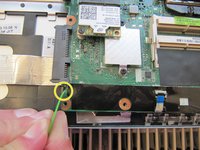
      • Pry out the plastic thing holding the motherboard in place

      Ask FixBot

      Add Comment

Conclusion

To reassemble your device, follow these instructions in reverse order.

Cancel: I did not complete this guide.

2 other people completed this guide.

Stanky

Member since: 07/08/17

1,385 Reputation

6 Guides authored

2 Guide Comments

Can you please help me locate the gpu VRM on the motherboard? My gpu is faulty and needs to be rebonded, so I wanna permanently disable it.

Coll Student - Reply Share

Sorry, I can’t help you with that

Stanky - Reply Share

Add Comment

View Statistics:

Past 24 Hours: 1

Past 7 Days: 11

Past 30 Days: 56

All Time: 4,112