Free Shipping on Domestic Orders $75+

Asus Memo Pad ME172V - Touch Screen Replacement

What you need

Video Overview

    1. Asus Memo Pad ME172V - Touch Screen Replacement, Touch Screen replacement: step 1, image 1 of 3 Asus Memo Pad ME172V - Touch Screen Replacement, Touch Screen replacement: step 1, image 2 of 3 Asus Memo Pad ME172V - Touch Screen Replacement, Touch Screen replacement: step 1, image 3 of 3
      • Switch-off the tablet.

      • By using a plastic tool open the back / battery cover.

      Ask FixBot

      Add Comment

    2. Asus Memo Pad ME172V - Touch Screen Replacement: step 2, image 1 of 3 Asus Memo Pad ME172V - Touch Screen Replacement: step 2, image 2 of 3 Asus Memo Pad ME172V - Touch Screen Replacement: step 2, image 3 of 3
      • Disconnect and remove the battery.

      Ask FixBot

      Add Comment

    3. Asus Memo Pad ME172V - Touch Screen Replacement: step 3, image 1 of 3 Asus Memo Pad ME172V - Touch Screen Replacement: step 3, image 2 of 3 Asus Memo Pad ME172V - Touch Screen Replacement: step 3, image 3 of 3
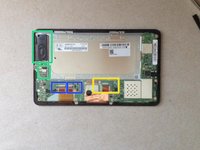
      • Disconnect the LCD display flex cable.

      • Disconnect the touchscreen flex cable.

      • Disconnect and remove the loudspeaker.

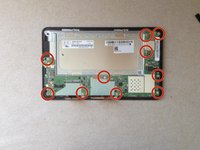
      • Unscrew 10x screws.

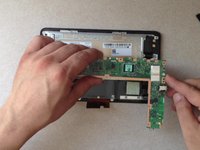
      • Now you can remove the mother board

      Ask FixBot

      Add Comment

    4. Asus Memo Pad ME172V - Touch Screen Replacement: step 4, image 1 of 3 Asus Memo Pad ME172V - Touch Screen Replacement: step 4, image 2 of 3 Asus Memo Pad ME172V - Touch Screen Replacement: step 4, image 3 of 3
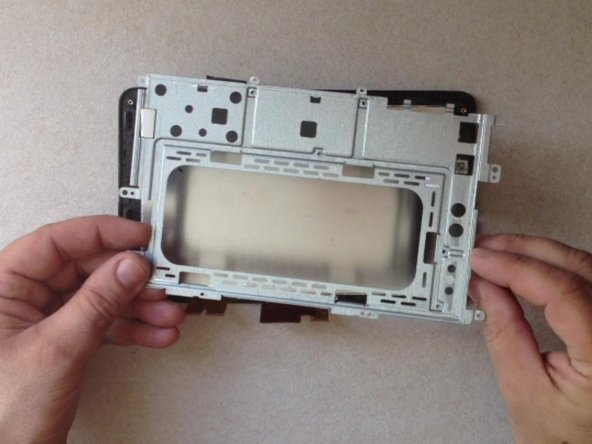
      • Remove the metal LCD display shield.

      Ask FixBot

      Add Comment

    5. Asus Memo Pad ME172V - Touch Screen Replacement, Separate the LCD panel from the digitizer: step 5, image 1 of 3 Asus Memo Pad ME172V - Touch Screen Replacement, Separate the LCD panel from the digitizer: step 5, image 2 of 3 Asus Memo Pad ME172V - Touch Screen Replacement, Separate the LCD panel from the digitizer: step 5, image 3 of 3
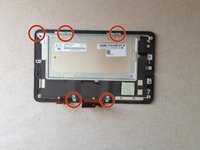
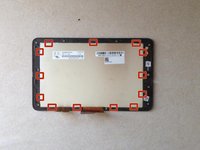
      • There are many clips holding the LCD panel to the metal frame.

      • Use a spudger to loosen the clips holding the LCD display.

      Ask FixBot

      Add Comment

    6. Asus Memo Pad ME172V - Touch Screen Replacement: step 6, image 1 of 3 Asus Memo Pad ME172V - Touch Screen Replacement: step 6, image 2 of 3 Asus Memo Pad ME172V - Touch Screen Replacement: step 6, image 3 of 3
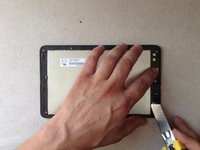
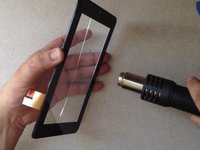
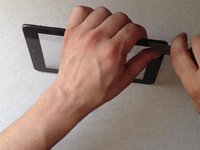
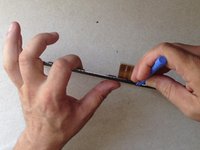
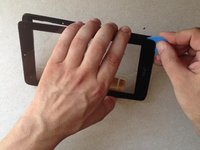
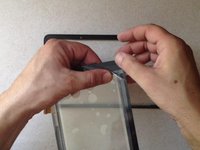
      • Heat the touch screen.

      • Use a cutter only to start detachment the touchscreen. Then continue with a plastic tool.

      Ask FixBot

      Add Comment

    7. Asus Memo Pad ME172V - Touch Screen Replacement: step 7, image 1 of 3 Asus Memo Pad ME172V - Touch Screen Replacement: step 7, image 2 of 3 Asus Memo Pad ME172V - Touch Screen Replacement: step 7, image 3 of 3
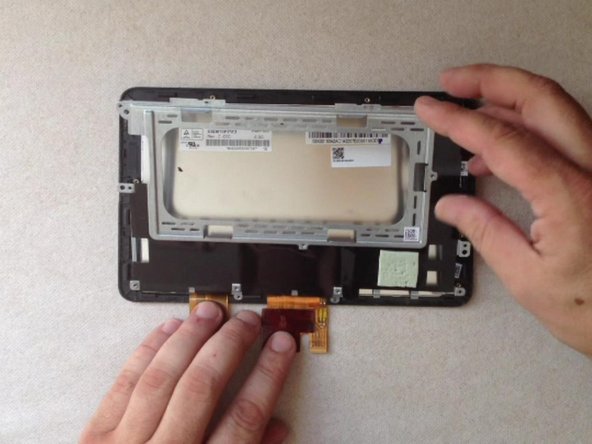
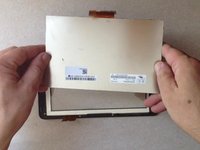
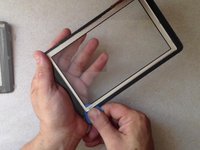
      • After separation the touchscreen from the front bezel, remove the LCD display frame.

      • This spare part have a double sided adhesive tape. Otherwise you should place.

      • .

      • Did you do it successfully?

      • .

      • Please SUBSCRIBE to my channel ツ

      Ask FixBot

      Add Comment

Conclusion

To reassemble your device, follow these instructions in reverse order.

Cancel: I did not complete this guide.

8 other people completed this guide.

ZFix

Member since: 12/09/13

197,504 Reputation

330 Guides authored

Team

Master Techs Member of Master Techs

Community

334 Members

7,366 Guides authored

1 Guide Comment

Is it possible to replace the bezel the way you would an iPad screen instead of going from the back? I feel like a head gun to the front would save you a lot of hassle? Please correct me if I'm wrong

Alex Tucker - Reply Share

Add Comment

View Statistics:

Past 24 Hours: 0

Past 7 Days: 11

Past 30 Days: 45

All Time: 23,877