
Asus K55N-DS81 Hard Drive Replacement

Elliott Beckner and 2 other contributors
Last updated on Jan 21, 2019
Views: 953
View statistics:
- Past 24 Hours:
- 2
- Past 7 Days:
- 17
- Past 30 Days:
- 77
- All Time:
- 953
Comments: 0
No one has left comments on this guide. Will you be first?
Go to guide commentsCompleted: 1 2
1 person has marked this guide "completed." Will you be next?
2 people have marked this guide "completed." Including you — great job!
Favorites: 0 1
No one has favorited (and subscribed to) this guide. Will you be the first?
1 person has favorited (and subscribed to) this guide — and that's you!
Featured Student Guide
This guide has been the hard work of our awesome students and is found to be exceptionally cool by the iFixit staff.
Introduction
Go to step 1 ↓If your hard drive is making a loud clicking noise, has failed, or is slowing down your laptop, it may need replaced. This guide will show you how to quickly remove and disassemble the hard drive from the laptop such that a new one can be installed.
What you need
Tools

-
-
-
Flip the laptop over, such that the bottom of the laptop is facing upwards.
 Ask FixBot
-
-
-
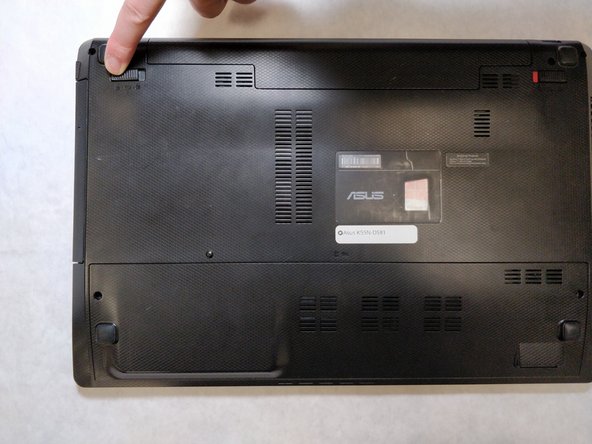
Pull the latch to the left of the battery to the left. Hold the latch open with a finger to prevent it from closing.
-
-
-
While holding the second latch from the previous step, use another hand to reach underneath the battery.
-
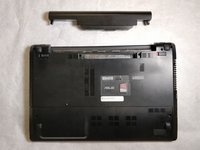
Pull the battery upwards and away from the laptop to remove it.
-
-
-
-
-
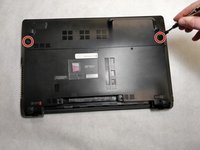
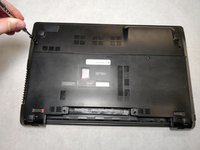
Using a JIS #00 screwdriver, unscrew the two 5 mm screws on either side of the laptop panel.
-
-
-
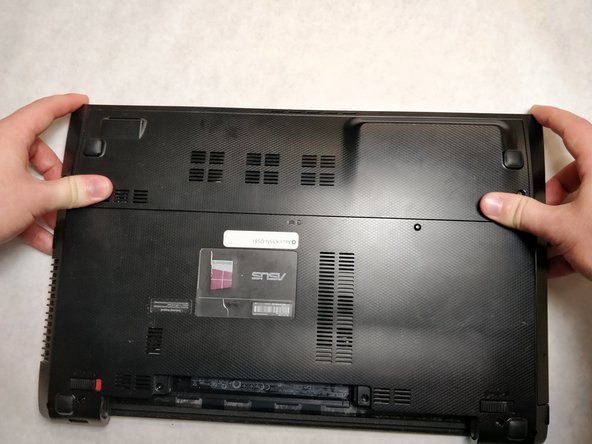
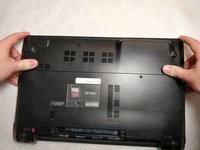
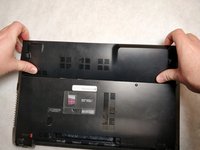
Remove the panel by pushing away from the laptop until the panel is free of the laptop.
-
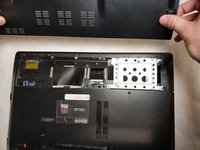
Lift to remove the panel.
-
-
-
-
-
Using a JIS #00 screwdriver, unscrew the four 5 mm screws fastening the hard drive enclosure to the laptop.
-
-
-
-
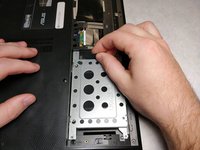
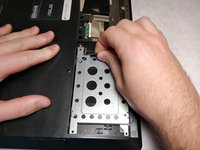
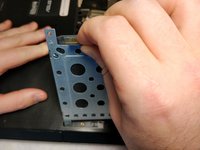
Grab the plastic tab located on the hard drive enclosure.
-
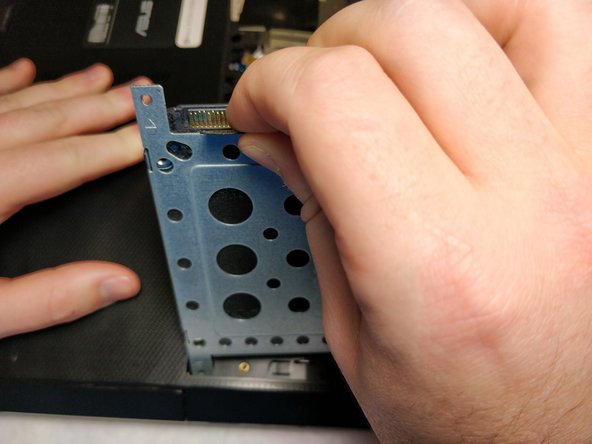
Pull the tab towards yourself, the hard drive will slide towards you as it disconnects from the motherboard.
-
Lift the enclosure by the tab to remove the enclosure from the laptop.
-
-
-
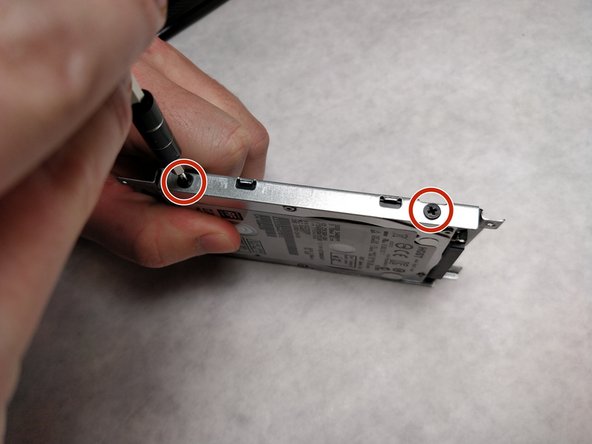
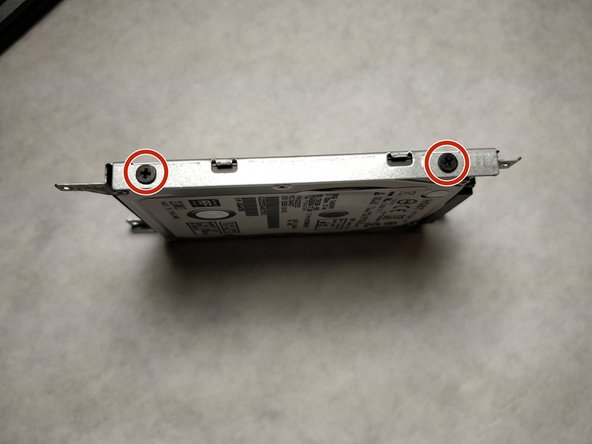
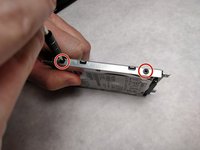
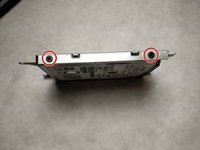
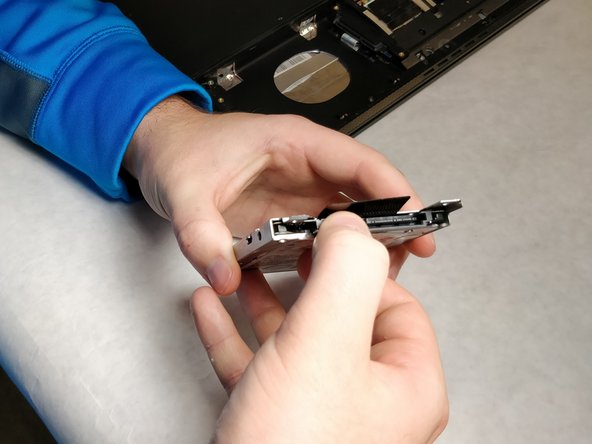
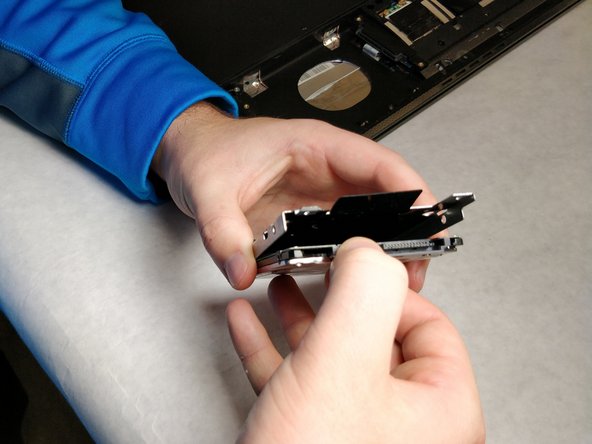
Using a JIS #00 screwdriver, unscrew the four 3 mm screws securing the hard drive to the enclosure.
-
-










To reassemble your device, follow these instructions in reverse order.
Cancel: I did not complete this guide.
One other person completed this guide.

