Free Shipping on Domestic Orders $75+

Asus GL551JW-AH71 Upper Assembly Replacement

What you need

    1. Asus GL551JW-AH71 Upper Assembly Replacement, Battery: step 1, image 1 of 1
      • Close the device and lay it upside down.

      • Unplug the device and make sure the device is powered off before removing the battery.

      Ask FixBot
      Add Comment

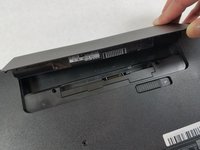
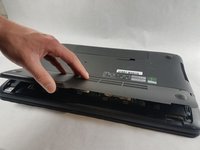
    2. Asus GL551JW-AH71 Upper Assembly Replacement: step 2, image 1 of 2 Asus GL551JW-AH71 Upper Assembly Replacement: step 2, image 2 of 2
      • Move the battery eject button to the right. The battery will be ejected.

      Ask FixBot
      Add Comment

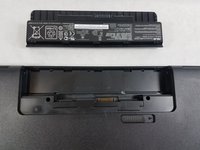
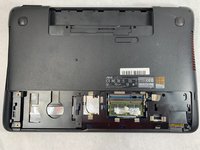
    3. Asus GL551JW-AH71 Upper Assembly Replacement: step 3, image 1 of 2 Asus GL551JW-AH71 Upper Assembly Replacement: step 3, image 2 of 2
      • Grab the battery and remove it from the device.

      Ask FixBot

      Add Comment

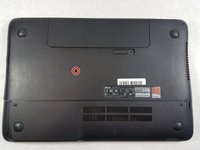
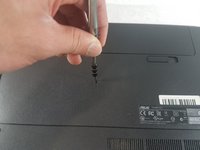
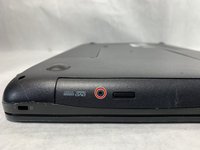
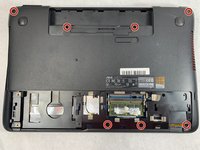
    1. Asus GL551JW-AH71 Upper Assembly Replacement, Optical Drive: step 4, image 1 of 2 Asus GL551JW-AH71 Upper Assembly Replacement, Optical Drive: step 4, image 2 of 2
      • Use a Phillips #000 screwdriver to remove the single 10mm optical drive screw.

      Ask FixBot

      Add Comment

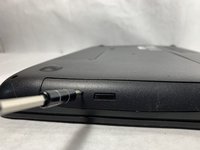
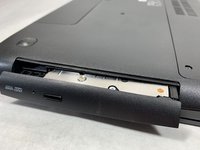
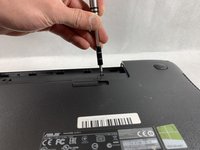
    2. Asus GL551JW-AH71 Upper Assembly Replacement: step 5, image 1 of 3 Asus GL551JW-AH71 Upper Assembly Replacement: step 5, image 2 of 3 Asus GL551JW-AH71 Upper Assembly Replacement: step 5, image 3 of 3
      • Insert a probe or paperclip gently into the eject pin hole to eject the optical drive tray.

      Ask FixBot
      Add Comment

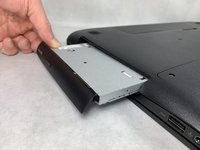
    3. Asus GL551JW-AH71 Upper Assembly Replacement: step 6, image 1 of 2 Asus GL551JW-AH71 Upper Assembly Replacement: step 6, image 2 of 2
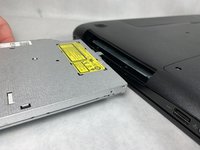
      • Gently grasp the optical drive assembly and slide it out of the laptop body.

      Ask FixBot
      Add Comment

    1. Asus GL551JW-AH71 Upper Assembly Replacement, Upper Assembly: step 7, image 1 of 2 Asus GL551JW-AH71 Upper Assembly Replacement, Upper Assembly: step 7, image 2 of 2
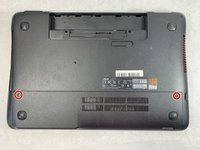
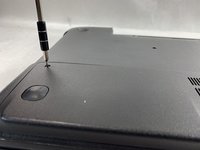
      • Using a Phillips #000 screwdriver, remove the two 11mm screws that hold the access panel in place.

      Ask FixBot

      Add Comment

    2. Asus GL551JW-AH71 Upper Assembly Replacement: step 8, image 1 of 2 Asus GL551JW-AH71 Upper Assembly Replacement: step 8, image 2 of 2
      • Carefully remove the access panel.

      Ask FixBot

      Add Comment

    3. Asus GL551JW-AH71 Upper Assembly Replacement: step 9, image 1 of 2 Asus GL551JW-AH71 Upper Assembly Replacement: step 9, image 2 of 2
      • Using a Phillips #000 screwdriver, remove the seven 11mm screws holding lower case to the laptop.

      Ask FixBot

      Add Comment

    4. Asus GL551JW-AH71 Upper Assembly Replacement: step 10, image 1 of 1
      • Turn the laptop over and open the screen.

      Ask FixBot

      Add Comment
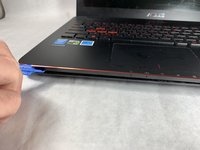
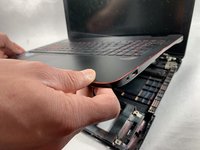
    5. Asus GL551JW-AH71 Upper Assembly Replacement: step 11, image 1 of 3 Asus GL551JW-AH71 Upper Assembly Replacement: step 11, image 2 of 3 Asus GL551JW-AH71 Upper Assembly Replacement: step 11, image 3 of 3
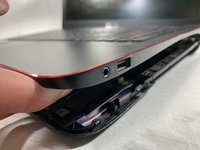
      • Gently pry open the case with an iFixit opening tool.

      • The upper and lower assembly are connected with a display cable that will be removed in the next step. Do not pull the parts apart more than a few inches.

      Ask FixBot

      Add Comment

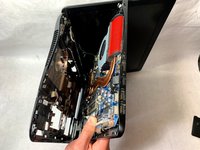
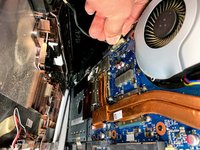
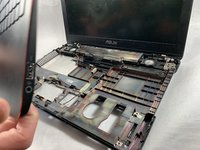
    6. Asus GL551JW-AH71 Upper Assembly Replacement: step 12, image 1 of 3 Asus GL551JW-AH71 Upper Assembly Replacement: step 12, image 2 of 3 Asus GL551JW-AH71 Upper Assembly Replacement: step 12, image 3 of 3
      • Flip the laptop on the right side while still holding the upper and lower assemblies close together.

      • Unplug the display connector from the motherboard.

      • Remove the upper assembly.

      Ask FixBot

      Add Comment

Conclusion

To reassemble your device, follow these instructions in reverse order.

Cancel: I did not complete this guide.

One other person completed this guide.

William Kelley

Member since: 03/20/19

1,035 Reputation

7 Guides authored

Team

0 Guide Comments

Add Comment

View Statistics:

Past 24 Hours: 2

Past 7 Days: 6

Past 30 Days: 31

All Time: 817