
Asus GL551JW-AH71 Optical Drive Replacement

William Kelley and 2 other contributors
Last updated on Jul 3, 2019
Views: 691
View statistics:
- Past 24 Hours:
- 1
- Past 7 Days:
- 11
- Past 30 Days:
- 56
- All Time:
- 691
Comments: 1
1 comment on steps.
Completed: 1 2
1 person has marked this guide "completed." Will you be next?
2 people have marked this guide "completed." Including you — great job!
Favorites: 0 1
No one has favorited (and subscribed to) this guide. Will you be the first?
1 person has favorited (and subscribed to) this guide — and that's you!
Featured Student Guide
This guide has been the hard work of our awesome students and is found to be exceptionally cool by the iFixit staff.
Introduction
Go to step 1 ↓This guide outlines how to remove the optical drive in the Asus GL551JW-AH71. This guide also serves as a prerequisite for guides that require the removal of the back cover.
What you need
Tools


-
-
-
-
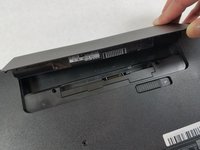
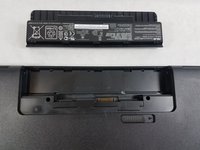
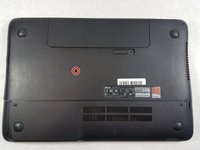
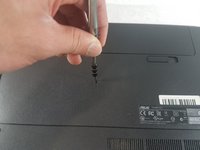
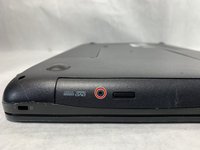
Use a Phillips #000 screwdriver to remove the single 10mm optical drive screw.
-
-
-
-
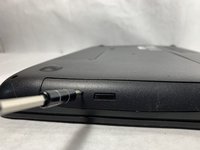
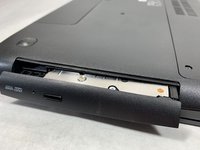
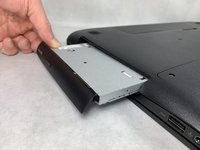
Insert a probe or paperclip gently into the eject pin hole to eject the optical drive tray.
-
-

 Ask FixBot








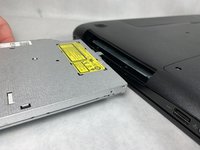
To reassemble your device, follow these instructions in reverse order.
Cancel: I did not complete this guide.
One other person completed this guide.

Team

UMass Dartmouth, Team S8-G3, Bailey Spring 2019 Member of UMass Dartmouth, Team S8-G3, Bailey Spring 2019
UMASSD-BAILEY-S19S8G3
4 Members
96 Guides authored
