
Asus G750JW-BBI7N05 RAM Replacement

Stephanie Asling and 2 other contributors
Last updated on Jan 4, 2018
Views: 1.3K
View statistics:
- Past 24 Hours:
- 1
- Past 7 Days:
- 23
- Past 30 Days:
- 99
- All Time:
- 1,274
Comments: 1
1 guide comment.
Go to guide commentsCompleted: 1 2
1 person has marked this guide "completed." Will you be next?
2 people have marked this guide "completed." Including you — great job!
Favorites: 1 2
1 person has favorited (and subscribed to) this guide. Will you be next?
2 people have favorited (and subscribed to) this guide — including you!
Introduction
Go to step 1 ↓Faulty or failing RAM can cause a variety of issues, from random crashing to a total loss of power. This guide will walk you through locating and replacing your laptop's RAM.
What you need
Tools


-
-
-
Slide the battery release latch all the way to the right. This will cause the battery to "pop" out slightly.
-
-
-
-
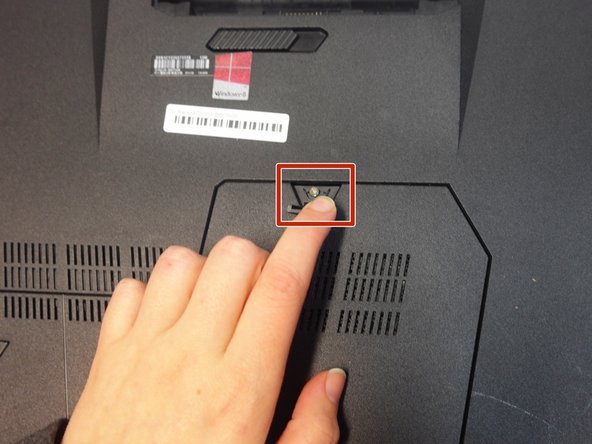
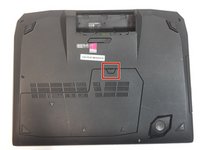
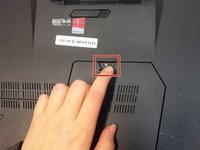
Lift up the rubber stopper on the backplate to expose one Phillips screw. Unscrew it until it becomes loose.
-
-
-
-
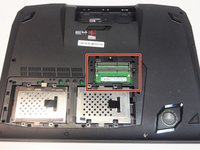
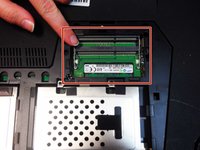
Remove each RAM module one at a time by sliding them downward out of their slots.
-
-

 Ask FixBot




To reassemble your device, follow these instructions in reverse order.
Cancel: I did not complete this guide.
One other person completed this guide.

Team

Portland State University, Team S1-G1, Read Fall 2017 Member of Portland State University, Team S1-G1, Read Fall 2017
PSUN-READ-F17S1G1
2 Members
36 Guides authored
1 Guide Comment
What about how to remove the other two internal RAM Modules?
