Introduction
If you are careful, the touch pad can be easily replaced. All you need is a #0 Phillips screwdriver and plastic opening tool to open the Asus notebook and remove your current touch pad. Before beginning this project, you should make sure that your notebook is not simply in need of a reboot. Also, before beginning your project, you need to shut down your note book and remove its charging cord.
What you need
-
-
-
Flip the notebook over and remove the 10 screws from the back plate with a #0 Phillips head screwdriver.
 Ask FixBot
-
-
-
Once the screws are removed, carefully lift both sides of the plastic keyboard/touch pad cover with a plastic opening tool.
-
-
-
-
Lift the plastic cover and unplug the three data cords (not all pictured) under the cover from the keyboard and motherboard.
-
-
-
Once you've removed the plastic cover, flip it over.
-
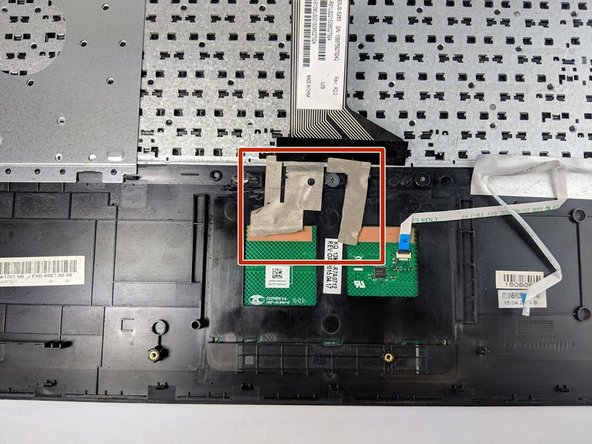
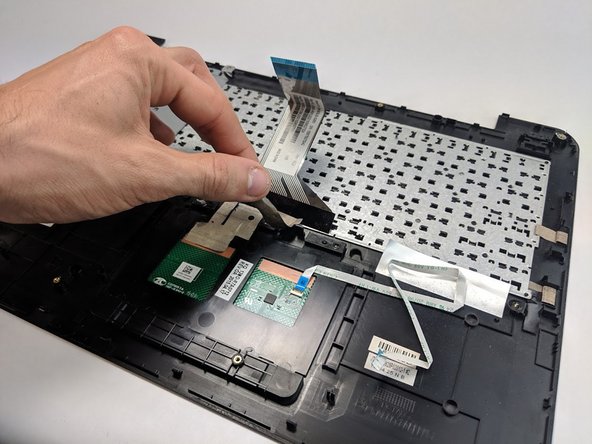
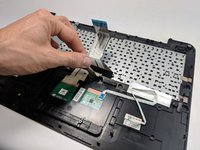
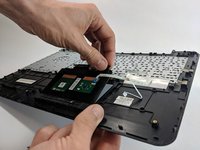
Next, carefully remove the tape from the bottom side of your touch pad.
-
-
-
Locate and unscrew the three 3.2 mm at the top edge of the touch pad using the Phillips #0 screwdriver.
-
-
-
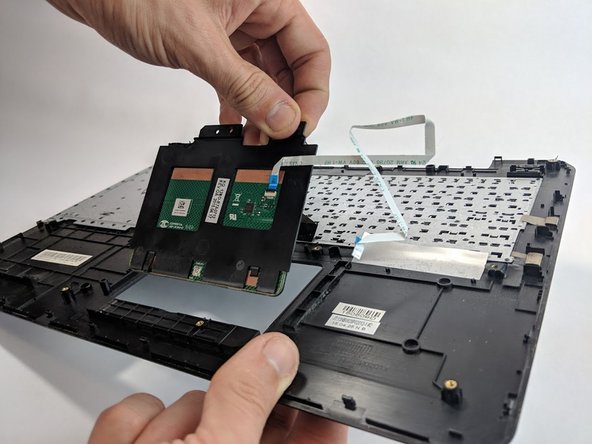
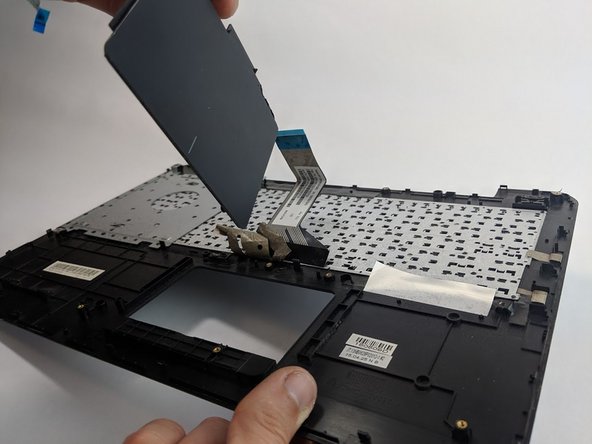
Gently push the front of the touch pad with your finger to remove it from its position within the keyboard.
-
Replace touch pad.
-
-




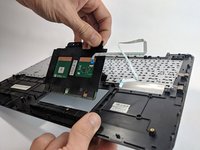
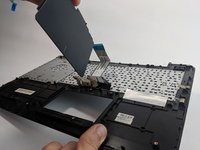
To reassemble your device, follow these instructions in reverse order.

Team

USF Tampa, Team S1-G2, Leahy Fall 2018 Member of USF Tampa, Team S1-G2, Leahy Fall 2018
USFT-LEAHY-F18S1G2
4 Members
72 Guides authored
