Free Shipping on Domestic Orders $75+

Asus Eee PC 1201HAB Hard Drive Replacement

What you need

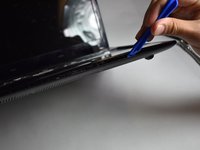
    1. Asus Eee PC 1201HAB Hard Drive Replacement, Keyboard: step 1, image 1 of 2 Asus Eee PC 1201HAB Hard Drive Replacement, Keyboard: step 1, image 2 of 2
      • Use a plastic opening tool and carefully pry the top panel from the base.

      Ask FixBot

      Add Comment

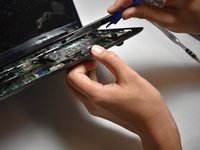
    2. Asus Eee PC 1201HAB Hard Drive Replacement: step 2, image 1 of 3 Asus Eee PC 1201HAB Hard Drive Replacement: step 2, image 2 of 3 Asus Eee PC 1201HAB Hard Drive Replacement: step 2, image 3 of 3
      • Slowly lift the keyboard from the base.

      • Disconnect the attached ribbon from under the keyboard.

      Ask FixBot

      Add Comment

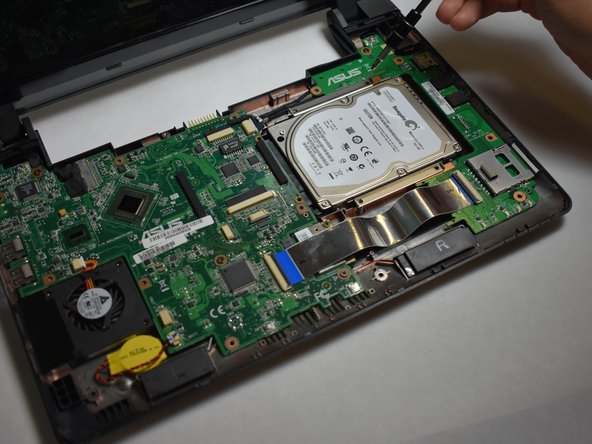
    3. Asus Eee PC 1201HAB Hard Drive Replacement: step 3, image 1 of 1
      • Remove the keyboard.

      Ask FixBot

      Add Comment

    1. Asus Eee PC 1201HAB Hard Drive Replacement, Hard Drive: step 4, image 1 of 2 Asus Eee PC 1201HAB Hard Drive Replacement, Hard Drive: step 4, image 2 of 2
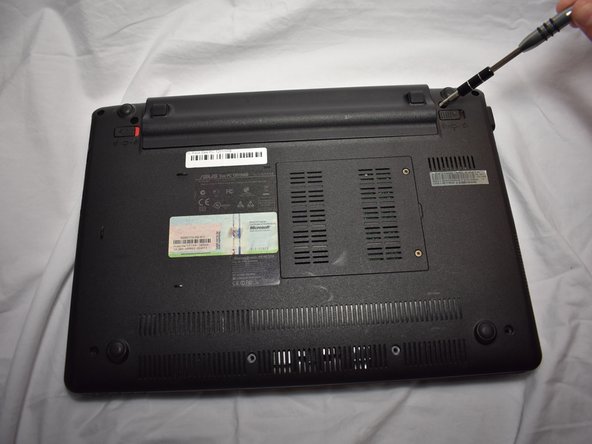
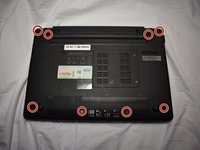
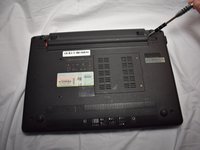
      • Lay the laptop with the back facing up.

      • With a Phillips #0 screwdriver, remove the eight 6mm screws on the back of the laptop.

      Ask FixBot

      Add Comment

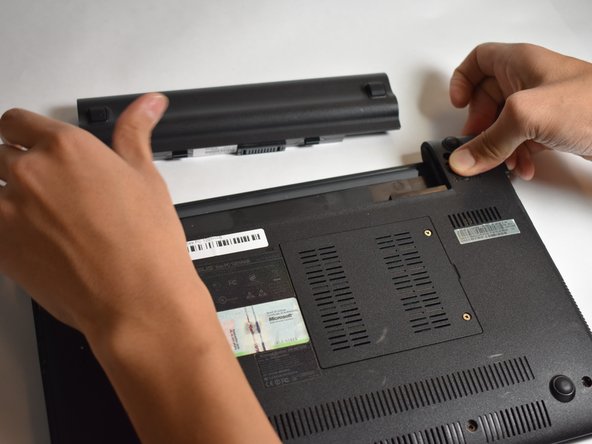
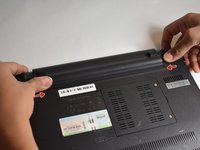
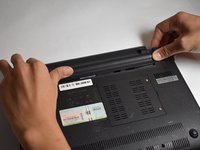
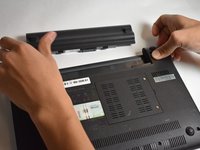
    2. Asus Eee PC 1201HAB Hard Drive Replacement: step 5, image 1 of 3 Asus Eee PC 1201HAB Hard Drive Replacement: step 5, image 2 of 3 Asus Eee PC 1201HAB Hard Drive Replacement: step 5, image 3 of 3
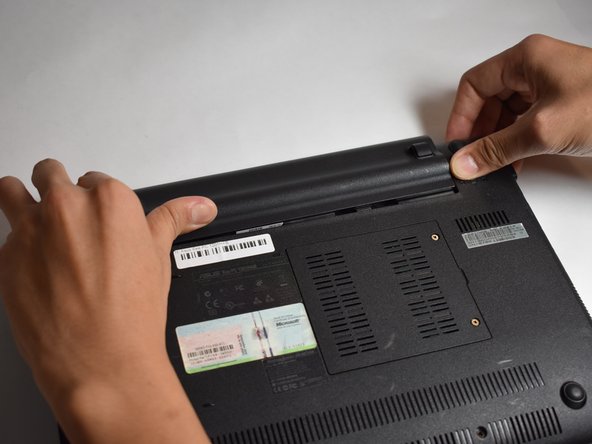
      • Slide the tabs outward to remove the battery.

      Ask FixBot

      Add Comment

    3. Asus Eee PC 1201HAB Hard Drive Replacement: step 6, image 1 of 2 Asus Eee PC 1201HAB Hard Drive Replacement: step 6, image 2 of 2
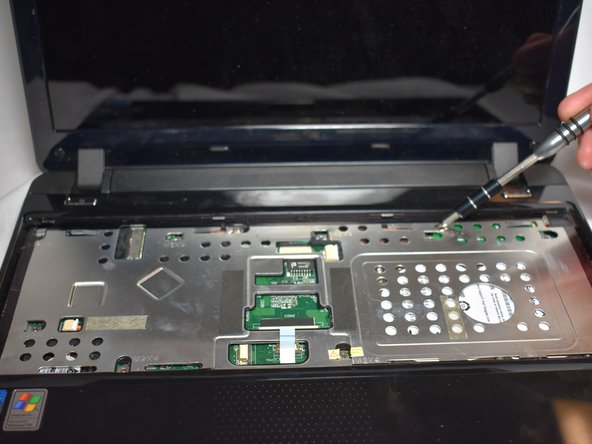
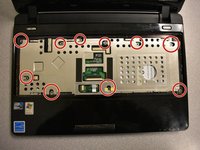
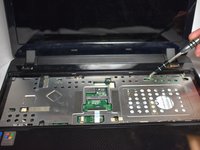
      • Flip the device so that you are facing the screen.

      • Remove the ten 4mm screws on the silver panel under the keyboard using a Phillips #0 screwdriver.

      Ask FixBot

      Add Comment

    4. Asus Eee PC 1201HAB Hard Drive Replacement: step 7, image 1 of 3 Asus Eee PC 1201HAB Hard Drive Replacement: step 7, image 2 of 3 Asus Eee PC 1201HAB Hard Drive Replacement: step 7, image 3 of 3
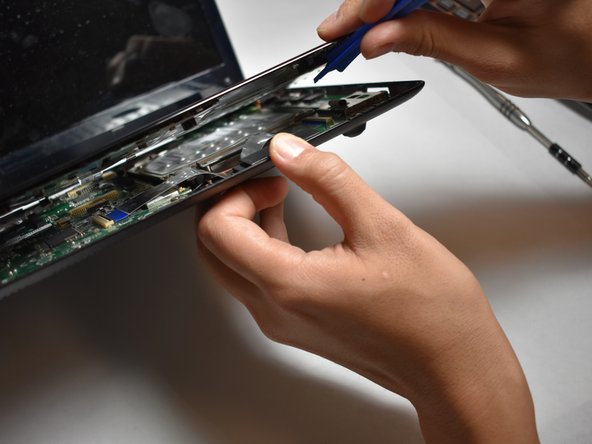
      • Using a plastic opening tool, remove the top panel of the laptop.

      Ask FixBot

      Add Comment

    5. Asus Eee PC 1201HAB Hard Drive Replacement: step 8, image 1 of 2 Asus Eee PC 1201HAB Hard Drive Replacement: step 8, image 2 of 2
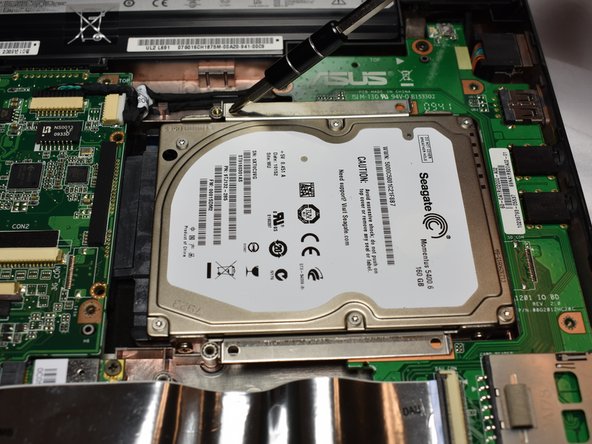
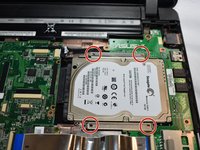
      • Using a Phillips #0 screwdriver, remove the four 4mm screws connecting the hard drive.

      Ask FixBot

      Add Comment

    6. Asus Eee PC 1201HAB Hard Drive Replacement: step 9, image 1 of 1
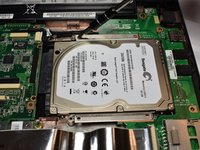
      • Remove and replace the hard drive.

      Ask FixBot

      Add Comment

Conclusion

To reassemble your device, follow these instructions in reverse order.

Cancel: I did not complete this guide.

One other person completed this guide.

Katherine Chan

Member since: 10/22/18

370 Reputation

2 Guides authored

Team

UC Davis, Team S7-G3, Lore Fall 2018 Member of UC Davis, Team S7-G3, Lore Fall 2018

UCD-LORE-F18S7G3

3 Members

24 Guides authored

0 Guide Comments

Add Comment

View Statistics:

Past 24 Hours: 1

Past 7 Days: 11

Past 30 Days: 64

All Time: 1,835