Introduction
This guide will take you through the steps of replacing the screen.
What you need
-
-
-
Using the plastic opening tool, carefully pry the top panel from the base.
 Ask FixBot
-
-
-
Lift the side of the keyboard.
-
Disconnect the attached ribbon located underneath the keyboard.
-
Place your index finger in the hole on the right side of the keyboard tray and lift the tray.
-
-
-
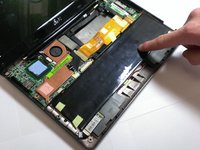
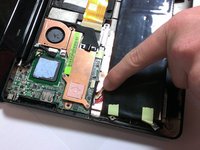
Use your fingers to lift the battery and gently disconnect the wires from the base.
-
-
-
-
-
-
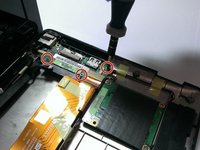
Using the Phillips #00 screwdriver, unscrew the 4mm screws from the rightmost circuit board.
-
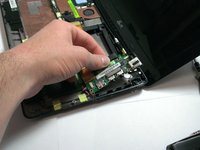
Carefully pull the circuit board away from side of device base.
-
-
-
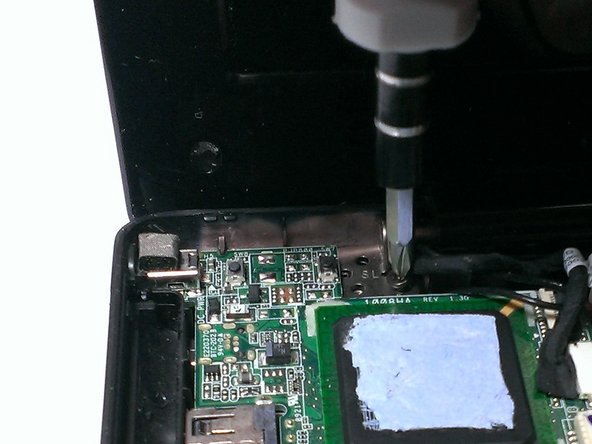
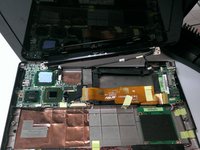
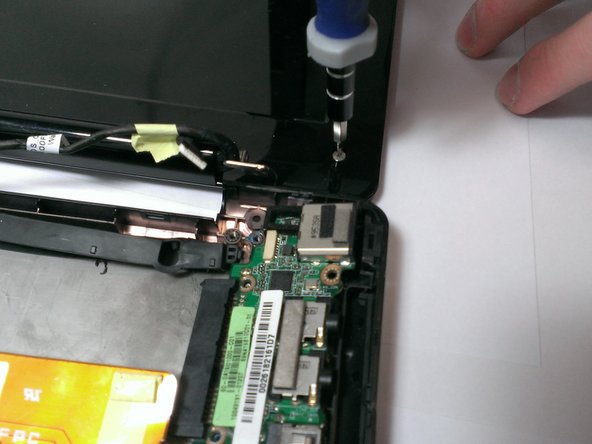
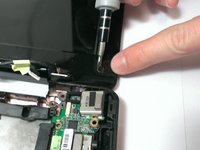
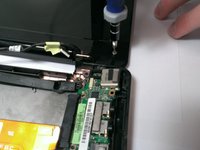
Using the Phillips #00 screwdriver, unscrew the 4mm screws attaching screen to base from both sides.
-
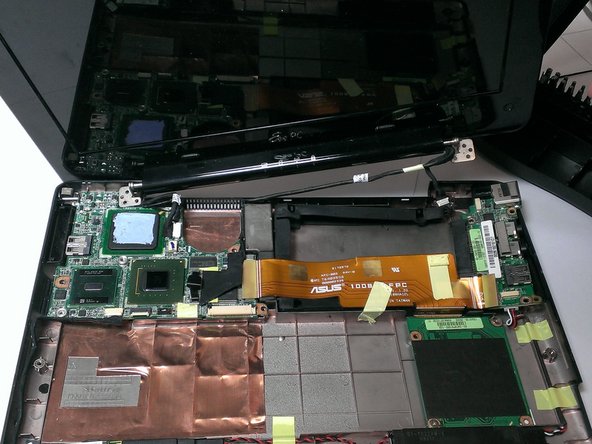
Gently lift the screen portion from the base.
-
-
-
Using the Plastic Opening Tool, pry the six small chits from the face of the screen portion.
-
Using the Phillips #00 screwdriver, unscrew the two 2mm and four 4mm screws from underneath the chits.
-
-
-
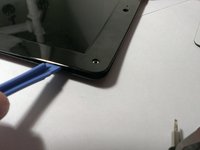
Slide the Plastic Opening Tool under the edge of the screen bezel to release the front panel of the screen.
-
-
-
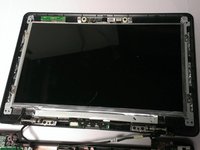
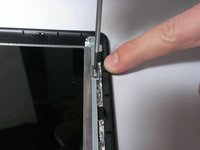
Using the Phillips #00 screwdriver, unscrew the 2mm screws from the perimeter of the screen.
-
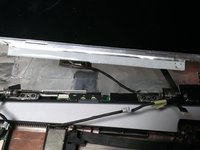
Use your fingers to hold the screen and carefully lift it from the base.
-
-
-
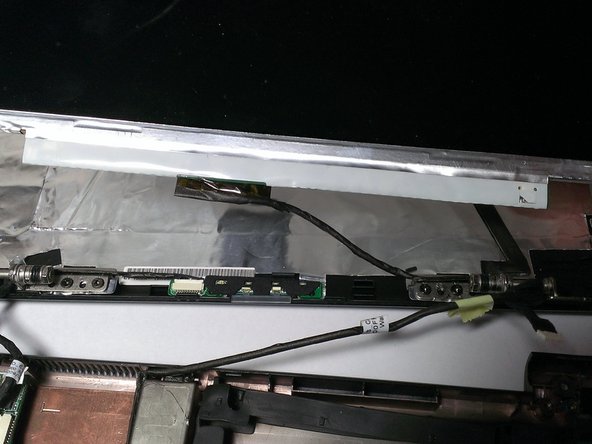
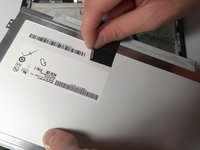
Use your fingers to peel back the adhesive tape located on the back of the screen.
-
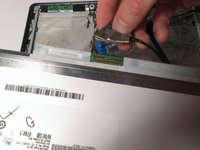
Disconnect the wire from the screen.
-
-











To reassemble your device, follow these instructions in reverse order.
Cancel: I did not complete this guide.
One other person completed this guide.

Team

Cal Poly, Team 21-52, Johann Spring 2013 Member of Cal Poly, Team 21-52, Johann Spring 2013
CPSU-JOHANN-S13S21G52
4 Members
72 Guides authored
