Free Shipping on Domestic Orders $75+

Asus Chromebook C523N Keyboard Replacement

What you need

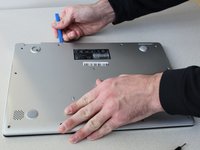
    1. Asus Chromebook C523N Keyboard Replacement, Back Cover: step 1, image 1 of 2 Asus Chromebook C523N Keyboard Replacement, Back Cover: step 1, image 2 of 2
      • Remove the four 0.5mm JIS #00 screws from the bottom edge of the Chromebook and one in the center.

      • Remove the six 1.7mm JIS #00 screws from the sides and top edge of the Chromebook.

      Ask FixBot

      Add Comment

    2. Asus Chromebook C523N Keyboard Replacement: step 2, image 1 of 2 Asus Chromebook C523N Keyboard Replacement: step 2, image 2 of 2
      • Using a spudger, lift the top left base pad and remove it to reveal a final screw underneath.

      • Remove the one 0.5mm JIS #00 screw underneath the base pad.

      Ask FixBot

      Add Comment

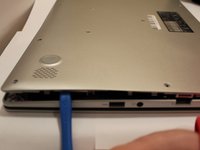
    3. Asus Chromebook C523N Keyboard Replacement: step 3, image 1 of 2 Asus Chromebook C523N Keyboard Replacement: step 3, image 2 of 2
      • Use an opening tool to gently pry the base enclosure up and remove from the laptop.

      Ask FixBot

      Add Comment

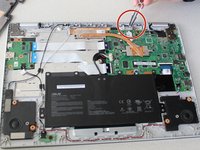
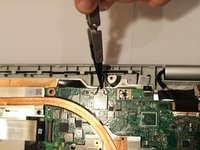
    1. Asus Chromebook C523N Keyboard Replacement, Speaker: step 4, image 1 of 3 Asus Chromebook C523N Keyboard Replacement, Speaker: step 4, image 2 of 3 Asus Chromebook C523N Keyboard Replacement, Speaker: step 4, image 3 of 3
      Tool used on this step:
      Tweezers
      $4.99
      Buy
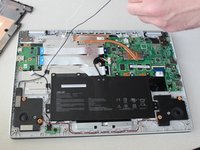
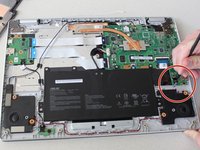
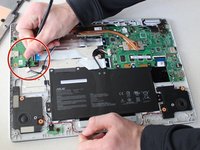
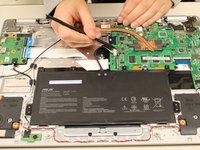
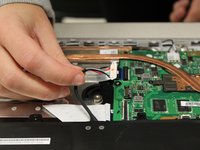
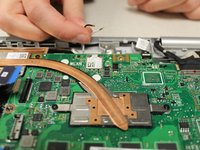
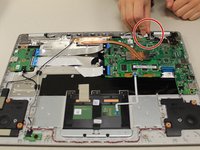
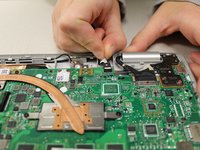
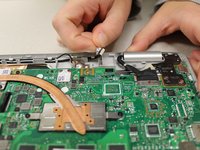
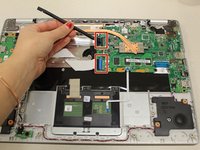
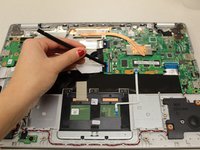
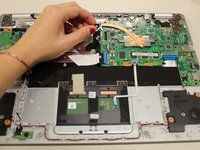
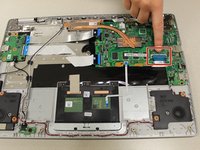
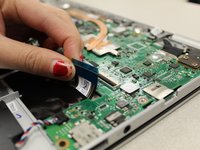
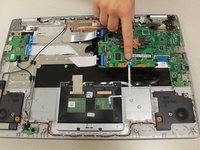
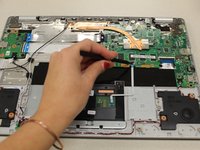
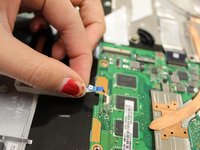
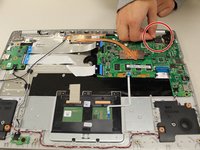
      • Using the nylon tipped tweezers, gently pry the black and white wires from the wireless card and lift.

      Ask FixBot

      Add Comment

    2. Asus Chromebook C523N Keyboard Replacement: step 5, image 1 of 3 Asus Chromebook C523N Keyboard Replacement: step 5, image 2 of 3 Asus Chromebook C523N Keyboard Replacement: step 5, image 3 of 3
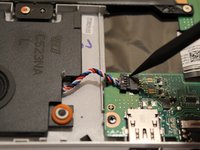
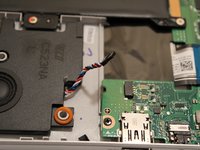
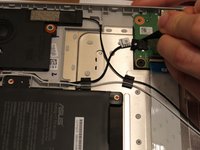
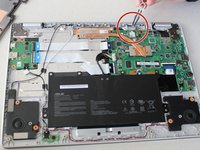
      • Use a spudger to pry the small tangle of black, red, white, and blue wires from the audio connector, pushing the wires back toward the speaker.

      Ask FixBot

      Add Comment

    3. Asus Chromebook C523N Keyboard Replacement: step 6, image 1 of 2 Asus Chromebook C523N Keyboard Replacement: step 6, image 2 of 2
      • Use a spudger to pry the black wire from the audio connector, pushing the wires back toward the left speaker.

      Ask FixBot

      Add Comment

    4. Asus Chromebook C523N Keyboard Replacement: step 7, image 1 of 1
      • Gently grab both speakers and lift them from the Chromebook to remove.

      Ask FixBot

      Add Comment

    1. Asus Chromebook C523N Keyboard Replacement, Battery: step 8, image 1 of 3 Asus Chromebook C523N Keyboard Replacement, Battery: step 8, image 2 of 3 Asus Chromebook C523N Keyboard Replacement, Battery: step 8, image 3 of 3
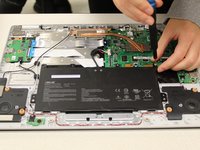
      • To disconnect the cable, use the tip of a spudger or your fingernail to flip up the small locking flap.

      • Gently disconnect the battery cable from the motherboard.

      Ask FixBot

      Add Comment

    2. Asus Chromebook C523N Keyboard Replacement: step 9, image 1 of 2 Asus Chromebook C523N Keyboard Replacement: step 9, image 2 of 2
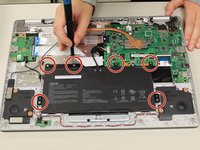
      • Remove six 1.4 mm JIS #00 screws from the battery.

      Ask FixBot

      Add Comment

    3. Asus Chromebook C523N Keyboard Replacement: step 10, image 1 of 1
      • Remove the battery from the laptop.

      Ask FixBot

      Add Comment

    1. Asus Chromebook C523N Keyboard Replacement, Motherboard: step 11, image 1 of 3 Asus Chromebook C523N Keyboard Replacement, Motherboard: step 11, image 2 of 3 Asus Chromebook C523N Keyboard Replacement, Motherboard: step 11, image 3 of 3
      Tool used on this step:
      Tweezers
      $4.99
      Buy
      • Using tweezers, gently pry the black and white wires from the wireless card and lift.

      Ask FixBot

      Add Comment

    2. Asus Chromebook C523N Keyboard Replacement: step 12, image 1 of 3 Asus Chromebook C523N Keyboard Replacement: step 12, image 2 of 3 Asus Chromebook C523N Keyboard Replacement: step 12, image 3 of 3
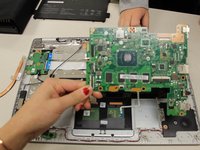
      • Gently pull the trackpad cable from the connector, located next to the wireless card.

      Ask FixBot

      Add Comment

    3. Asus Chromebook C523N Keyboard Replacement: step 13, image 1 of 3 Asus Chromebook C523N Keyboard Replacement: step 13, image 2 of 3 Asus Chromebook C523N Keyboard Replacement: step 13, image 3 of 3
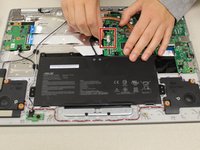
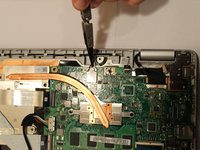
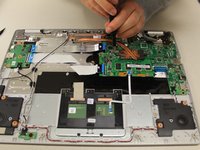
      • Using a spudger, disconnect the two side-by-side ribbon cables from their connectors, pushing in the direction of the ribbons (toward the left side of the Chromebook).

      Ask FixBot

      Add Comment

    4. Asus Chromebook C523N Keyboard Replacement: step 14, image 1 of 2 Asus Chromebook C523N Keyboard Replacement: step 14, image 2 of 2
      • Disconnect the thick blue ribbon cable from the connector by pulling it away from the motherboard.

      Ask FixBot

      Add Comment

    5. Asus Chromebook C523N Keyboard Replacement: step 15, image 1 of 3 Asus Chromebook C523N Keyboard Replacement: step 15, image 2 of 3 Asus Chromebook C523N Keyboard Replacement: step 15, image 3 of 3
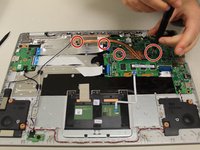
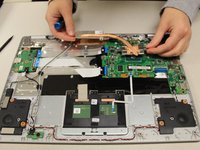
      • Remove the 0.4mm JIS #0 screws from the heat sink in the center of the motherboard.

      • Lift and remove the heat sink.

      Ask FixBot

      Add Comment

    6. Asus Chromebook C523N Keyboard Replacement: step 16, image 1 of 3 Asus Chromebook C523N Keyboard Replacement: step 16, image 2 of 3 Asus Chromebook C523N Keyboard Replacement: step 16, image 3 of 3
      • Gripping the thin white ribbon cable, gently pull it away from the motherboard to disconnect.

      Ask FixBot

      Add Comment

    7. Asus Chromebook C523N Keyboard Replacement: step 17, image 1 of 2 Asus Chromebook C523N Keyboard Replacement: step 17, image 2 of 2
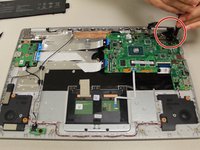
      • Disconnect the thick black connector by gently pulling it up, away from the motherboard.

      Ask FixBot

      Add Comment

    8. Asus Chromebook C523N Keyboard Replacement: step 18, image 1 of 2 Asus Chromebook C523N Keyboard Replacement: step 18, image 2 of 2
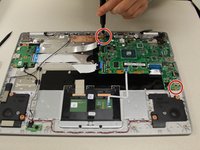
      • Remove the two 0.4mm JIS #00 screws at the bottom of the hinge (closest to the motherboard).

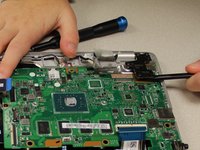
      • Using an opening tool, pry the hinge upward.

      Ask FixBot

      Add Comment

    9. Asus Chromebook C523N Keyboard Replacement: step 19, image 1 of 2 Asus Chromebook C523N Keyboard Replacement: step 19, image 2 of 2
      • Remove the two 0.4 mm JIS #00 screws from the motherboard.

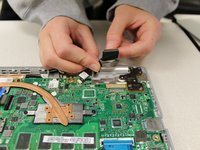
      • Gently lift and remove the motherboard.

      Ask FixBot

      Add Comment

    1. Asus Chromebook C523N Keyboard Replacement, Touchpad: step 20, image 1 of 1
      • Pull gently on the touchpad cable connector to disconnect.

      Ask FixBot

      Add Comment

    2. Asus Chromebook C523N Keyboard Replacement: step 21, image 1 of 1
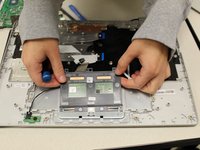
      • Carefully, remove the tape from the touch pad only.

      Ask FixBot

      Add Comment

    3. Asus Chromebook C523N Keyboard Replacement: step 22, image 1 of 1
      • Remove the three 1.4 mm JIS #00 screws.

      Ask FixBot

      Add Comment

    4. Asus Chromebook C523N Keyboard Replacement: step 23, image 1 of 2 Asus Chromebook C523N Keyboard Replacement: step 23, image 2 of 2
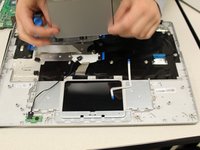
      • Lift at the far edge of the touchpad to remove it.

      Ask FixBot

      Add Comment

    1. Asus Chromebook C523N Keyboard Replacement, Keyboard: step 24, image 1 of 2 Asus Chromebook C523N Keyboard Replacement, Keyboard: step 24, image 2 of 2
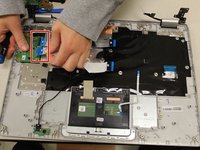
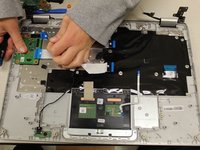
      • Disconnect the two ribbon cables from the daughterboard.

      Ask FixBot

      Add Comment

    2. Asus Chromebook C523N Keyboard Replacement: step 25, image 1 of 1
      • Remove the four 0.4mm JIS #00 screws from the daughterboard.

      • Remove the daughterboard.

      Ask FixBot

      Add Comment

    3. Asus Chromebook C523N Keyboard Replacement: step 26, image 1 of 1
      • Remove the two 0.4mm JIS #00 screws on the left hinge.

      Ask FixBot

      Add Comment

    4. Asus Chromebook C523N Keyboard Replacement: step 27, image 1 of 1
      • Lift the keyboard of the Chromebook off of the screen.

      Ask FixBot

      Add Comment

Conclusion

To reassemble your device, follow these instructions in reverse order.

Cancel: I did not complete this guide.

2 other people completed this guide.

3 Guide Comments

Great walk through. I used this to replace a keyboard on a C423N ASUS. Everything but the track pad connector on the mother board and three screws instead of 2 on the screen hinges is the same.

Charles Stanley - Reply Share

Hi there

How would I replace the screen for this model??

Saif - Reply Share
how to replace ssd in motherbord

Suresh dhakar - Reply Share
Add Comment

View Statistics:

Past 24 Hours: 2

Past 7 Days: 14

Past 30 Days: 47

All Time: 2,928