Free Shipping on Domestic Orders $75+

Asus Chromebook C300SA-DS02 Display Assembly Replacement

What you need

    1. Asus Chromebook C300SA-DS02 Display Assembly Replacement, Keyboard: step 1, image 1 of 2 Asus Chromebook C300SA-DS02 Display Assembly Replacement, Keyboard: step 1, image 2 of 2
      • Power the laptop off and make sure the charger is unplugged before starting.

      • Remove the eight 8.0mm Phillips #0 screws on the bottom of the laptop.

      • Remove the three 6.0mm Phillips #0 screws.

      Ask FixBot

      Add Comment

    2. Asus Chromebook C300SA-DS02 Display Assembly Replacement: step 2, image 1 of 3 Asus Chromebook C300SA-DS02 Display Assembly Replacement: step 2, image 2 of 3 Asus Chromebook C300SA-DS02 Display Assembly Replacement: step 2, image 3 of 3
      • Open the laptop.

      • Using an iFixit opening tool, pry along the edges of the keyboard.

      • Lift the keyboard and slide it gently towards you.

      • Do not completely remove the keyboard. It is still connected to the back panel by a pair of ribbon cables.

      Ask FixBot

      Add Comment

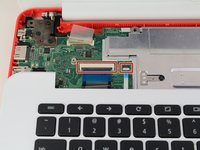
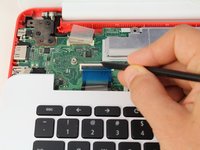
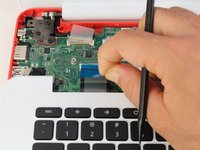
    3. Asus Chromebook C300SA-DS02 Display Assembly Replacement: step 3, image 1 of 3 Asus Chromebook C300SA-DS02 Display Assembly Replacement: step 3, image 2 of 3 Asus Chromebook C300SA-DS02 Display Assembly Replacement: step 3, image 3 of 3
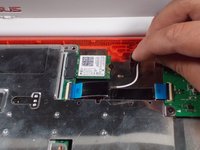
      • Disconnect the two ZIF connectors by prying up the locking bar with a spudger and removing the ribbon cable.

      Ask FixBot

      Add Comment

    4. Asus Chromebook C300SA-DS02 Display Assembly Replacement: step 4, image 1 of 1
      • Remove the keyboard from the laptop.

      Ask FixBot

      Add Comment

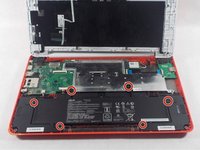
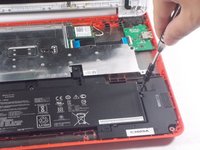
    1. Asus Chromebook C300SA-DS02 Display Assembly Replacement, Battery: step 5, image 1 of 2 Asus Chromebook C300SA-DS02 Display Assembly Replacement, Battery: step 5, image 2 of 2
      • Remove the six 5.6mm Phillips #0 screws around the battery.

      Ask FixBot

      Add Comment

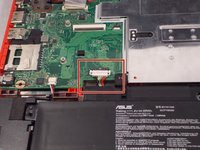
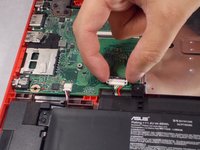
    2. Asus Chromebook C300SA-DS02 Display Assembly Replacement: step 6, image 1 of 2 Asus Chromebook C300SA-DS02 Display Assembly Replacement: step 6, image 2 of 2
      • Using your thumb and index finger, pinch the multi-color cable and disconnect it from the motherboard.

      Ask FixBot

      Add Comment

    3. Asus Chromebook C300SA-DS02 Display Assembly Replacement: step 7, image 1 of 1
      • Lift the battery out of the laptop.

      Ask FixBot

      Add Comment

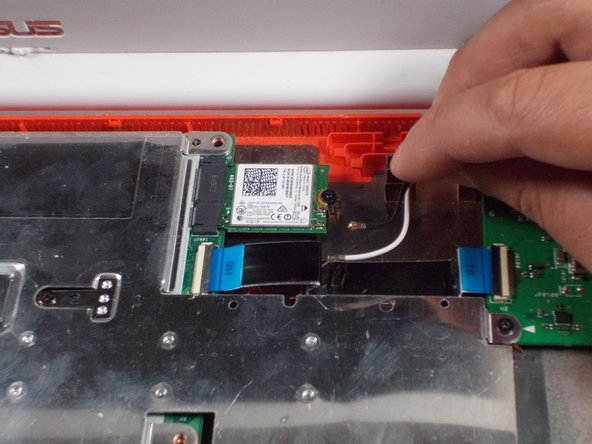
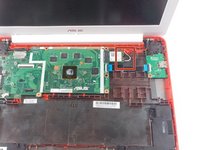
    1. Asus Chromebook C300SA-DS02 Display Assembly Replacement, Display Assembly: step 8, image 1 of 2 Asus Chromebook C300SA-DS02 Display Assembly Replacement, Display Assembly: step 8, image 2 of 2
      • Unplug the black and white cable from the motherboard.

      • These two wires connect to the antenna within the display assembly. The white cable is longer and connects to the bottom import.

      Ask FixBot

      Add Comment

    2. Asus Chromebook C300SA-DS02 Display Assembly Replacement: step 9, image 1 of 1
      • Peel back the tape covering the display cable.

      • Ease the cable towards the screen and out from the connector.

      Ask FixBot

      Add Comment

    3. Asus Chromebook C300SA-DS02 Display Assembly Replacement: step 10, image 1 of 1
      • Use a Phillips #0 driver to remove the six 5mm screws on the top right and left display hinges.

      Ask FixBot

      Add Comment

    4. Asus Chromebook C300SA-DS02 Display Assembly Replacement: step 11, image 1 of 1
      • Gently lift the display assembly up and away from the laptop.

      Ask FixBot

      Add Comment

Conclusion

To reassemble your device, follow these instructions in reverse order.

Cancel: I did not complete this guide.

Celina Monteiro

Member since: 10/17/17

233 Reputation

2 Guides authored

Team

0 Guide Comments

Add Comment

View Statistics:

Past 24 Hours: 2

Past 7 Days: 5

Past 30 Days: 27

All Time: 504