Introduction
The display includes the entire "top half" of the laptop. If you only need to replace the screen or the bezel, please use those specific guides. If you have structural damage in the display, this guide is for you.
What you need
-
-
-
Turn the device over so the bottom is facing up.
-
Remove the ten Phillips #1 8.0 mm screws.
 Ask FixBot
-
-
-
Carefully use the plastic opening tool to pry the palm rest apart from the bottom cover. Start from one spot and systematically work your way around until the whole palm rest is detached.
-
-
-
Disconnect the two cables that run from the keyboard to the motherboard and from the touch pad to the motherboard.
-
-
-
-
-
Using a flat blade, remove the two screw covers on the front of the bezel. They are attached by adhesive, so you may have to dig at it a little bit.
-
-
-
-
Using the plastic opening tool, carefully pry off the bezel. It will come off entirely, so be careful not to break it.
-
-
-
-
-
Fold down screen and remove the screen connector band. You may have to use a small flat blade or a spudger, since the latch is very small.
-
-
-
-
Gently remove the thin band from the daughterboard. You may have to use a thin blade or spudger to lift the silver clip to release the band.
-
-
-
-
Unscrew the one Phillips #1 3.5 mm screw located near the middle of the device.
-
-
-
Remove the the storage chip from the motherboard. It should slide right out.
-
-
-
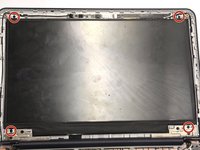
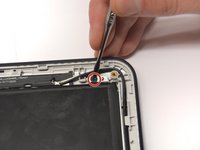
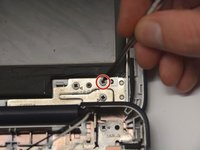
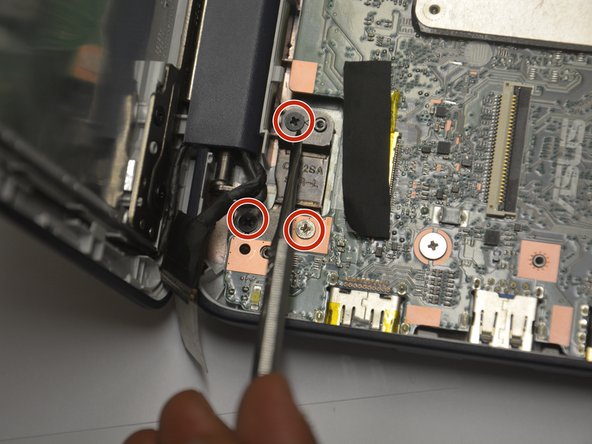
Remove the four black and 1 gold (for a total of five) Phillips #1 3.0 mm screws from the display support. There are two screws on the right side and three on the left.
-
-
-
Remove the connecting band from the motherboard. You may have to peel back some tape to be able to access the latch. A small thin blade or spudger might be useful to manipulate the small latch.
-
You can now remove the display. You may have to use the plastic opening tool to hold the motherboard up while you slide out the display.
-
-






To reassemble your device, follow these instructions in reverse order.
Cancel: I did not complete this guide.
One other person completed this guide.

Team

Idaho State University, Team S4-G4, Watkins Fall 2017 Member of Idaho State University, Team S4-G4, Watkins Fall 2017
ISU-WATKINS-F17S4G4
4 Members
84 Guides authored
1 Guide Comment
Thank you for this guide. My daughter dropped her Chromebook last week and the display stopped working. I was able to fix it by reconnecting the screen cable to the mainboard.
