Introduction
The heatsink is a component that helps regulate the temperatures in and around the central processing unit (CPU) on the motherboard. These parts sometimes fail over time and can cause the temperatures to be higher than normal, so it is a good idea to replace them as they age. Excessive amounts of heat can be potentially damaging to various internal components.
Be sure to clean the contact surfaces on both the heatsink and CPU with isopropyl alcohol during replacement and reapply thermal paste during reinstallation. Sometimes reapplying the thermal paste is all that’s necessary to reattain good heat transfer and restore the condition of your device.
What you need
-
-
-
What you need: 10 8mm screws, Tweezers, and a Phillips #1 Screwdriver
-
Remove Phillips #1 screws from the bottom of the Chromebook using a Phillips #1 screwdriver.
-
Use tweezers to get two of the screws are hidden by rubber caps along the rubber rest of the device out.
 Ask FixBot
-
-
Tool used on this step:iFixit Opening Tool$1.99
-
What you need: plastic opening tool, Chromebook
-
Open the top portion of the Chromebook
-
To unhinge the top portion of the Chromebook, push down on the plastic opening tool.
-
Place the plastic opening tool facing upward using the upper scoop, into the edges between the front and back of the Chromebook.
-
In order to avoid damaging ribbon cables, gently lift the top portion of the Chromebook from the bottom portion.
-
-
-
Gently disconnect the ribbon cable connecting the trackpad and the keyboard to the motherboard.
-
-
-
-
-
Unscrew the single 4 mm Phillips #1 screw pinning the wireless card in place.
-
-
-
-
-
Use a spudger or a clean fingernail to flip up the locking flap on each end of the cable—this is the unlocked position.
-
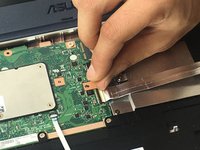
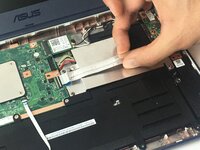
Gently remove the ribbon cable connecting the I/O board to the motherboard.
-
-
-
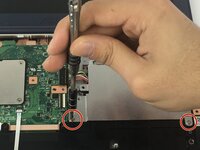
Remove two 4 mm Phillips #1 screws from the metal grate connected to the battery.
-
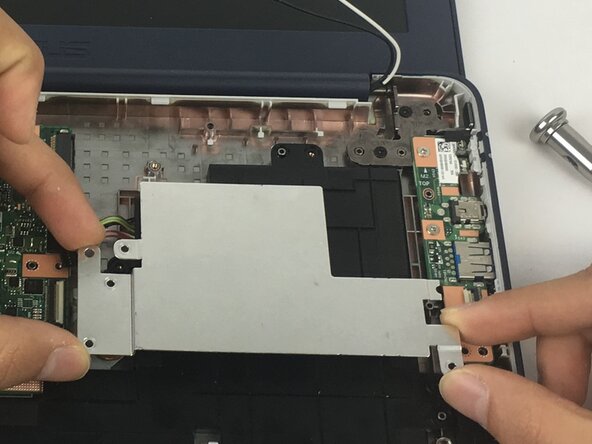
Remove metal grate from battery.
-
Remove six 4 mm Phillips #1 screws from the battery.
-
-
-
Use the point of a spudger to push on alternating sides of the connector to "walk" it out of its socket and disconnect the battery from the motherboard.
-
If that doesn't work, grip all the cables at once as close to the connector as possible and pull the connector slowly and steadily out of its socket.
-
Lift the battery from the bottom edge to to remove it from the Chromebook.
-
-
-
-
-
Unscrew one 3 mm Phillips #1 screw.
-
Unscrew one 2.5 mm Phillips #1 screw.
-
Unscrew four 4 mm Phillips #1 screws.
-
-
-
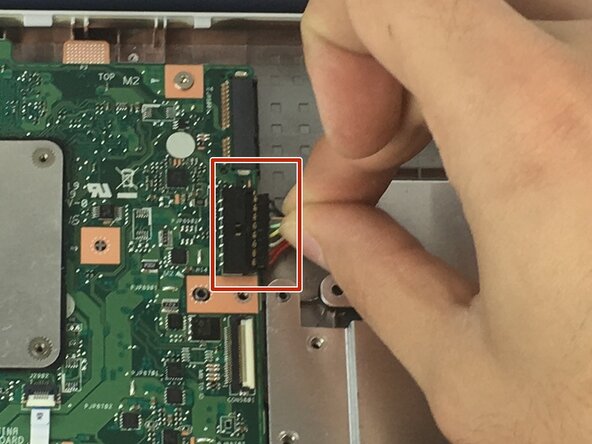
Disconnect the wires that connect the motherboard to the speakers.
-
Disconnect the motherboard from the display.
-
-
-
-
-
After removing the motherboard, flip it, right hand over left, to reveal the heatsink.
-
When the motherboard is laying on the table, the wireless card slot should be on the top left corner of the motherboard.
-
On the right should be the various USB and plug in ports.
-
Using a Phillips #0 Screwdriver take out the four screws holding in the heatsink.
-
-











To reassemble your device, follow these instructions in reverse order.

Team

The Citadel Military College of South Carolina, Team S1-G18, Eggleston Fall 2019 Member of The Citadel Military College of South Carolina, Team S1-G18, Eggleston Fall 2019
CMCSC-EGGLESTON-F19S1G18
3 Members
36 Guides authored
