Free Shipping on Domestic Orders $75+

Asus Chromebook C201PA-DS02-LG Screen Replacement

What you need

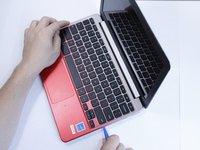
    1. Asus Chromebook C201PA-DS02-LG Screen Replacement, Keyboard: step 1, image 1 of 3 Asus Chromebook C201PA-DS02-LG Screen Replacement, Keyboard: step 1, image 2 of 3 Asus Chromebook C201PA-DS02-LG Screen Replacement, Keyboard: step 1, image 3 of 3
      • Use a metal spudger to pry off the two feet closest to the hinge of the laptop.

      • The feet are attached to the laptop by adhesives, therefore they may not stick as well after multiple removals.

      Ask FixBot

      Add Comment

    2. Asus Chromebook C201PA-DS02-LG Screen Replacement: step 2, image 1 of 2 Asus Chromebook C201PA-DS02-LG Screen Replacement: step 2, image 2 of 2
      • Use a Phillips #0 screwdriver to unscrew the six 5mm screws.

      • Use a Phillips #0 screwdriver to unscrew the two 6mm screws.

      Ask FixBot

      Add Comment

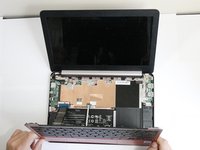
    3. Asus Chromebook C201PA-DS02-LG Screen Replacement: step 3, image 1 of 2 Asus Chromebook C201PA-DS02-LG Screen Replacement: step 3, image 2 of 2
      • Use a plastic opening tool to pry the keyboard off the edges of the computer.

      • The edges will make a popping noise.

      Ask FixBot

      Add Comment

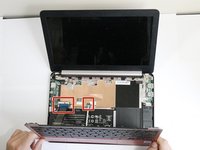
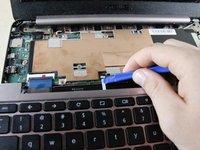
    4. Asus Chromebook C201PA-DS02-LG Screen Replacement: step 4, image 1 of 3 Asus Chromebook C201PA-DS02-LG Screen Replacement: step 4, image 2 of 3 Asus Chromebook C201PA-DS02-LG Screen Replacement: step 4, image 3 of 3
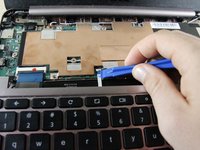
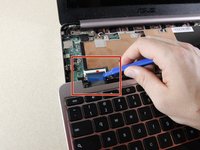
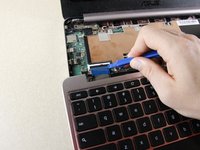
      • Flip up the white bar that connects the thin white strip using a plastic opening tool.

      • Grab the thin white strip and pull straight back to remove the strip from the connector.

      Ask FixBot

      Add Comment

    5. Asus Chromebook C201PA-DS02-LG Screen Replacement: step 5, image 1 of 3 Asus Chromebook C201PA-DS02-LG Screen Replacement: step 5, image 2 of 3 Asus Chromebook C201PA-DS02-LG Screen Replacement: step 5, image 3 of 3
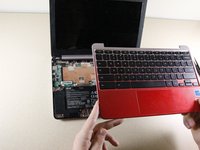
      • Use a plastic opening tool to lift the black bar above the wide black strip in the connector.

      • Grab the wide black strip and pull straight back to remove the strip from the connector.

      • Remove the keyboard by lifting it straight up.

      Ask FixBot

      Add Comment

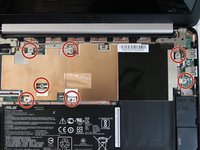
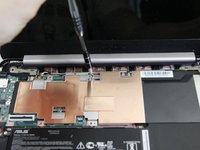
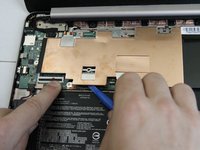
    1. Asus Chromebook C201PA-DS02-LG Screen Replacement, Metal Plate: step 6, image 1 of 3 Asus Chromebook C201PA-DS02-LG Screen Replacement, Metal Plate: step 6, image 2 of 3 Asus Chromebook C201PA-DS02-LG Screen Replacement, Metal Plate: step 6, image 3 of 3
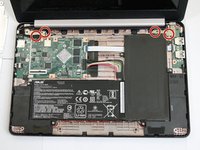
      • Unscrew the seven 4mm screws using a Phillips #0 screwdriver.

      • Wiggle the plate back and forth to loosen the adhesive under the plate.

      • The adhesive will not be the same after removal and more adhesive may be necessary upon reassembly.

      • Rotate the screwdriver in a counterclockwise direction to remove the screws.

      • Do not rest your arm or hand in the adhesive.

      Ask FixBot

      Add Comment

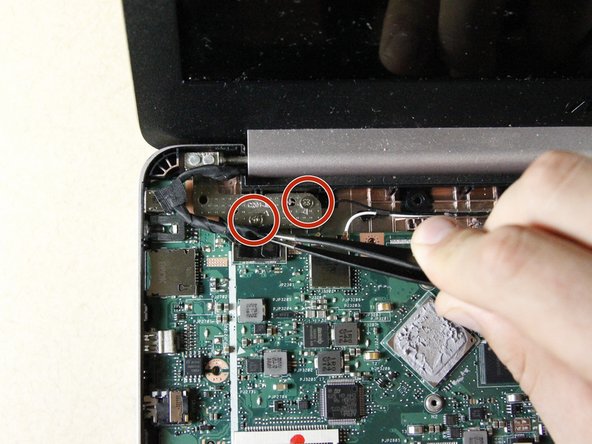
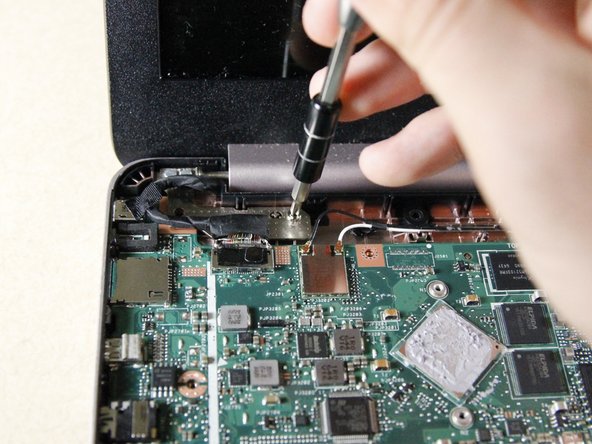
    1. Asus Chromebook C201PA-DS02-LG Screen Replacement, Screen: step 7, image 1 of 3 Asus Chromebook C201PA-DS02-LG Screen Replacement, Screen: step 7, image 2 of 3 Asus Chromebook C201PA-DS02-LG Screen Replacement, Screen: step 7, image 3 of 3
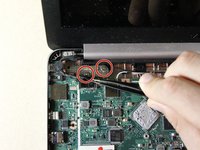
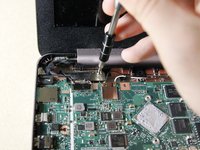
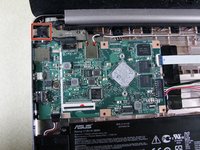
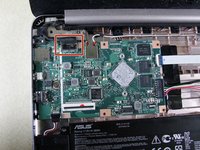
      • Unscrew the 4mm screws with a Phillips #0 screwdriver by rotating the screwdriver counterclockwise.

      • There is a screw that is hidden under the black tarped connection that connects the screen to the motherboard.

      Ask FixBot

      Add Comment

    2. Asus Chromebook C201PA-DS02-LG Screen Replacement: step 8, image 1 of 3 Asus Chromebook C201PA-DS02-LG Screen Replacement: step 8, image 2 of 3 Asus Chromebook C201PA-DS02-LG Screen Replacement: step 8, image 3 of 3
      Tool used on this step:
      Tweezers
      $4.99
      Buy
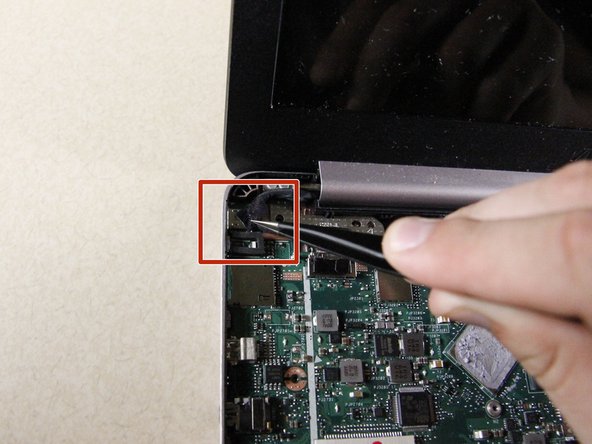
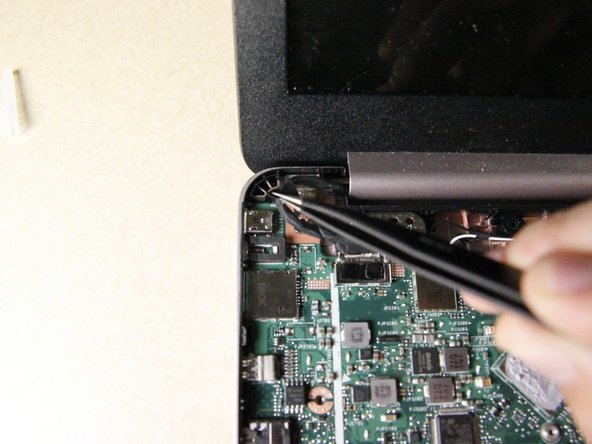
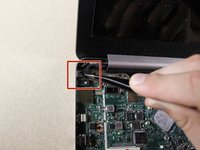
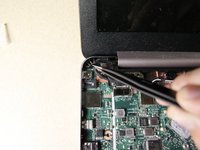
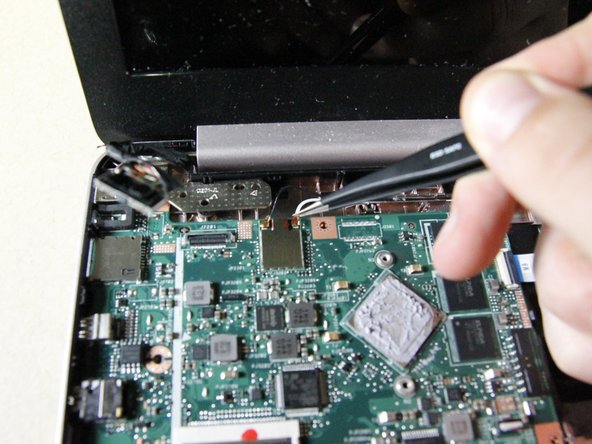
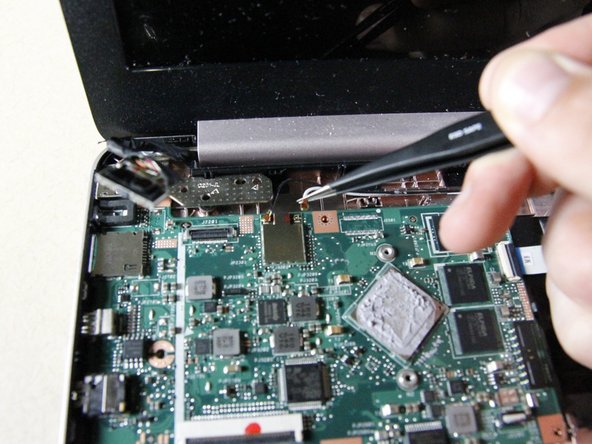
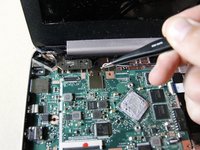
      • Lift the tarp material straight up off the external output using tweezers. It is simply taped on.

      Ask FixBot

      Add Comment

    3. Asus Chromebook C201PA-DS02-LG Screen Replacement: step 9, image 1 of 3 Asus Chromebook C201PA-DS02-LG Screen Replacement: step 9, image 2 of 3 Asus Chromebook C201PA-DS02-LG Screen Replacement: step 9, image 3 of 3
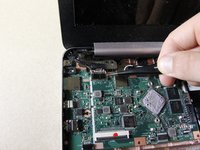
      • Use a pair of tweezers to grip the tarped connector and lift vertically up. It may help to do this on each side of the attachment, rather than in one pull.

      • Lifting the tarped connector straight up may feel like you are breaking it, but this is normal.

      Ask FixBot

      Add Comment

    4. Asus Chromebook C201PA-DS02-LG Screen Replacement: step 10, image 1 of 3 Asus Chromebook C201PA-DS02-LG Screen Replacement: step 10, image 2 of 3 Asus Chromebook C201PA-DS02-LG Screen Replacement: step 10, image 3 of 3
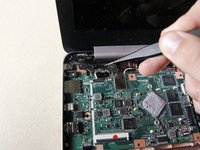
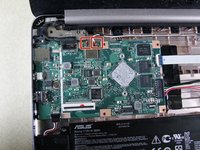
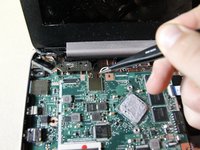
      • Pop these two connections off by using tweezers to lift straight up.

      Ask FixBot

      Add Comment

    5. Asus Chromebook C201PA-DS02-LG Screen Replacement: step 11, image 1 of 1
      • Lift the screen up to fully remove.

      Ask FixBot

      Add Comment

Conclusion

To reassemble your device, follow these instructions in reverse order.

Cancel: I did not complete this guide.

Brittany M Won

Member since: 04/18/18

577 Reputation

5 Guides authored

Team

Cal Poly, Team S17-G4, Livingston Spring 2018 Member of Cal Poly, Team S17-G4, Livingston Spring 2018

CPSU-LIVINGSTON-S18S17G4

4 Members

72 Guides authored

0 Guide Comments

Add Comment

View Statistics:

Past 24 Hours: 0

Past 7 Days: 5

Past 30 Days: 21

All Time: 545