
Asus CM1745 Case Fan Replacement

TC Fowlar and 4 other contributors
Last updated on Sep 13, 2021
Views: 2.5K
View statistics:
- Past 24 Hours:
- 3
- Past 7 Days:
- 16
- Past 30 Days:
- 72
- All Time:
- 2,487
Comments: 0
No one has left comments on this guide. Will you be first?
Go to guide commentsCompleted: 2 3
2 people have marked this guide "completed." Will you be next?
3 people have marked this guide "completed." Including you — great job!
Favorites: 0 1
No one has favorited (and subscribed to) this guide. Will you be the first?
1 person has favorited (and subscribed to) this guide — and that's you!
Action Shots
Be an action hero! This guide needs images that better demonstrate how to perform specific actions.
Needs Better Images
Better photos will improve this guide. Help out by taking, editing, or uploading new ones!
Introduction
Go to step 1 ↓The fan is an important part of the cooling system. It protects hardware from overheating and also helps keep things clean on the motherboard. Having a functional fan protects the different systems involved in cooling.
This replacement guide will require the opening and working on the inside of your Asus CM1745. This replacement guide will show you how to replace a case fan in your Asus CM1745 that may not be working anymore.
To ensure safety, unplug the power supply and turn it off.
What you need
Parts
Tools

-
-
-
Remove the side panel by unscrewing the two screws fastening the panel on the rear.
-
Once unscrewed, slide the panel towards the rear until it releases then lift away.
 Ask FixBot
-
-
-
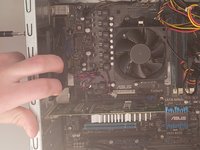
Remove the 3-pin fan connector from the 4-pin fan header on the motherboard by lightly pulling on the white plastic connector.
-
-
-
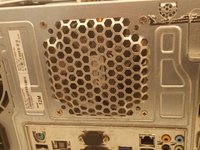
Remove the four screws on the rear of the case. Keep the fan still by holding onto it with a spare hand.
-
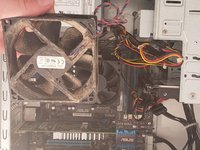
Once the screws are removed, carefully lift the fan and its cable out, remembering its orientation.
-
-
-
-
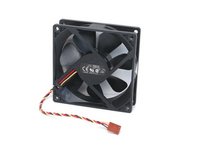
Take your replacement case fan and orient it in the same way as the previous fan.
-
Using the screws you just removed, secure the fan in place and reconnect to the fan header.
-
-




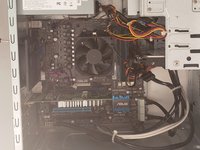
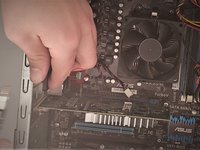
Once finished, plug in the computer and turn it on to test if the new fan works and is installed correctly. If everything works as it should, replace the side panel and resecure the screws in the rear.
Cancel: I did not complete this guide.
2 other people completed this guide.

Team

University of Memphis, Team S4-G2, Kim Fall 2019 Member of University of Memphis, Team S4-G2, Kim Fall 2019
UM-KIM-F19S4G2
4 Members
60 Guides authored
