
Asus CM1745 CPU Replacement

TC Fowlar and 3 other contributors
Last updated on Apr 11, 2023
Views: 3.2K
View statistics:
- Past 24 Hours:
- 5
- Past 7 Days:
- 21
- Past 30 Days:
- 117
- All Time:
- 3,158
Comments: 0
No one has left comments on this guide. Will you be first?
Go to guide commentsCompleted: 8 9
8 people have marked this guide "completed." Will you be next?
9 people have marked this guide "completed." Including you — great job!
Favorites: 0 1
No one has favorited (and subscribed to) this guide. Will you be the first?
1 person has favorited (and subscribed to) this guide — and that's you!
Action Shots
Be an action hero! This guide needs images that better demonstrate how to perform specific actions.
Needs Better Images
Better photos will improve this guide. Help out by taking, editing, or uploading new ones!
Introduction
Go to step 1 ↓The following replacement guide details how to properly replace the Asus CM1745 CPU. Because this involves replacing internal parts of your computer, this could void any remaining warranty. The first part of this guide details how to remove the heatsink. The second part covers removing and replacing the CPU itself. Before beginning, please make sure that your PC is powered off and disconnected from the wall. Additionally, make sure you’re careful with the CPU, as it is incredibly fragile.
What you need
Parts
Tools

-
-
-
Remove the sidepanel by unscrewing the two screws fastening the panel on the rear. Once unscrewed, slide the panel towards the rear until it releases then lift away.
 Ask FixBot
-
-
-
Unplug the CPU fan connector from the motherboard.
-
Then open the latch under the CPU fan and unhook the metal fasteners.
-
Lift the CPU heatsink and cable off of the CPU carefully.
-
-
-
Clean both the CPU top and the heatsink bottom by slightly moistening a paper towel with rubbing alcohol and rubbing lightly.
-
Grab your thermal paste and put a pea-sized amount in the middle of the CPU top.
-
Gently replace the heatsink on top of the CPU and re-lock the heatsink fasteners.
-
Replug the CPU Fan connector to the motherboard header.
-
-
-
-
-
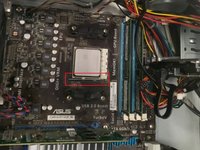
Remove CPU Heatsink to expose CPU.
-
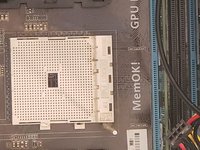
Open the silver retention bar of the CPU by pulling the bar out of the plastic hook and hinging it open.
-
Remembering the orientation of the CPU, carefully pull the CPU out of the socket.
-
-
-
-
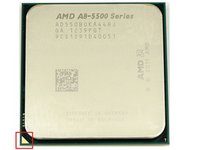
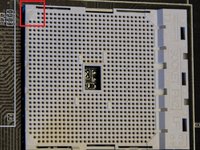
Take your replacement CPU and line up the arrows marked in the photos.
-
Place the CPU in the socket and gently massage the top of the cpu to ensure that there is no wiggle.
-
If the CPU feels secure, pull the retention bar back into place.
-
Place new thermal paste onto the CPU and replace the heatsink.
-
-


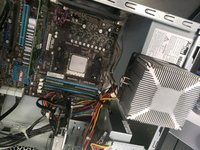
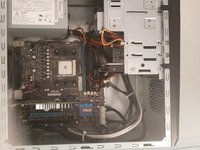
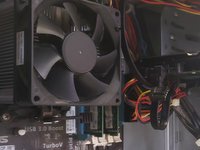


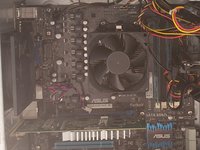


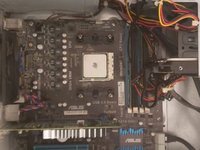
If everything looks correct, boot the computer up. It may take a few minutes to fully boot as the motherboard recognizes the new hardware.
Cancel: I did not complete this guide.
8 other people completed this guide.

Team

University of Memphis, Team S4-G2, Kim Fall 2019 Member of University of Memphis, Team S4-G2, Kim Fall 2019
UM-KIM-F19S4G2
4 Members
60 Guides authored
