
Asus A53U-ES21 Fan Replacement

Last updated on Dec 18, 2018
Views: 1.1K
View statistics:
- Past 24 Hours:
- 1
- Past 7 Days:
- 13
- Past 30 Days:
- 68
- All Time:
- 1,052
Comments: 0
No one has left comments on this guide. Will you be first?
Go to guide commentsCompleted: 0 1
No one has marked this guide "completed." Will you be the first?
1 person has marked this guide "completed." It's you — great job!
Favorites: 1 2
1 person has favorited (and subscribed to) this guide. Will you be next?
2 people have favorited (and subscribed to) this guide — including you!
Introduction
Go to step 1 ↓Is your computer heating up quickly or making loud noises? Consider using this guide to replace the fan in your device.
What you need
Tools


-
-
-
Move the two sliders towards the outer edge of the laptop.
-
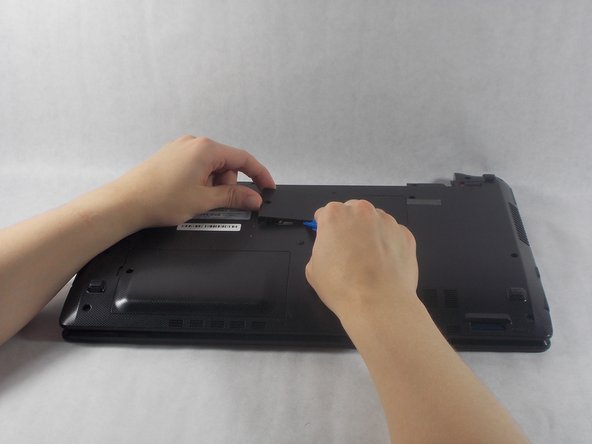
Pull the battery out with your left hand while holding the right slider.
-
-
-
-
Remove the 5mm screw using a Phillips #1 screwdriver.
-
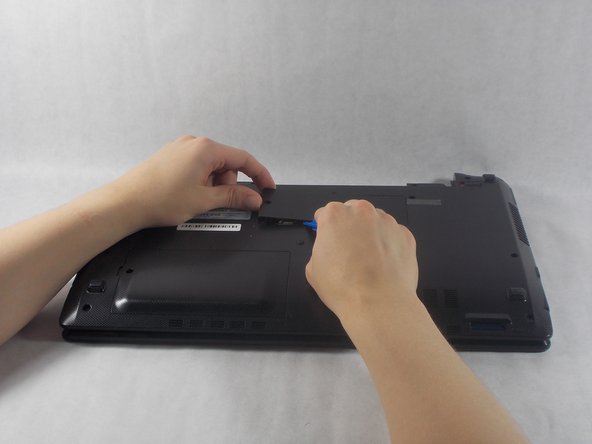
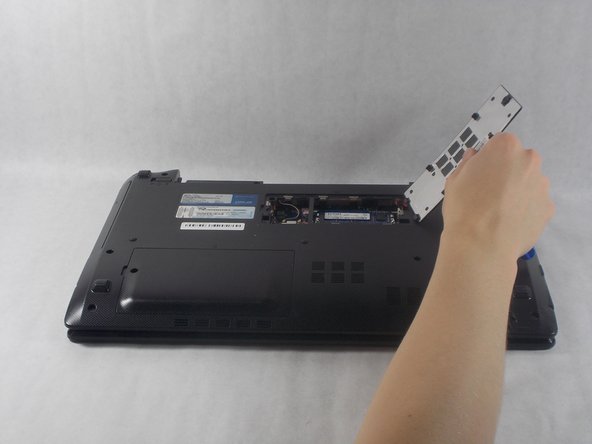
Use the iFixit opening tools to remove the RAM panel.
-
-
-
Remove the 7mm screw using a Phillips #1 screwdriver.
-
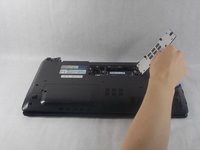
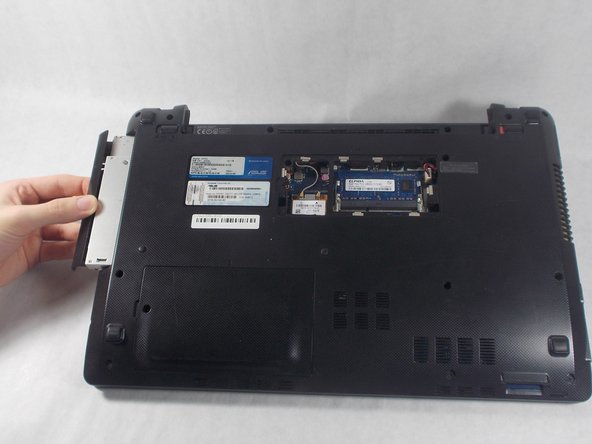
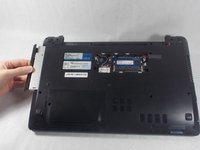
Pull the optical drive out from the side of the laptop.
-
-
-
-
-
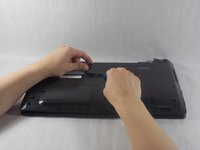
Remove the RAM cover from the bottom of the keyboard.
-
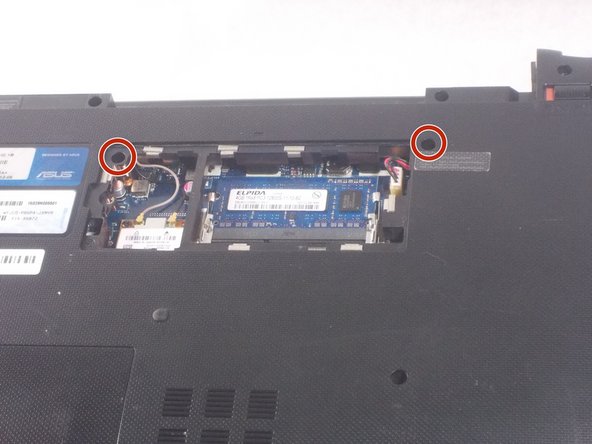
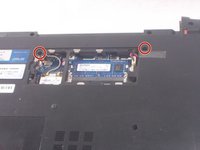
Remove the 5mm screw keeping the panel in place using a Phillips #1 screwdriver.
-
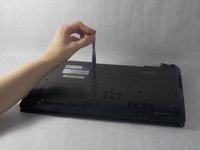
Work the pry tool along the edge to finish removal.
-
Unscrew the two 7mm screws marked with an engraved "K" using a #1 Phillips screwdriver.
-
-
-
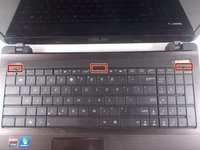
Orient the computer so the keyboard is facing toward you with the screen at the top.
-
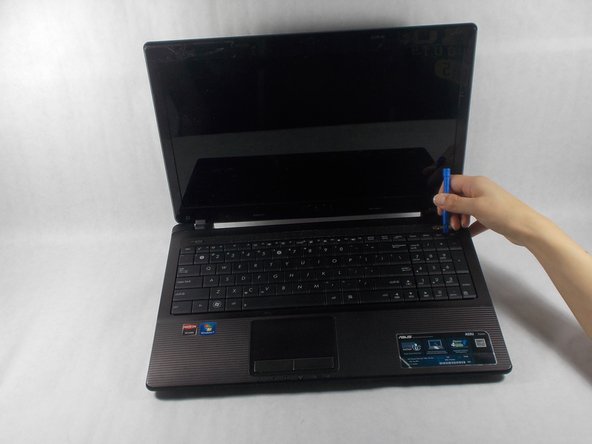
Find the three buttons to depress at top of the keyboard, set in the crack between the casing and the keyboard, highlighted here in red.
-
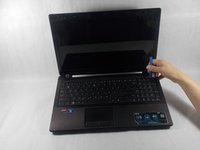
Use the pry tool to depress the buttons. The keyboard should pop out.
-
-
-
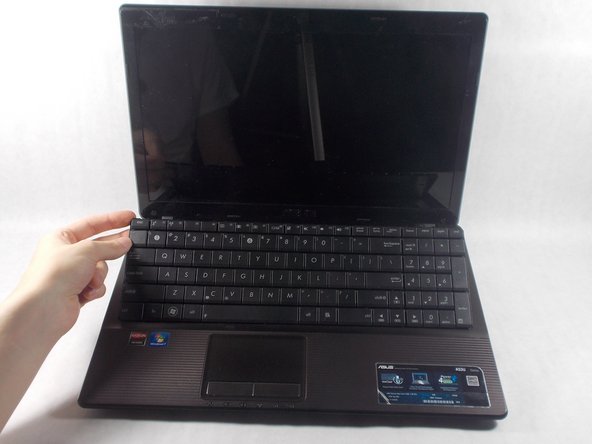
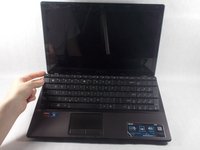
Fold the keyboard out towards you. It should still be connected by a ribbon to the rest of the computer.
-
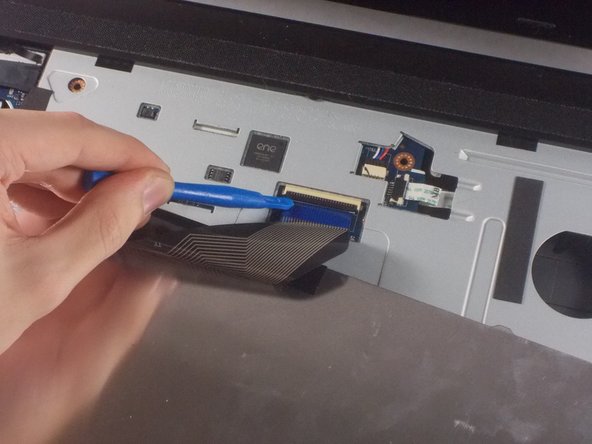
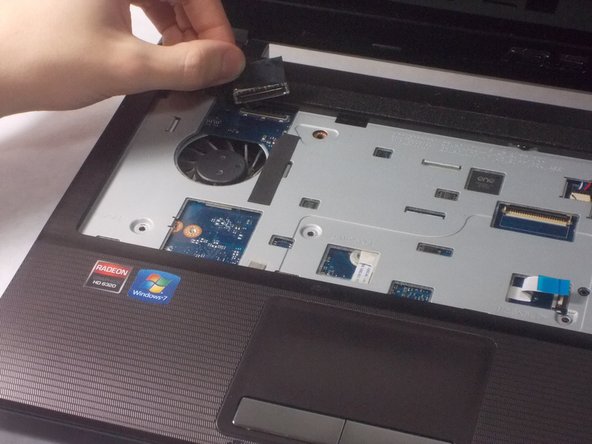
Gently use the opening tool to lift the black piece holding the ribbon down and remove the ribbon.
-
-
-
-
-
Close the laptop and place it upside down.
-
Remove the twelve 7mm screws using a Phillips #1 screwdriver.
-
-
-
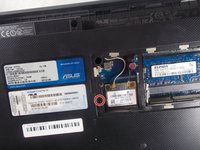
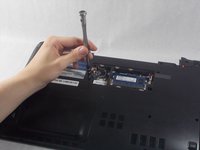
Pull the connectors away from the wireless card using the plastic opening tools.
-
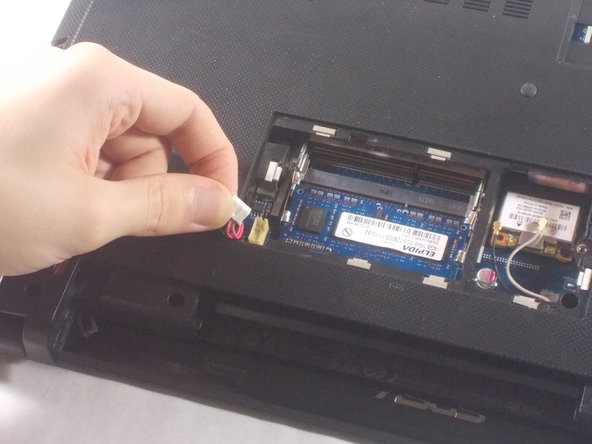
Pull the white connector from its socket in the RAM panel.
-
-
-
Flip the laptop over again, open it, and unscrew the three 7mm screws using a Phillips #1 screwdriver.
-
-
-
-
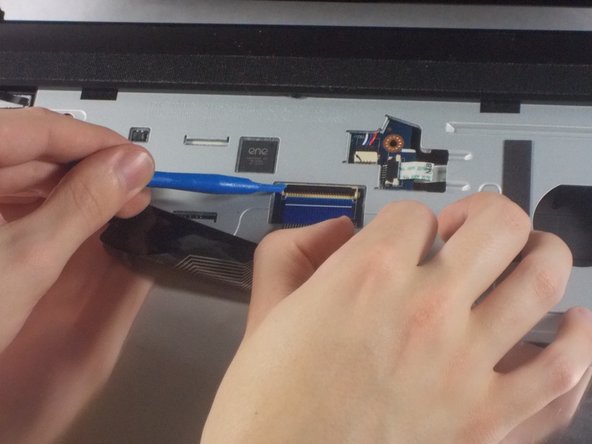
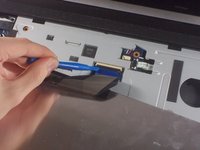
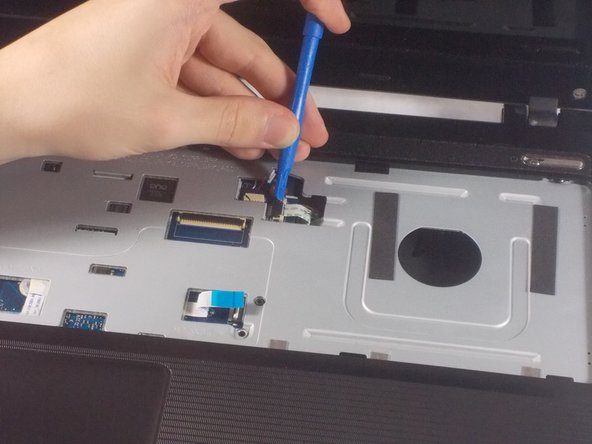
Gently pull the tan flap off of the cable using the plastic opening tool.
-
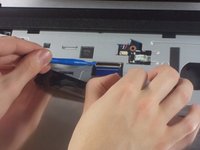
Push the tan piece towards the cable and release it using the plastic opening tool.
-
Pull the black flap off of its connector.
-
-
-
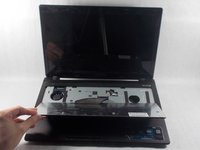
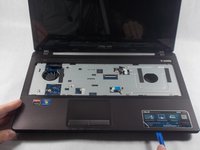
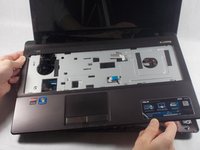
Separate the front plate of the laptop from the back using the plastic opening tool.
-
-
-
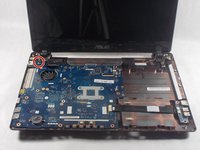
Remove the single 7mm screw from the motherboard using a Phillips #1 screwdriver.
-
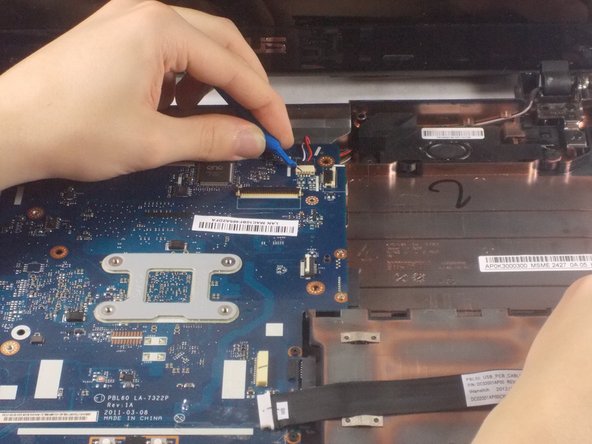
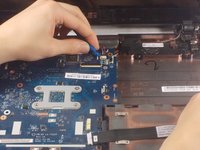
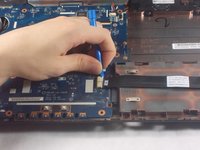
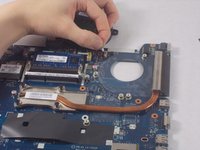
Pull to two shown cables from their sockets using the plastic opening tools.
-
Gently remove the motherboard from the laptop.
-
-
-
-
-
To remove the heat sink, unscrew the four 7mm screws using a Phillips #1 screwdriver.
-
Remove the heatsink from the device.
-
-
-
-
-
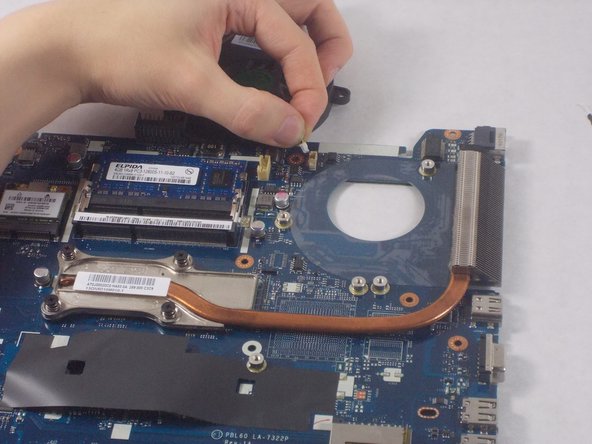
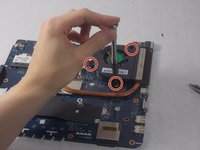
To remove the fan, unscrew the three 5mm screws using a Phillips #1 screwdriver and pull the shown cable from its socket.
-
-


 Ask FixBot

















To reassemble your device, follow these instructions in reverse order.

