Introduction
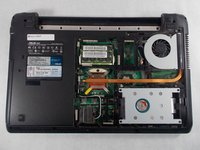
Remove the lower case of the ASUS A52F XE2 to gain access to internal parts.
What you need
-
-
-
Place the laptop face down with the battery facing away from you.
-
Locate the two buttons next to the battery.
-
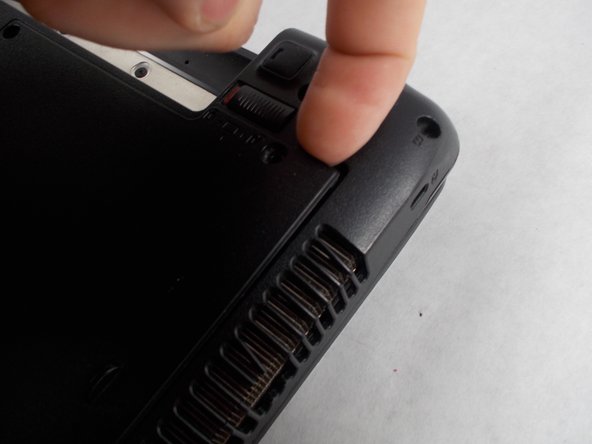
Slide the right slider to the unlocked (red) position.
 Ask FixBot
-
-
-
Hold the left button to the left.
-
Slide the battery with your other hand away from you and it should disconnect.
-
-
-
-
-
-
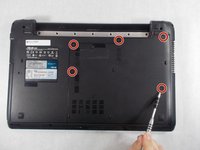
Remove the five Phillips # 0 screws from the back panel.
-
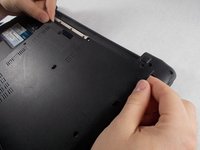
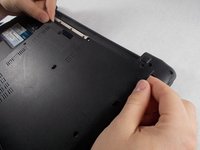
Using your finger or a plastic spudger start to carefully pry up the back planel.
-
-





To reassemble your device, follow these instructions in reverse order.
Cancel: I did not complete this guide.
2 other people completed this guide.

Team

UMass Dartmouth, Team S5-G1, Botvin Spring 2017 Member of UMass Dartmouth, Team S5-G1, Botvin Spring 2017
UMASSD-BOTVIN-S17S5G1
4 Members
84 Guides authored
