Free Shipping on Domestic Orders $75+

Asus A52F RAM Replacement

What you need

    1. Asus A52F RAM Replacement, Battery: step 1, image 1 of 2 Asus A52F RAM Replacement, Battery: step 1, image 2 of 2
      • Place the laptop face down with the battery facing away from you.

      • Locate the two buttons next to the battery.

      • Slide the right slider to the unlocked (red) position.

      Ask FixBot

      Add Comment

    2. Asus A52F RAM Replacement: step 2, image 1 of 2 Asus A52F RAM Replacement: step 2, image 2 of 2
      • Hold the left button to the left.

      • Slide the battery with your other hand away from you and it should disconnect.

      Ask FixBot

      Add Comment

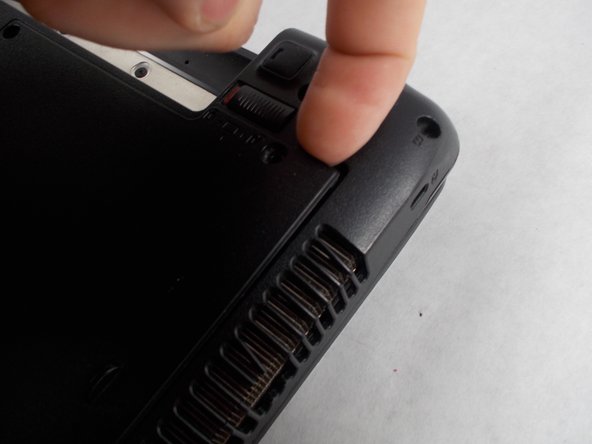
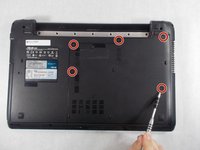
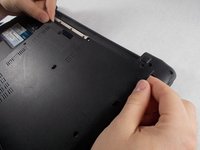
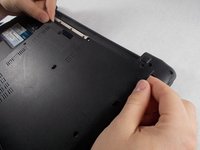
    1. Asus A52F RAM Replacement, Lower Case: step 3, image 1 of 3 Asus A52F RAM Replacement, Lower Case: step 3, image 2 of 3 Asus A52F RAM Replacement, Lower Case: step 3, image 3 of 3
      • Remove the five Phillips # 0 screws from the back panel.

      • Using your finger or a plastic spudger start to carefully pry up the back planel.

      Ask FixBot

      Add Comment

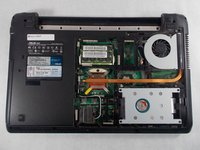
    2. Asus A52F RAM Replacement: step 4, image 1 of 2 Asus A52F RAM Replacement: step 4, image 2 of 2
      • Slide the back panel away and remove the panel.

      Ask FixBot

      Add Comment

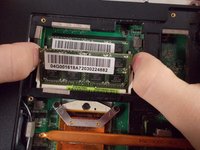
    1. Asus A52F RAM Replacement, RAM: step 5, image 1 of 1
      • Gently push the metal retaining arms away from the center of the RAM module.

      Ask FixBot

      Add Comment

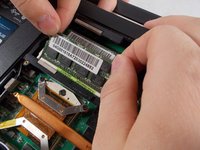
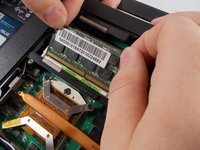
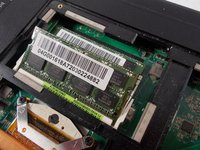
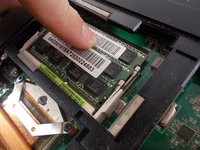
    2. Asus A52F RAM Replacement: step 6, image 1 of 3 Asus A52F RAM Replacement: step 6, image 2 of 3 Asus A52F RAM Replacement: step 6, image 3 of 3
      • The RAM should now be sticking up at a 30° angle.

      • Carefully grab the top edge of the RAM and gently pull it it out at it's angle.

      Ask FixBot

      Add Comment

    3. Asus A52F RAM Replacement: step 7, image 1 of 1
      • Repeat removal process for the RAM underneath.

      Ask FixBot

      Add Comment

    4. Asus A52F RAM Replacement: step 8, image 1 of 2 Asus A52F RAM Replacement: step 8, image 2 of 2
      • To insert new RAM line up notch in the connector and slide in at a 30° angle.

      • RAM only goes in one way!

      • Push straight down until the metal clips on both sides click into place

      Ask FixBot

      Add Comment

Conclusion

To reassemble your device, follow these instructions in reverse order.

Cancel: I did not complete this guide.

3 other people completed this guide.

Bradley Varnum

Member since: 03/09/17

345 Reputation

2 Guides authored

Team

0 Guide Comments

Add Comment

View Statistics:

Past 24 Hours: 2

Past 7 Days: 5

Past 30 Days: 36

All Time: 1,334