Free Shipping on Domestic Orders $75+

Astro Mixamp Control Button Replacement

What you need

    1. Astro Mixamp Control Button Replacement, Panel Dial: step 1, image 1 of 2 Astro Mixamp Control Button Replacement, Panel Dial: step 1, image 2 of 2
      • Grip the dial tightly and pull straight off the device.

      • Repeat for the second dial

      Ask FixBot

      Add Comment

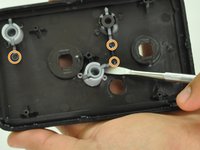
    2. Astro Mixamp Control Button Replacement: step 2, image 1 of 2 Astro Mixamp Control Button Replacement: step 2, image 2 of 2
      Tool used on this step:
      Tweezers
      $4.99
      Buy
      • Using tweezers, remove the spacer nuts and washers from each dial post.

      Ask FixBot

      Add Comment

    1. Astro Mixamp Control Button Replacement, Outer Casing: step 3, image 1 of 2 Astro Mixamp Control Button Replacement, Outer Casing: step 3, image 2 of 2
      • Before opening your device, ensure the device is not on or connected to the charging cable.

      • Insert a plastic opening tool into the seam between the rubber foot and plastic casing.

      • Pull the rubber foot free of the plastic casing.

      Ask FixBot

      Add Comment

    2. Astro Mixamp Control Button Replacement: step 4, image 1 of 1
      • Use a screwdriver to remove the screw from the rear casing.

      Ask FixBot

      Add Comment

    3. Astro Mixamp Control Button Replacement: step 5, image 1 of 1
      • Gently lift the rear casing from the device.

      Ask FixBot

      Add Comment

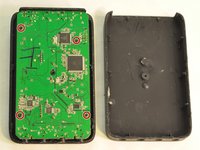
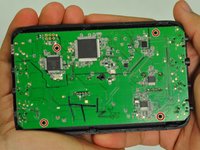
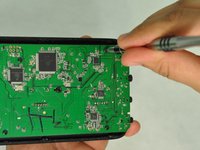
    1. Astro Mixamp Control Button Replacement, Motherboard: step 6, image 1 of 3 Astro Mixamp Control Button Replacement, Motherboard: step 6, image 2 of 3 Astro Mixamp Control Button Replacement, Motherboard: step 6, image 3 of 3
      • Remove the four screws that hold the motherboard in place.

      • Only touch the edges of the motherboard. Touching the surface can damage the motherboard.

      Ask FixBot

      Add Comment

    2. Astro Mixamp Control Button Replacement: step 7, image 1 of 1
      • Gently pull the motherboard from the front cover.

      Ask FixBot

      Add Comment

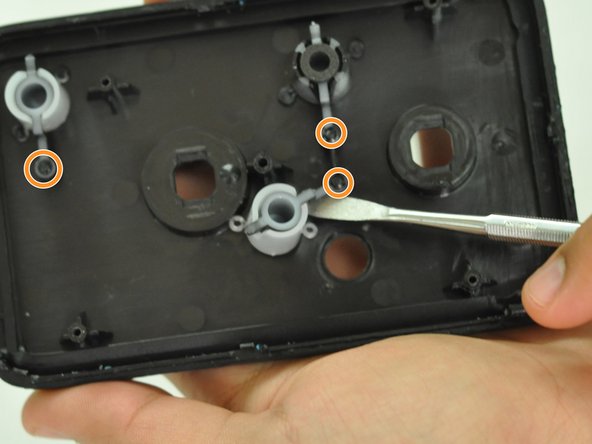
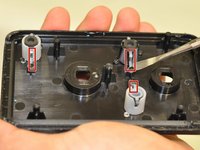
    1. Astro Mixamp Control Button Replacement, Control Button: step 8, image 1 of 2 Astro Mixamp Control Button Replacement, Control Button: step 8, image 2 of 2
      • Gently insert a metal spudger under a control button housing.

      • Do not pry the button housing from the front panel, this can cause damage to the button.

      • Rotate the control button around the marked pin.

      Ask FixBot

      Add Comment

Conclusion

To reassemble your device, follow these instructions in reverse order.

Cancel: I did not complete this guide.

3 other people completed this guide.

Hope Burns

Member since: 10/29/16

769 Reputation

5 Guides authored

0 Guide Comments

Add Comment

View Statistics:

Past 24 Hours: 0

Past 7 Days: 5

Past 30 Days: 34

All Time: 2,110