Free Shipping on Domestic Orders $75+

Astak Mole Motherboard Replacement

What you need

    1. Astak Mole Motherboard Replacement, Lower Case: step 1, image 1 of 1
      • Remove the four bottom tabs in order to access the bottom screws.

      Ask FixBot

      Add Comment

    2. Astak Mole Motherboard Replacement: step 2, image 1 of 1
      • Remove all four 14 mm Phillips #1 screws.

      Ask FixBot

      Add Comment

    3. Astak Mole Motherboard Replacement: step 3, image 1 of 1
      • Remove the SD card.

      Ask FixBot

      Add Comment

    4. Astak Mole Motherboard Replacement: step 4, image 1 of 1
      • Pry up the motherboard on the four points using a spudger.

      • The regular black nylon spudger should be used whenever possible, especially around sensitive internal components.

      Ask FixBot

      Add Comment

    5. Astak Mole Motherboard Replacement: step 5, image 1 of 1
      • Gently pull back the motherboard to expose many of the component's wired connections.

      Ask FixBot

      Add Comment

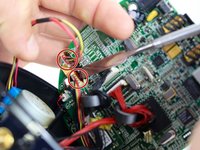
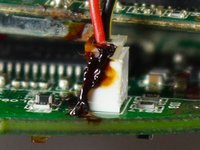
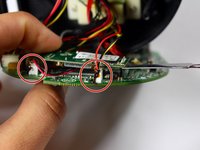
    1. Astak Mole Motherboard Replacement, Motherboard: step 6, image 1 of 2 Astak Mole Motherboard Replacement, Motherboard: step 6, image 2 of 2
      • Sever the indicated adhesive connections to the motherboard allowing the wired connections to be removed.

      • All wired connections to the motherboard are removed by the thin plastic male connector inserted into the larger female plastic connection.

      • The regular black nylon spudger should be used whenever possible, especially around sensitive internal components.

      Ask FixBot

      Add Comment

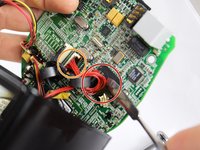
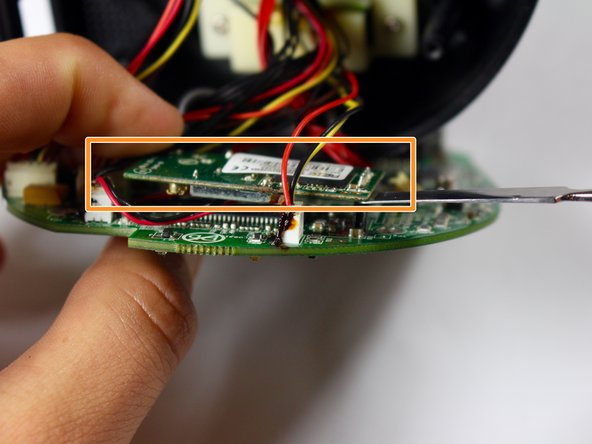
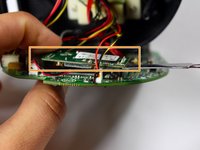
    2. Astak Mole Motherboard Replacement: step 7, image 1 of 2 Astak Mole Motherboard Replacement: step 7, image 2 of 2
      • The red wires may be adhered to the CPU as indicated and will need to be severed as shown.

      • Be careful not to scratch the CPU in this step. This is not a wired connection.

      • Sever the additional adhesive connections so that the wired connections may be removed.

      Ask FixBot

      Add Comment

    3. Astak Mole Motherboard Replacement: step 8, image 1 of 1
      • Locate and unscrew the indicated screw using the (PH1) Phillips head bit.

      • Screw Measurements: (Length= 5.3mm)

      Ask FixBot

      Add Comment

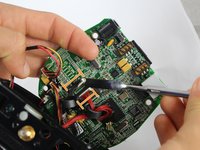
    4. Astak Mole Motherboard Replacement: step 9, image 1 of 2 Astak Mole Motherboard Replacement: step 9, image 2 of 2
      • Remove the last two wired connections to the motherboard by severing the indicated connections.

      • Lift up the secondary motherboard as indicated using the metal spudger.

      • All connections should be severed from the motherboard and a new motherboard may be inserted.

      • It is advised to reapply adhesive to wired connections during reassembly.

      Ask FixBot

      Add Comment

Conclusion

To reassemble your device, follow these instructions in reverse order.

Cancel: I did not complete this guide.

Andrew Birch

Member since: 09/15/16

204 Reputation

2 Guides authored

Team

USF Tampa, Team 2-2, Blackwell Fall 2016 Member of USF Tampa, Team 2-2, Blackwell Fall 2016

USFT-BLACKWELL-F16S2G2

4 Members

72 Guides authored

0 Guide Comments

Add Comment

View Statistics:

Past 24 Hours: 0

Past 7 Days: 9

Past 30 Days: 29

All Time: 971