
Arlo Ultra 2 Motion Sensor Replacement

Madeleine Kennedy and 3 other contributors
Last updated on May 16, 2024
Views: 876
View statistics:
- Past 24 Hours:
- 2
- Past 7 Days:
- 15
- Past 30 Days:
- 71
- All Time:
- 876
Comments: 2
2 guide comments.
Go to guide commentsCompleted: 1 2
1 person has marked this guide "completed." Will you be next?
2 people have marked this guide "completed." Including you — great job!
Favorites: 0 1
No one has favorited (and subscribed to) this guide. Will you be the first?
1 person has favorited (and subscribed to) this guide — and that's you!
Featured Student Guide
This guide has been the hard work of our awesome students and is found to be exceptionally cool by the iFixit staff.
Introduction
Go to step 1 ↓The motion sensor component signals to start recording when motion is detected in your Arlo Ultra 2 home security camera. If the motion sensor in your Arlo Ultra 2 is malfunctioning then follow this guide to replace the motion sensor.
When the motion sensor begins to malfunction, refer to the troubleshooting page prior to beginning this repair to see if there is an alternative fix.
Before beginning this guide it's important to disconnect your camera from the charger or a wired set up.
What you need
Tools
-
Spudger4.9
-


-
-
-
Press the button on the bottom of the camera to release the housing.
-
Pull the white housing off the camera.
 Ask FixBot
-
-
-
-
-
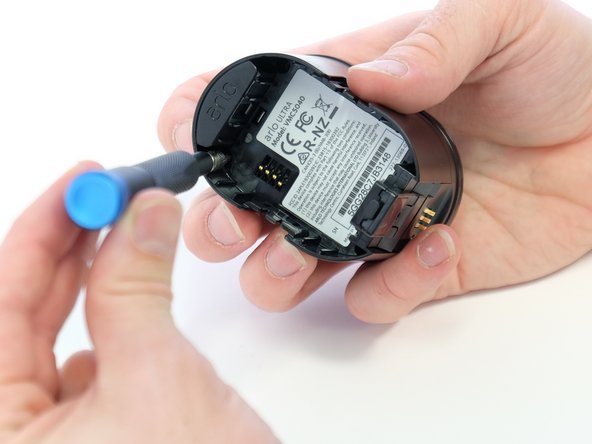
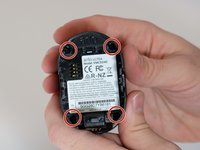
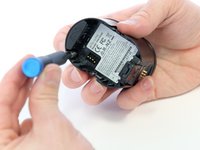
Use a Phillips #0 screwdriver to remove the four 20.0 mm screws from the battery cavity. They are found in each corner.
-
-
-
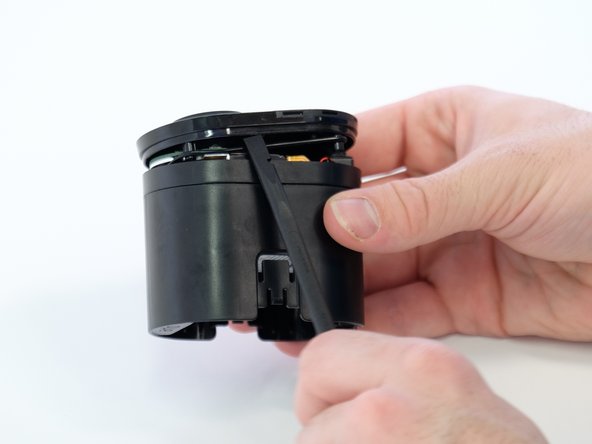
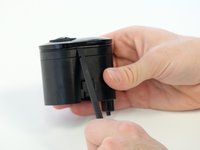
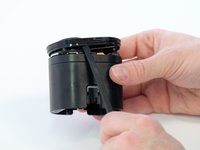
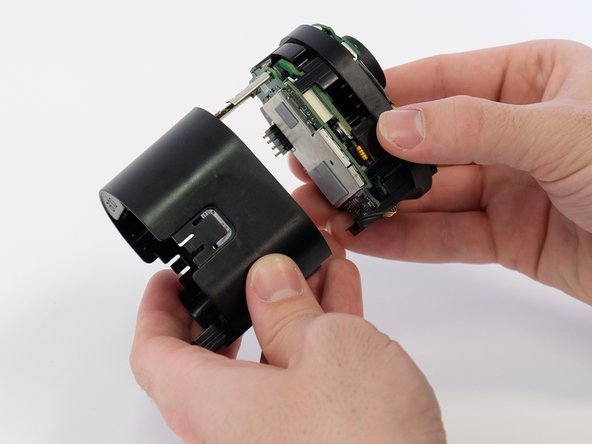
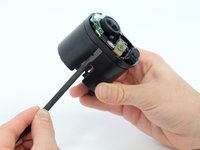
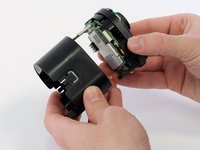
Using the spudger, loosen and remove the back casing to expose the camera hardware.
-
-
-
Very gently, pry the circuit boards apart from the white connector, removing the upper circuit board.
-
-
-
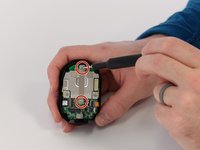
Use a Phillips #00 screwdriver to remove two 5.0 mm screws from the metal bracket.
-
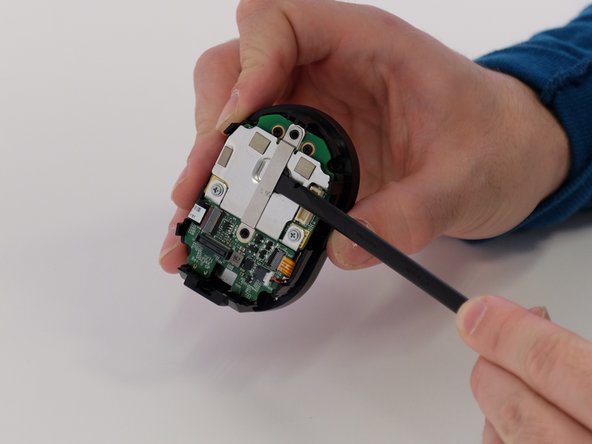
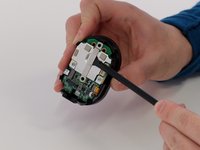
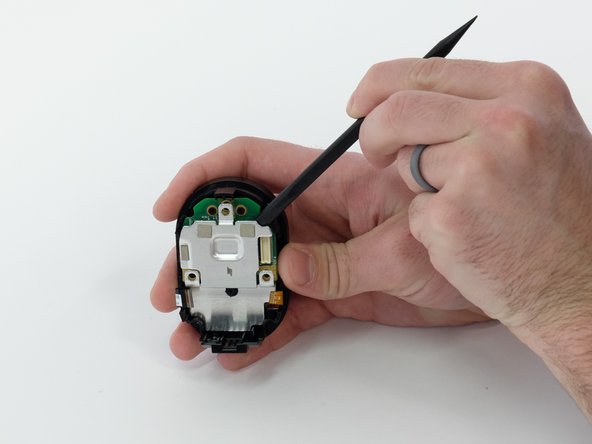
Use a spudger to separate the long metal bracket.
-
-
-
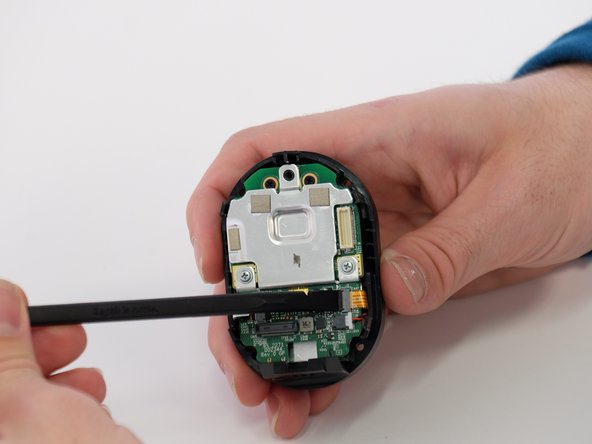
Use the tip of a spudger or your fingernail to flip up the small locking flap on each ZIF connector. Then, you can safely pull the cables out.
-
-
-
Use a spudger to carefully push on each side of the speaker cable connector until it's out of its socket.
-
-
-
-
-
-
Use a Phillips #00 screwdriver to remove the two 5.0 mm screws from the metal plate.
-
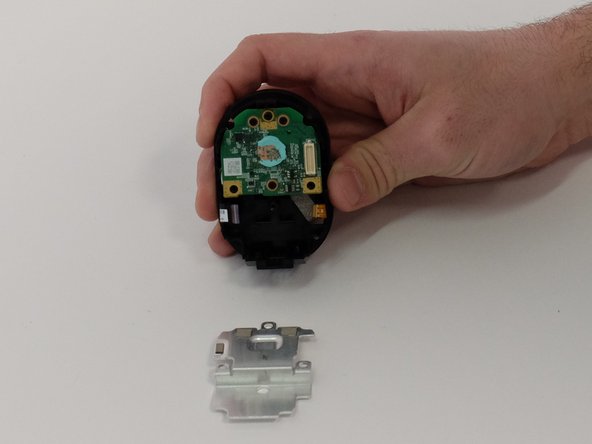
Pry the plate away from the circuit board underneath.
-
-
Tool used on this step:Tweezers$4.99
-
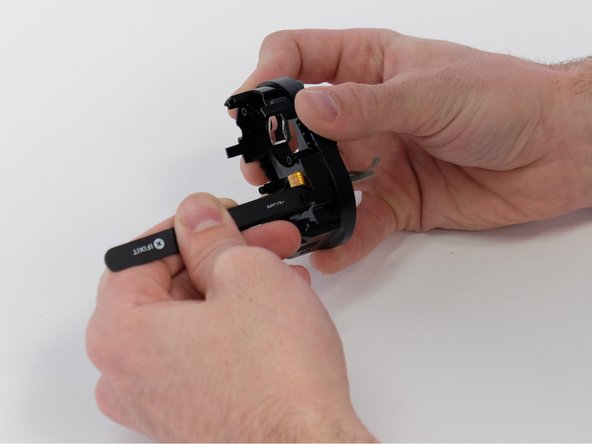
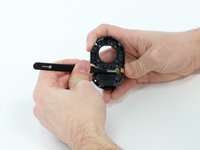
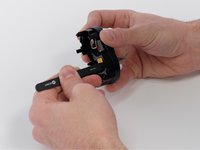
Use blunt tweezers to pull up the heat-resistant tape.
-
Pull the heat-resistant tape through to the front of the camera.
-
-
-
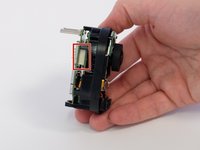
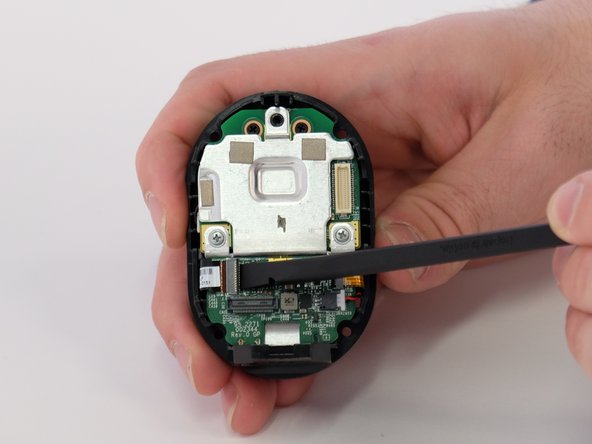
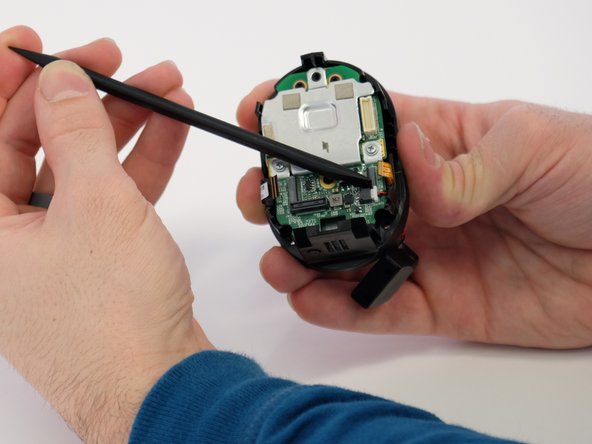
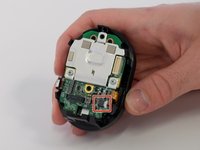
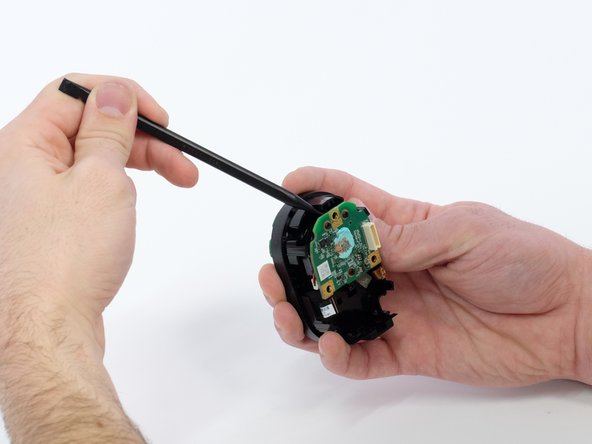
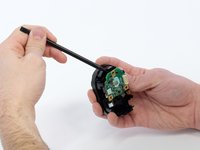
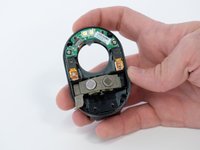
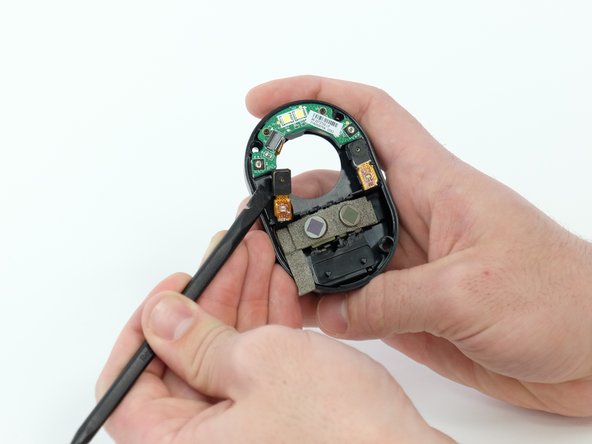
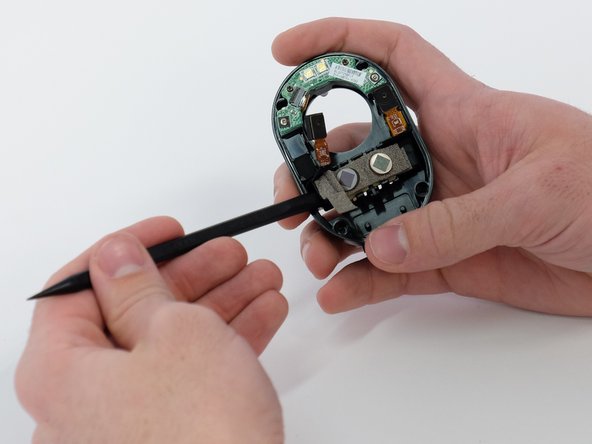
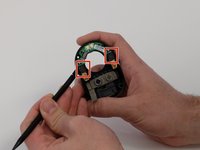
Place the tip of your spudger under the edge of the motion sensor connector, and pry the connector straight up from its socket.
-
-
-
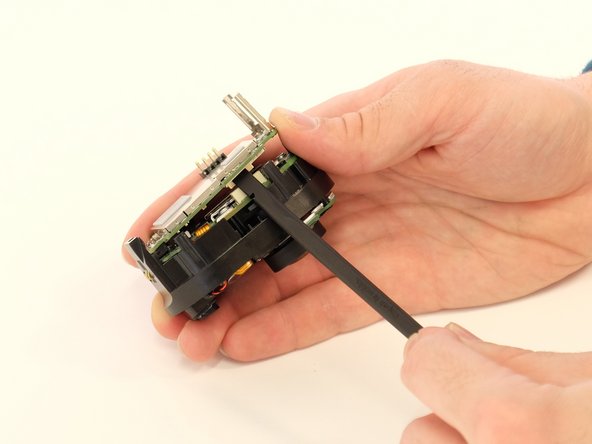
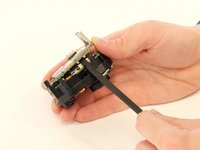
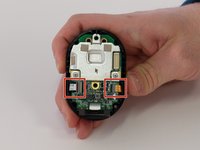
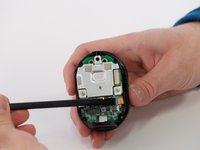
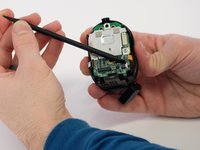
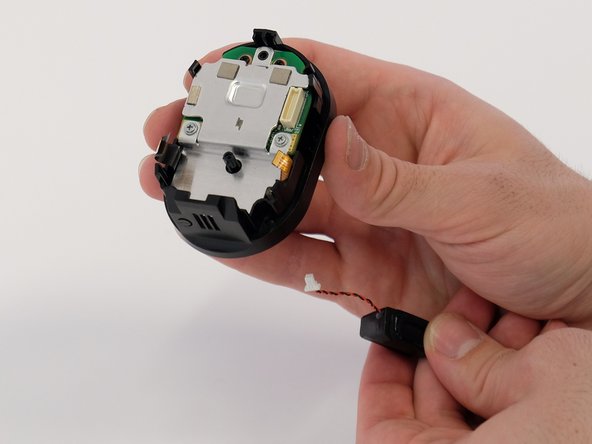
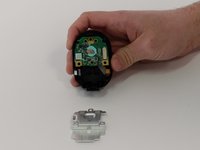
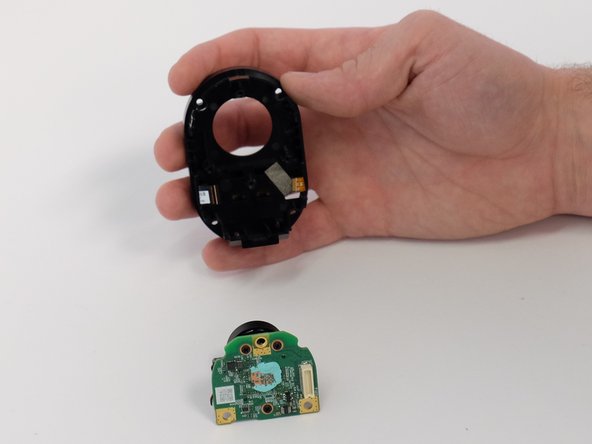
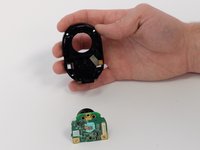
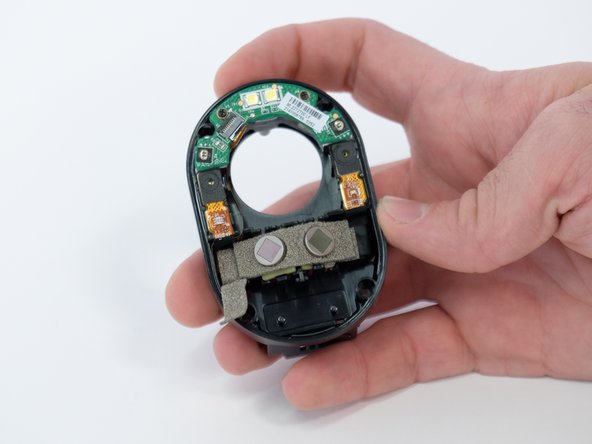
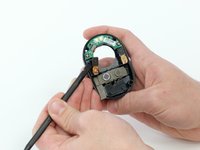
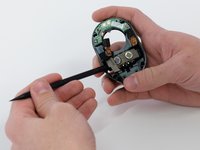
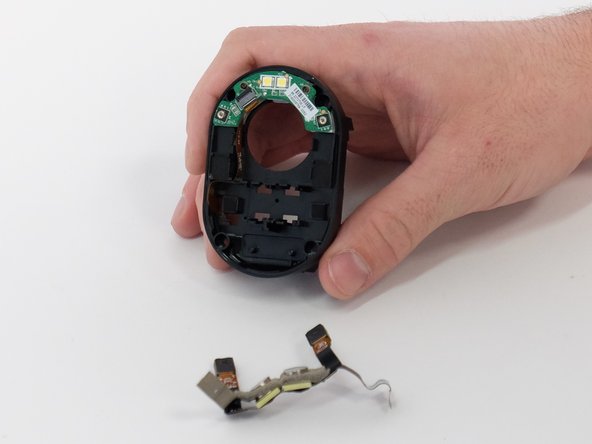
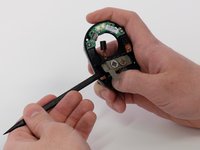
Use a spudger to remove the motion sensors from the housing.
-
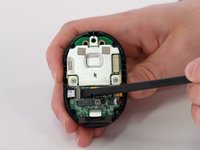
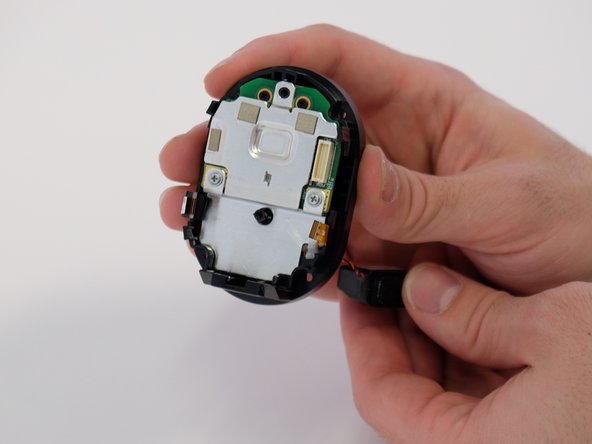
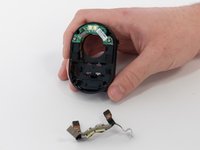
Finish removing the entire motion sensor and microphone electric tape.
-
-















To reassemble your device, follow these instructions in reverse order.
Cancel: I did not complete this guide.
One other person completed this guide.

Team

Linn Benton Community College, Team 1-4, Karnes Winter 2023 Member of Linn Benton Community College, Team 1-4, Karnes Winter 2023
LBCC-KARNES-W23S1G4
4 Members
48 Guides authored
2 Guide Comments
I wonder if you might have any insight on why these are so failure prone? I have had this happen twice since buying these cameras a little over a year ago. This would seem to be a simple part, kind of like an led bulb, typically they just don’t fail before other parts of the device have just gotten old and broken down. I know others have been having this exact issue also.
Hello could you provide any information on part number and where to buy replacement motion sensors?
TIA
